Black Cat Cookies are a fun Halloween treat you can make at home. They've been popular since the early 1900s, inspired by superstitions about black cats. You'll typically use chocolate cookie dough, shaped into cat silhouettes. The recipe is simple: mix flour, cocoa, butter, and sugar, then form the dough into cat shapes. Get creative with decorations like candy eyes and licorice whiskers. Baking these cookies is a great way to celebrate Halloween with friends and family. You can adjust the sweetness and texture to your liking, and even package them as festive gifts. There's more to discover about these spooky sweets!
Key Takeaways
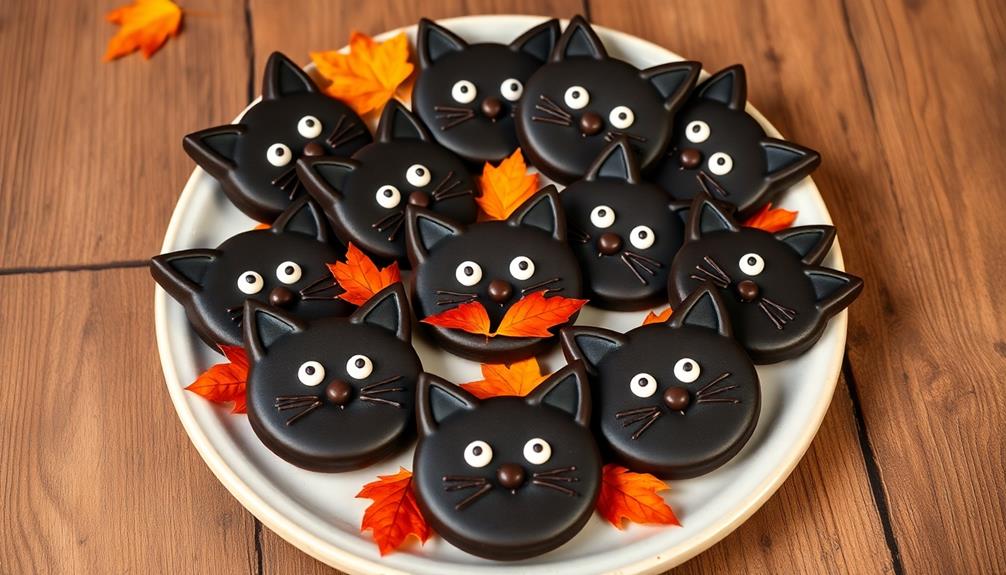
- Black Cat Cookies are Halloween-themed treats originating in early 20th century America, shaped like cat silhouettes.
- Traditional recipes use chocolate or sugar cookie dough, often decorated with candy melts or mini chocolate chips.
- These cookies typically feature a black cat design, with variations in decorations for eyes, whiskers, and facial expressions.
- Black Cat Cookies are popular for Halloween parties and can be customized with different flavors like vanilla or pumpkin spice.
- Baking tips include using room temperature ingredients, accurate flour measurement, and creative shaping techniques for the cat features.
History

Throughout history, black cat cookies have been a popular Halloween treat. You might be surprised to learn that these spooky sweets have roots dating back to the early 20th century. As Halloween celebrations gained popularity in America, bakers began creating themed treats to match the festive atmosphere.
Black cats, long associated with superstition and witchcraft, became a natural choice for cookie designs. In the 1920s and 1930s, you'd often find these feline-shaped treats at Halloween parties and gatherings. They were typically made from simple sugar cookie dough, cut into cat silhouettes, and decorated with black icing or food coloring.
Over time, the recipes and designs have evolved. You'll now find variations using chocolate dough, fondant decorations, and even edible glitter. Some bakers have added their own twists, like candy corn eyes or licorice whiskers.
Despite these changes, the basic concept remains the same: a delicious cookie that captures the spirit of Halloween.
Today, you can easily find black cat cookie recipes in cookbooks and online, allowing you to continue this sweet tradition in your own kitchen.
Recipe

Black Cat Cookies are a delightful Halloween treat that combines the rich, chocolatey goodness of cookies with a fun and spooky design. These adorable feline-shaped treats are perfect for parties, trick-or-treaters, or simply as a festive snack during the autumn season.
This recipe yields approximately 24 cookies and can be easily customized to suit your taste preferences. While the traditional recipe calls for chocolate cookies, you can experiment with different flavors like vanilla or pumpkin spice to create unique variations. The decorating process allows for creativity, so feel free to add your own personal touch to make these cats truly one-of-a-kind.
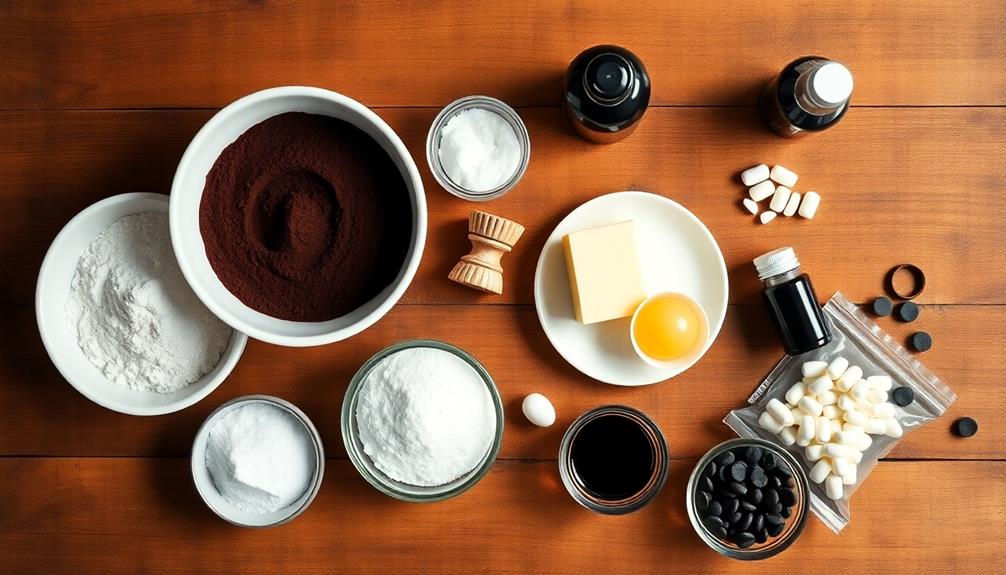
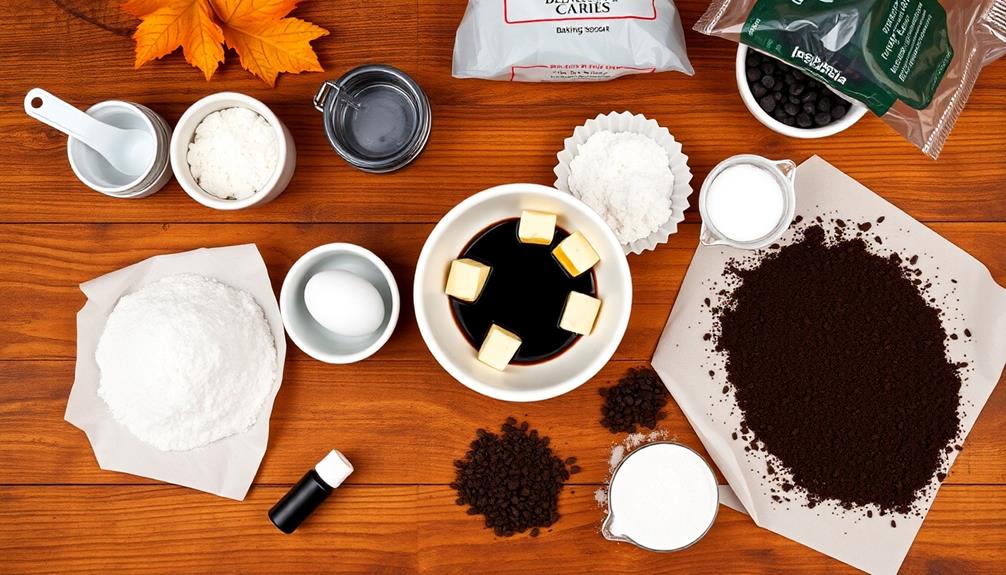
- 2 1/4 cups all-purpose flour
- 3/4 cup unsweetened cocoa powder
- 1 teaspoon baking soda
- 1/2 teaspoon salt
- 1 cup unsalted butter, softened
- 1 cup granulated sugar
- 1 large egg
- 2 teaspoons vanilla extract
- Black food coloring (optional)
- White candy melts or white chocolate chips
- Mini chocolate chips
In a large bowl, cream together the softened butter and sugar until light and fluffy. Beat in the egg and vanilla extract.
In a separate bowl, whisk together the flour, cocoa powder, baking soda, and salt. Gradually add the dry ingredients to the wet mixture, mixing until a soft dough forms. If desired, add a few drops of black food coloring to intensify the color.
Roll the dough into 1-inch balls and place them on a parchment-lined baking sheet. Flatten each ball slightly and shape into an oval for the cat's face. Use your fingers to pinch the top of each oval to form pointed ears.
Bake at 350°F (175°C) for 10-12 minutes. Allow the cookies to cool completely before decorating with melted white candy or chocolate for the eyes and mini chocolate chips for the pupils and whiskers.
For best results, chill the dough for 30 minutes before shaping the cookies. This will make the dough easier to handle and help the cookies maintain their shape during baking. If the dough becomes too soft while working with it, return it to the refrigerator for a few minutes.
When decorating, use a small piping bag or a plastic bag with the corner snipped off for more precise control. Store the finished cookies in an airtight container at room temperature for up to 5 days, or freeze for longer storage.
Cooking Steps

To start making these spooky treats, you'll need to preheat your oven to 350°F and gather your ingredients.
Begin by mixing the dry ingredients together, then cream the butter and sugar in a separate bowl before adding eggs and vanilla.
Once your dough is ready, it's time for the fun part: shaping it into adorable little cat shapes that'll be purr-fect for your Halloween party!
Step 1. Preheat Oven to 350°F
Preparation is key when baking these delightful Black Cat Cookies. Before you dive into mixing ingredients, you'll need to preheat your oven to 350°F (175°C). This step is crucial for ensuring your cookies bake evenly and achieve the perfect texture. Don't rush this process; give your oven plenty of time to reach the right temperature.
While your oven is heating up, it's a great opportunity to gather all your ingredients and equipment. You'll want to have everything ready to go before you start mixing. If your recipe calls for room temperature ingredients, now's the time to take them out of the fridge.
Remember, an accurate oven temperature is essential for baking success. If you have an oven thermometer, use it to double-check that your oven has reached 350°F. Some ovens can be a bit off, so it's always good to verify.
Once your oven is preheated and you've got all your supplies ready, you'll be all set to create some purr-fectly spooky Black Cat Cookies that'll be the talk of your Halloween party!
Step 2. Mix Dry Ingredients Together

With your oven warming up, it's time to focus on the cookie dough. You'll need to mix your dry ingredients first, which will form the base of your spooky black cat cookies.
Grab a medium-sized mixing bowl and place it on your work surface. Now, let's gather the dry ingredients you'll need for this recipe.
Start by measuring out your all-purpose flour. You'll want to use a spoon to scoop the flour into your measuring cup, then level it off with a straight edge. This method ensures you don't pack the flour too tightly.
Next, add your cocoa powder for that rich, chocolatey flavor and dark color. Don't forget the baking soda and salt – these are crucial for proper cookie texture and taste. If you're feeling adventurous, you can also add a pinch of cinnamon or a dash of espresso powder to enhance the chocolate flavor.
Once you've added all your dry ingredients to the bowl, it's time to combine them. Use a whisk or a fork to thoroughly mix everything together, making sure there are no clumps of cocoa powder or flour left.
This step is important for evenly distributing all the ingredients throughout your cookie dough.
Step 3. Cream Butter and Sugar
Grab your electric mixer and a large mixing bowl – it's time to cream the butter and sugar. First, make sure your butter is at room temperature, which will make it easier to work with. Cut the butter into small cubes and place them in the bowl. Add the sugar, following the recipe's measurements carefully.
Turn on your mixer to medium speed and start blending the butter and sugar together. You'll notice the mixture becoming lighter in color and fluffier in texture as you go. This process, called creaming, incorporates air into the mixture, which helps your cookies turn out soft and chewy.
Keep mixing for about 3-5 minutes, or until the mixture is pale and creamy. Don't forget to scrape down the sides of the bowl with a spatula occasionally to ensure everything is evenly combined.
The result should be smooth and almost fluffy, with no visible sugar granules. This creamed mixture will form the base of your black cat cookies, providing the perfect texture and sweetness. Once you've achieved this consistency, you're ready to move on to the next step in your cookie adventure!
Step 4. Add Eggs and Vanilla

Now that you've got your creamed butter and sugar mixture, it's time to add the eggs and vanilla. Crack two large eggs into a small bowl, checking for any unwanted shell pieces. It's easier to remove shells from a separate bowl than from your main mixture.
Once you're sure they're shell-free, add the eggs one at a time to your creamed mixture. Mix well after each addition, ensuring the egg is fully incorporated before adding the next.
Next, measure out one teaspoon of vanilla extract. Pure vanilla extract will give your cookies the best flavor, but imitation vanilla works too. Pour the vanilla into your bowl and mix it thoroughly with the other ingredients. The vanilla adds a warm, sweet aroma that complements the chocolate you'll add later.
As you're mixing, keep an eye on the consistency. The batter should be smooth and slightly glossy. If it looks curdled or separated, don't worry! It'll come together when you add the dry ingredients.
Step 5. Shape Dough Into Cats

Creativity takes center stage as you transform your dough into adorable feline shapes. First, dust your work surface with flour to prevent sticking.
Take a small portion of dough and roll it into a ball about the size of a golf ball. Flatten the ball slightly with your palm, then use your fingers to shape it into an oval for the cat's body.
Next, create a smaller ball for the head and gently press it onto one end of the oval. For the ears, pinch two small triangles of dough and attach them to the top of the head.
Don't forget the tail! Roll a thin strip of dough and curve it slightly before pressing it onto the body. Use a toothpick to add whiskers and create texture for the fur.
For the eyes, you can press in small chocolate chips or candies. If you're feeling extra creative, try making different cat poses or facial expressions.
Final Thoughts

Delightful and spooky, these Black Cat Cookies are sure to be a hit at your Halloween party or autumn gathering. You've learned how to create these charming treats, from mixing the dough to shaping the cat faces.
Remember, practice makes perfect, so don't worry if your first batch isn't picture-perfect. The more you make, the better you'll get at crafting those pointy ears and whiskers.
These cookies aren't just fun to make; they're also a great way to get creative in the kitchen. You can experiment with different decorations, like using candy corn for teeth or licorice for whiskers.
Don't forget, you can always adjust the recipe to suit your tastes. If you prefer a sweeter cookie, add a bit more sugar. For a softer texture, try reducing the baking time slightly.
Lastly, these Black Cat Cookies are perfect for sharing. Why not package them up in cellophane bags tied with orange ribbon for a festive Halloween treat? Your friends and family will love the spooky surprise!
Frequently Asked Questions
Can I Substitute Black Food Coloring With Natural Alternatives?
You can substitute black food coloring with natural alternatives. Try using activated charcoal, blackberry or blueberry juice, or squid ink. These options will give you a dark color without artificial ingredients. Experiment to find the best fit for your recipe.
How Long Do These Cookies Stay Fresh?
You can keep your cookies fresh for about 3-5 days at room temperature in an airtight container. If you'd like them to last longer, you can store them in the refrigerator for up to a week.
Are There Gluten-Free Options for Black Cat Cookies?
You'll find gluten-free options for these cookies if you make them at home. Simply substitute regular flour with gluten-free alternatives like almond or rice flour. Many bakeries also offer gluten-free versions, so don't hesitate to ask.
Can I Freeze the Dough for Later Use?
Yes, you can freeze the dough for later use. It's a great way to save time. Just wrap it tightly in plastic wrap and place it in a freezer bag. It'll keep for up to three months.
What's the Best Way to Package These Cookies as Gifts?
You'll want to package your cookies carefully to preserve their shape and freshness. Try using decorative tins, cellophane bags, or small gift boxes. Add tissue paper or shredded paper for cushioning, and tie with a festive ribbon for a personal touch.