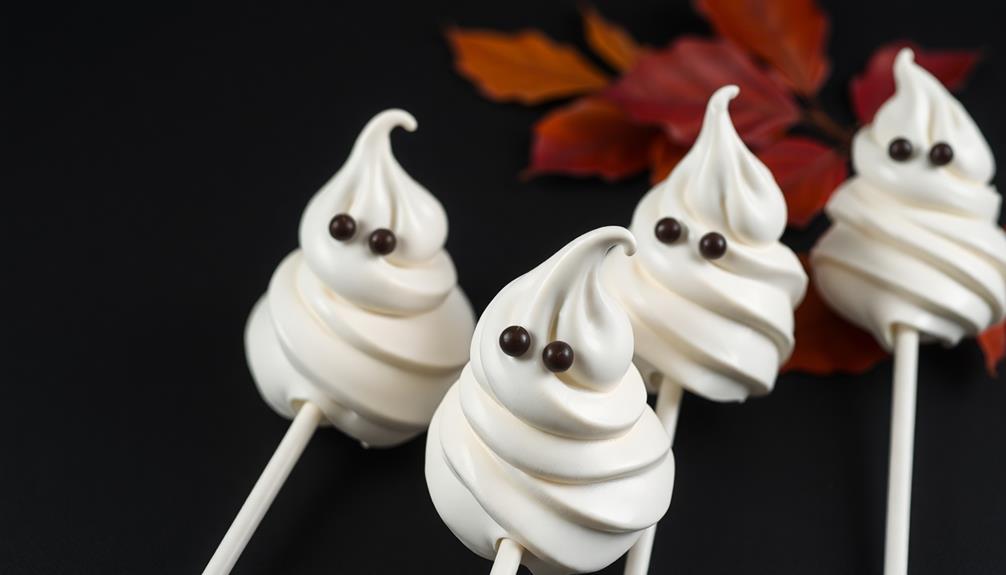

Ghostly meringue pops are a fun and spooky Halloween treat you'll love making. They're light, airy, and perfect for parties. To create these ghosts, you'll whip egg whites with sugar, pipe them into ghostly shapes, and bake at a low temperature. Once cooled, decorate with melted chocolate for eyes and expressions. These pops are a healthier alternative to candy, with fewer calories and endless possibilities for creativity. You can experiment with different shapes, colors, and flavors to make your own unique spooky characters. Don't worry if your first attempts aren't perfect – practice makes perfect! There's a whole world of meringue magic waiting to be explored.
Key Takeaways
- Ghostly meringue pops are Halloween-themed treats made from whipped egg whites, sugar, and decorated to resemble ghosts.
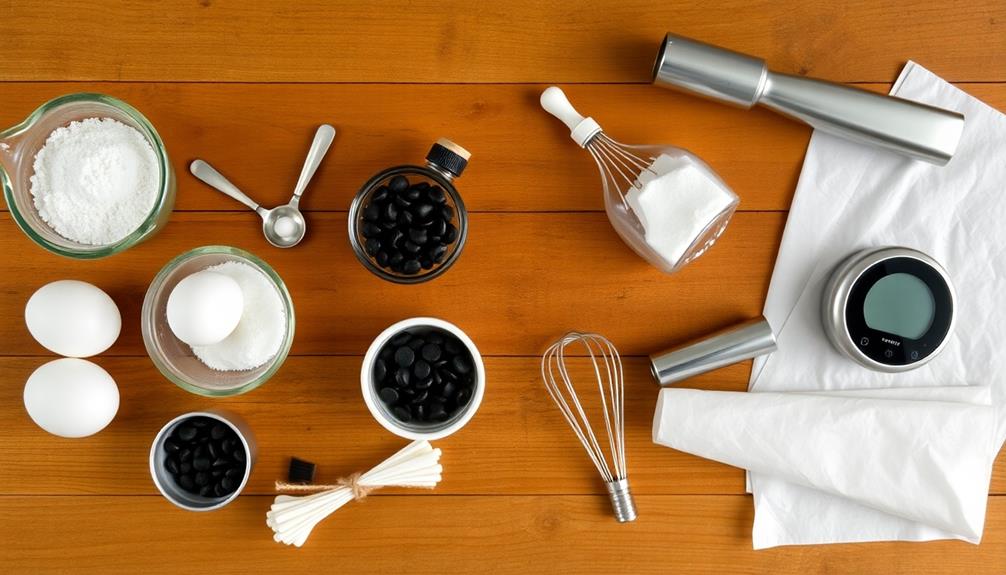
- Key ingredients include egg whites, granulated sugar, cream of tartar, vanilla extract, and dark chocolate for decoration.
- Meringue is piped into ghost shapes on parchment paper and baked at a low temperature of 200°F (95°C).
- Melted chocolate is used to create eyes and expressions on the ghost-shaped meringues.
- These treats offer a lighter, healthier alternative to traditional Halloween candy and are suitable for parties.

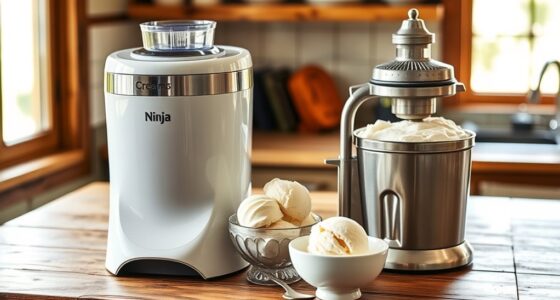
5PCS Large Piping Tips Set, COKUMA Stainless Steel Cake Decorating Tips, Frosting Icing Tips for Cupcakes, Cake, Cookie and Decorating (Dishwasher Safe)
- Versatile Decorating Options: Includes various tips for different designs
- High-Quality Stainless Steel: Durable, rust-resistant, and seamless construction
- Creative Baking Inspiration: Encourages unique designs and techniques
As an affiliate, we earn on qualifying purchases.
As an affiliate, we earn on qualifying purchases.
History

Tracing the origins of ghostly meringue pops reveals a relatively recent culinary innovation.
You'll find that these spooky treats haven't been around for centuries like some classic desserts. Instead, they've emerged as a creative twist on traditional meringues in the past few decades.
Meringues themselves have a long history, dating back to the 17th century. They're made by whipping egg whites and sugar into a fluffy, cloud-like consistency.
But it wasn't until the rise of Halloween-themed baking in the late 20th century that ghostly shapes started appearing.
The idea of putting meringues on sticks, transforming them into "pops," likely came from the cake pop trend of the early 2000s. Clever bakers saw an opportunity to combine the light, airy texture of meringues with the fun, portable nature of pops.
They shaped the meringue into ghost-like forms, often adding chocolate chip eyes for a whimsical touch.
Since then, ghostly meringue pops have become a popular Halloween treat, especially for those looking for a lighter alternative to traditional candy.
Recipe
Ghostly Meringue Pops are a delightful and spooky treat perfect for Halloween parties or autumn gatherings. These ethereal confections combine the light, airy texture of meringue with a crisp exterior, creating a ghostly appearance that's both visually striking and delicious.
This recipe transforms simple ingredients into whimsical, ghost-shaped lollipops that are sure to captivate both children and adults alike. The meringue is flavored with a hint of vanilla, providing a subtle sweetness that complements the crisp texture. Dark chocolate chips or edible black food coloring are used to create expressive eyes, completing the ghostly effect.
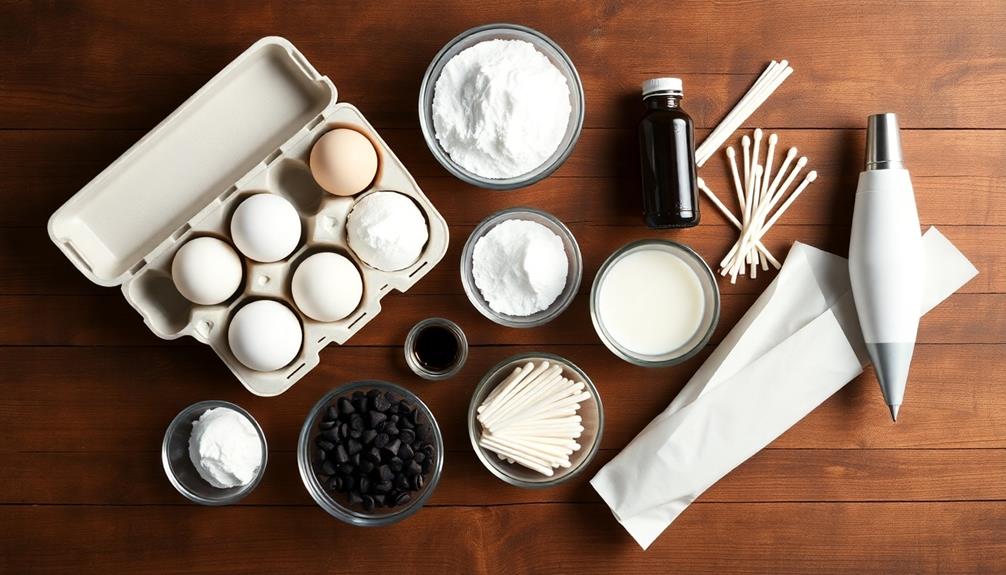
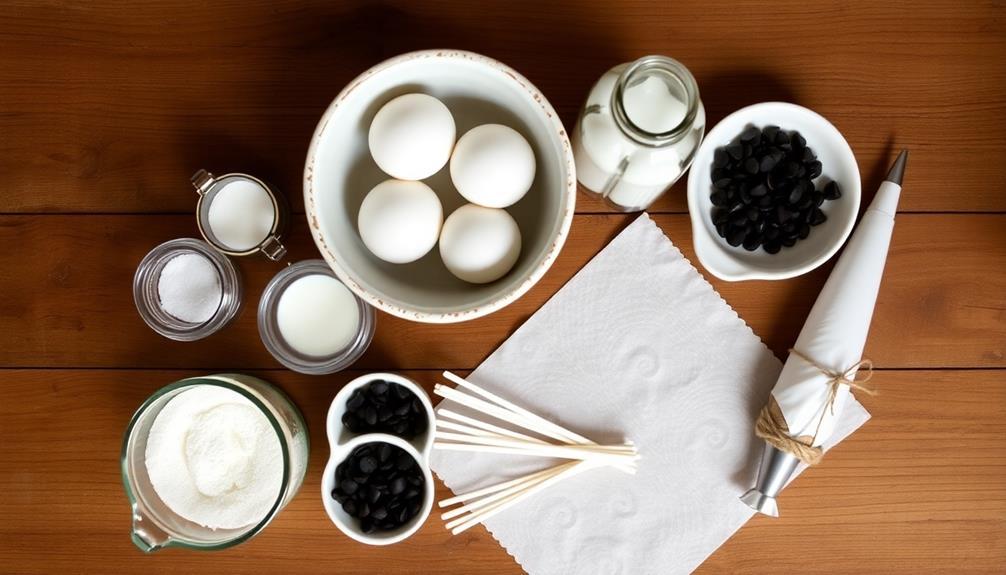
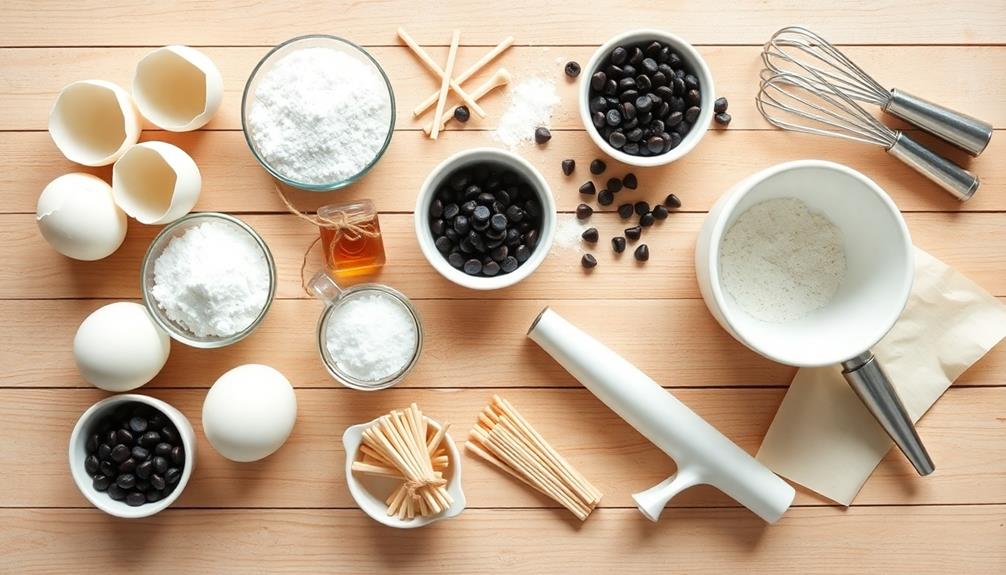
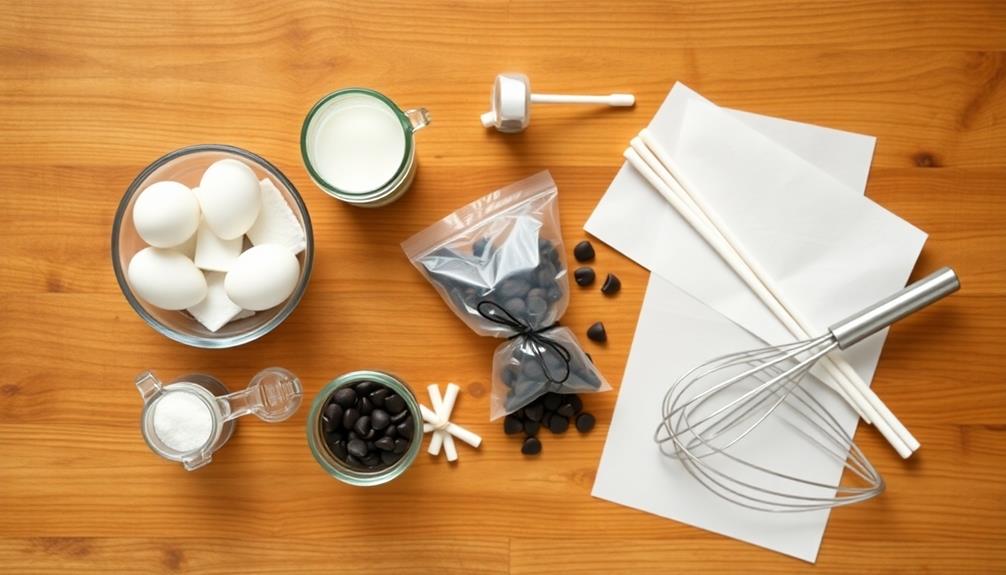
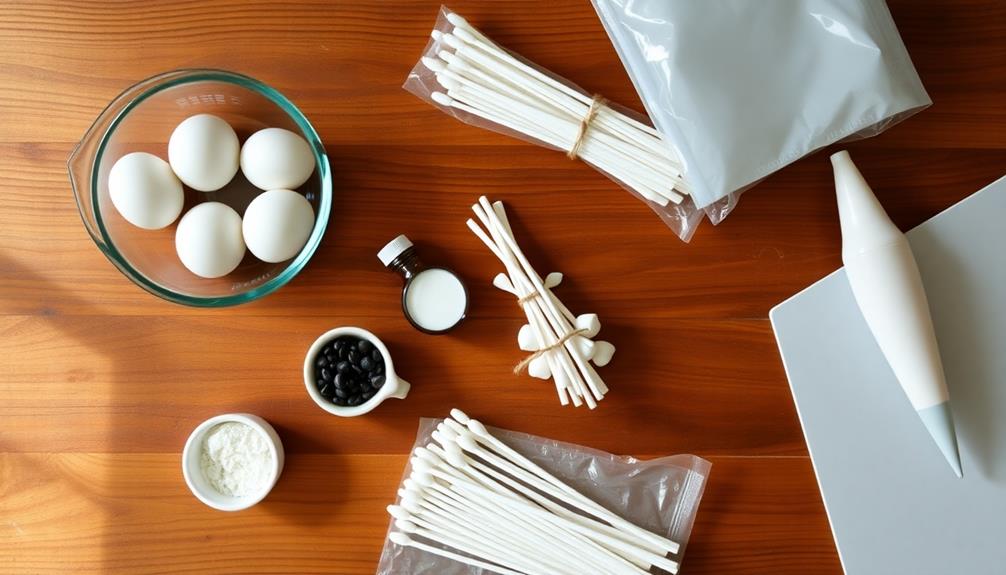
- 4 large egg whites, at room temperature
- 1 cup granulated sugar
- 1/4 teaspoon cream of tartar
- 1/2 teaspoon vanilla extract
- Dark chocolate chips or edible black food coloring
- Lollipop sticks
Preheat the oven to 200°F (95°C) and line two baking sheets with parchment paper. In a clean, dry bowl of a stand mixer, combine egg whites and cream of tartar. Beat on medium speed until soft peaks form. Gradually add sugar while continuing to beat, then increase speed to high and beat until stiff, glossy peaks form and the mixture is smooth and not grainy.
Fold in vanilla extract. Transfer the meringue to a piping bag fitted with a large round tip. Pipe ghost shapes onto the prepared baking sheets, inserting a lollipop stick into the base of each ghost. Use chocolate chips or food coloring to add eyes. Bake for 2 hours, then turn off the oven and let the meringues cool completely inside without opening the door.
For best results, make these treats on a dry day, as humidity can affect the meringue's texture. If storing, keep them in an airtight container in a cool, dry place. To create varied ghost expressions, experiment with different piping techniques or add small amounts of food coloring to portions of the meringue for a marbled effect.
Cooking Steps
You'll start by preheating your oven to 200°F and whipping egg whites until they're foamy.
Next, you'll gradually add sugar while continuing to mix, then pipe the meringue onto parchment paper in ghost shapes.
Step 1. Preheat Oven to 200°F
The journey to creating these spooky treats begins with a crucial step. You'll need to preheat your oven to 200°F (93°C). This low temperature is essential for making perfect meringues, as it allows them to dry out slowly without browning.
Don't be tempted to rush this process by setting a higher temperature, as it'll affect the final texture and appearance of your ghostly pops.
While your oven is heating up, you can start preparing your other ingredients and tools. It's a good idea to use an oven thermometer to ensure your oven reaches the correct temperature, as some ovens can be slightly off.
Remember, patience is key when making meringues. The low and slow baking method will give you those crisp, light-as-air ghosts that'll wow your friends and family.
If your oven has a convection setting, it's best to avoid using it for this recipe. The circulating air can cause the meringues to crack or become unevenly baked.
Stick to the conventional baking mode for the best results. Now that your oven's preheating, you're ready to move on to the next exciting step in creating your ghostly meringue pops!
Step 2. Mix Egg Whites Until Foamy
Separation marks the beginning of this crucial step in creating your ghostly meringue pops. Carefully crack three large eggs, letting the whites slip into a clean, dry mixing bowl. Make sure no yolk sneaks in, as it'll ruin your meringue.
Don't toss those yolks, though! You can save them for another recipe.
Now, grab your electric mixer. You'll want to use the whisk attachment for this job. Start mixing on low speed, watching as the egg whites begin to froth up. It's like magic – they'll transform from clear liquid to a foamy cloud right before your eyes!
Keep mixing until you see lots of tiny bubbles throughout. This usually takes about 30 seconds to a minute.
You'll know you're done when the egg whites look uniformly foamy and opaque. They should have a bit of volume, but not be stiff yet. That's coming later!
Step 3. Add Sugar Gradually
With your egg whites now foamy, it's time to sweeten the deal. Gradually adding sugar is crucial for creating smooth, stable meringues that'll hold their shape. You'll want to use superfine sugar, as it dissolves more easily than regular granulated sugar.
Start by adding the sugar one tablespoon at a time while continuing to beat the egg whites. This slow addition allows the sugar to fully dissolve, preventing grainy meringues. Keep the mixer on medium-high speed as you sprinkle in the sugar. It's important to be patient during this step, as rushing can result in a less stable meringue.
As you add the sugar, you'll notice the mixture becoming thicker and glossier. This is exactly what you want! Keep beating until stiff peaks form when you lift the beater. The meringue should be smooth and shiny, with no visible sugar granules. If you rub a bit between your fingers, it shouldn't feel gritty.
Once you've achieved this consistency, you're ready to move on to the next step in creating your ghostly meringue pops.
Step 4. Pipe Meringue Onto Parchment Paper

Now that you've achieved the perfect meringue consistency, it's time to give shape to your ghostly treats. Prepare a baking sheet by lining it with parchment paper. This will prevent your meringues from sticking and make cleanup a breeze.
Next, fill a piping bag with your meringue mixture. If you don't have a piping bag, don't worry! You can use a plastic zip-top bag with a corner snipped off.
To create your ghost shapes, hold the piping bag vertically about an inch above the parchment paper. Squeeze gently to form a 2-inch round base, then slowly lift the bag as you continue to squeeze. This will create the ghost's body.
When you reach the desired height, about 3 inches, stop squeezing and lift the bag to form a little peak for the ghost's head. Repeat this process, spacing your ghosts about 2 inches apart.
You'll want to work quickly to keep the meringue from drying out. Once you've piped all your ghosts, it's time to give them some personality with chocolate chip eyes and mouths.
Step 5. Decorate With Chocolate Eyes
Creativity shines through in this final touch to your ghostly meringue pops. To give your spooky treats some personality, you'll need to add eyes using melted chocolate.
Start by melting a small amount of dark chocolate in a microwave-safe bowl, stirring every 15 seconds until smooth. Transfer the melted chocolate to a piping bag or a plastic sandwich bag with a tiny corner snipped off.
With steady hands, pipe two small dots onto each meringue ghost for eyes. You can make them all uniform or give each ghost a unique expression. For added dimension, use white chocolate to create tiny highlights in the eyes.
If you're feeling adventurous, try piping different eye shapes or even add a mouth to some of your ghosts. Remember, practice makes perfect, so don't worry if your first few attempts aren't spot-on.
Once you've decorated all your meringue ghosts, let the chocolate set completely before handling. This usually takes about 15-20 minutes at room temperature, or you can pop them in the fridge for a quicker set.
Your ghostly meringue pops are now ready to haunt your Halloween party!
Final Thoughts

These ghostly meringue pops offer a delightful twist on Halloween treats. They're not only adorable but also fun to make and share with friends and family.
You'll find that creating these spooky sweets is a great way to get into the Halloween spirit while honing your baking skills.
Remember, practice makes perfect when it comes to piping meringue. Don't worry if your first few ghosts aren't picture-perfect – they'll still taste great! You can experiment with different food colorings to create pastel ghosts or even add a drop of flavor extract to the meringue for a unique taste.
These treats are perfect for Halloween parties, school events, or just as a special surprise for your family. They're lightweight, making them easy to transport, and their eye-catching appearance is sure to impress.
Plus, they're a healthier alternative to many sugar-laden Halloween candies.
As you become more comfortable with the technique, you might want to try other shapes or designs. Who knows? You could create an entire spooky meringue menagerie for your next Halloween celebration!
Frequently Asked Questions
Can I Use a Different Type of Food Coloring for the Ghostly Effect?
You can definitely use different food coloring for the ghostly effect. Try gel or liquid colors, but avoid natural ones as they may affect texture. Experiment with various shades of white, gray, or pale blue for an eerie appearance.
How Long Do These Meringue Pops Stay Fresh After Making Them?
You'll find your meringue pops stay fresh for about a week when stored properly. Keep them in an airtight container at room temperature. They'll maintain their crispy texture, but don't wait too long to enjoy them!
Are There Any Substitutes for Cream of Tartar in This Recipe?
You can replace cream of tartar with lemon juice or white vinegar in your recipe. They'll provide the same acidic properties. Use 1/2 teaspoon of either for every 1/4 teaspoon of cream of tartar called for.
Can I Make These Pops in Advance for a Halloween Party?
You can definitely make these pops in advance. They'll keep well for a few days if stored properly. Just make sure you keep them in an airtight container in a cool, dry place to maintain their texture and shape.
What's the Best Way to Store Leftover Meringue Mixture?
You can store leftover meringue mixture in an airtight container in the fridge for up to 2 days. Make sure it's well-sealed to prevent moisture from getting in. Use it as soon as possible for best results.