You can transform your gingerbread house into a spooky Halloween centerpiece by creating a haunted version. This fun twist on the classic holiday treat emerged in the early 20th century as Halloween gained popularity in America. To make one, you'll need a sturdy gingerbread dough, dark icing, and eerie decorations like candy cobwebs. Start by mixing your dry ingredients, then gradually add wet components to form the dough. Roll it out, cut your house pieces, and bake them until firm. Once cooled, assemble your haunted house and let your creativity run wild with spooky embellishments. There's more to discover about this wickedly delightful craft.
Key Takeaways
- Haunted House Gingerbread combines classic gingerbread flavors with spooky Halloween themes for festive baking projects.
- The tradition emerged in the early 20th century and became popular for Halloween parties by the 1960s.
- Key steps include mixing dry ingredients, adding wet ingredients, rolling out dough, cutting house pieces, and baking.
- Assembly involves cooling baked pieces completely, using icing as glue, and decorating with candies for a spooky effect.
- Gingerbread houses can be preserved for display or eaten, encouraging creativity and baking skills development.

Gingerbread House Kit 12.75 Oz – Holiday Cookie Decorating Kit
- Complete Gingerbread House Kit: Includes panels, candies, and icing
- Family-Friendly Assembly: Easy-to-follow instructions for all ages
- Pre-Baked and Ready: No baking required, quick setup
As an affiliate, we earn on qualifying purchases.
As an affiliate, we earn on qualifying purchases.
History
Countless spooky tales have inspired the creation of haunted house gingerbread. You might be surprised to learn that this eerie twist on a holiday classic has roots dating back to the early 20th century. As Halloween gained popularity in America, creative bakers began experimenting with gingerbread's versatility.
In the 1920s, you'd find the first mentions of haunted gingerbread houses in cookbooks and magazines. These early versions were often simple cottages with spooky decorations. As time passed, bakers became more adventurous, incorporating gothic architecture and creepy details.
By the 1960s, you'd see haunted gingerbread houses becoming a staple of Halloween parties and autumn baking contests. TV shows and magazines featured elaborate designs, inspiring home bakers to try their hand at creating edible haunted mansions.
Today, you'll find haunted gingerbread houses in bakeries, craft stores, and even as kits you can assemble at home. They've become a beloved tradition, merging the warmth of holiday baking with the thrill of Halloween.
Whether you're a seasoned baker or a novice, creating a haunted gingerbread house is a fun way to celebrate the spooky season.
Recipe

Creating a haunted house gingerbread is a delightful way to celebrate Halloween or add a spooky touch to your holiday baking. This recipe combines the classic flavors of gingerbread with the fun of crafting a miniature haunted house. The rich, aromatic spices and the dark molasses give the gingerbread a deep flavor that perfectly complements its eerie appearance.
This recipe yields enough gingerbread to construct a small haunted house, complete with walls, a roof, and extra pieces for decorations. The dough is sturdy enough to hold its shape during baking and construction, yet remains pleasantly chewy. You can customize your haunted house with various candies, icing, and edible decorations to create a truly unique and spine-chilling masterpiece.
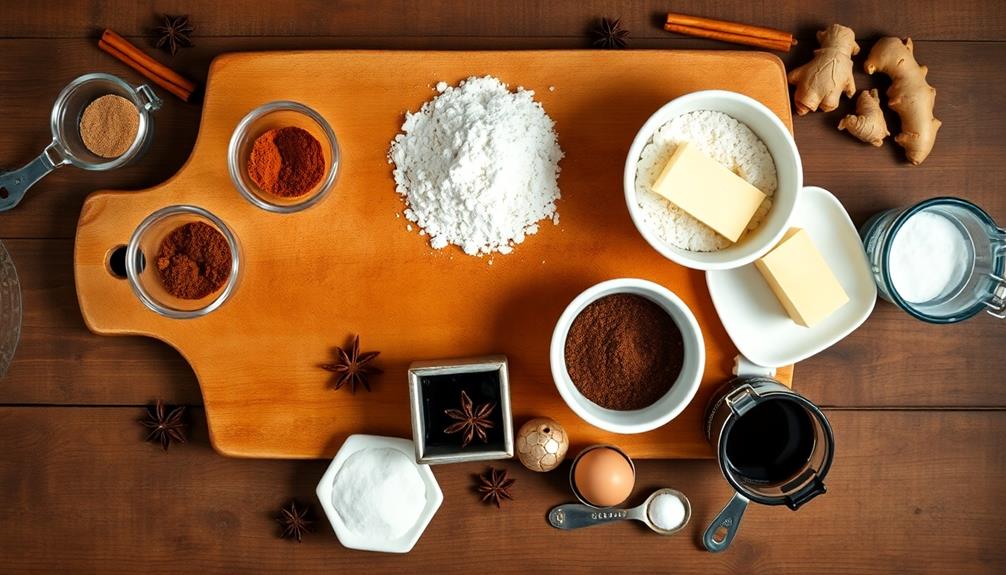
- 3 cups all-purpose flour
- 1 1/2 teaspoons baking powder
- 3/4 teaspoon baking soda
- 1/4 teaspoon salt
- 1 tablespoon ground ginger
- 1 3/4 teaspoons ground cinnamon
- 1/4 teaspoon ground cloves
- 6 tablespoons unsalted butter
- 3/4 cup dark brown sugar
- 1 large egg
- 1/2 cup molasses
- 2 tablespoons water
In a large bowl, cream together the butter and brown sugar until light and fluffy. Beat in the egg, molasses, and water. In a separate bowl, whisk together the flour, baking powder, baking soda, salt, and spices. Gradually add the dry ingredients to the wet mixture, stirring until a stiff dough forms.
Divide the dough in half, wrap in plastic, and refrigerate for at least 2 hours. When ready to bake, preheat the oven to 375°F (190°C). Roll out the dough on a lightly floured surface to 1/4 inch thickness. Cut out the house pieces using templates or freehand, and bake on parchment-lined baking sheets for 11-15 minutes until firm and lightly browned at the edges. Cool completely before assembling and decorating.
For best results, prepare the gingerbread dough a day in advance to allow the flavors to meld. When assembling the house, use a thick royal icing as "glue" to hold the pieces together. Let each section dry completely before adding the next to ensure structural integrity.
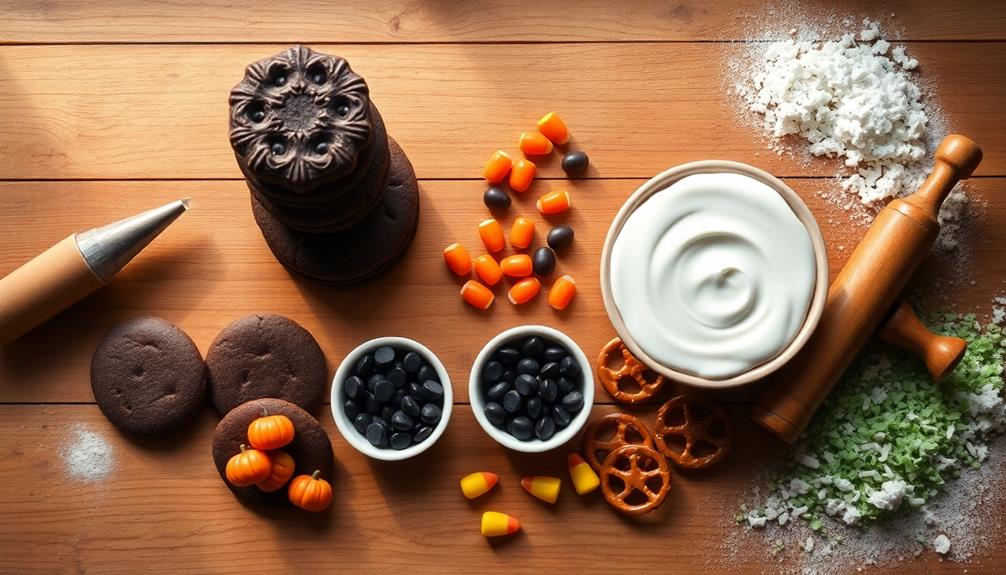
To enhance the haunted appearance, consider using black food coloring in some of the icing, creating spiderwebs with thin lines of white icing, or adding crushed chocolate cookies around the base for a "dirt" effect.
Cooking Steps

You'll start by combining all the dry ingredients in a large mixing bowl.
Next, you'll gradually add the wet ingredients, mixing until you've formed a smooth dough.
Once your dough is ready, you'll roll it out, cut out the house pieces, and bake them until they're golden brown and ready for assembly.
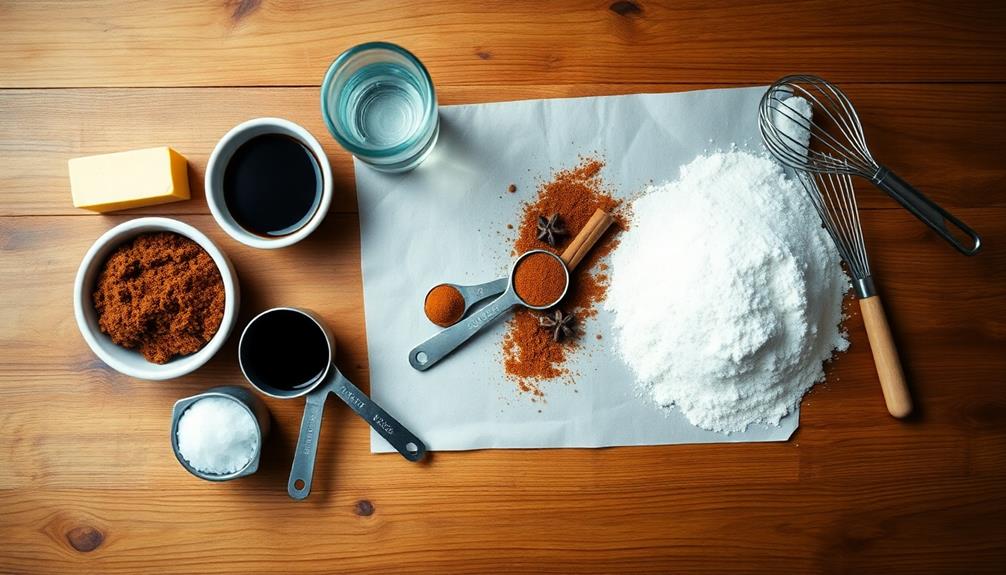
Step 1. Mix Dry Ingredients Together
The foundation of your haunted gingerbread house begins with mixing the dry ingredients. You'll need to gather your flour, baking soda, salt, and spices to create the perfect blend. In a large mixing bowl, measure out the all-purpose flour carefully, ensuring you've got the right amount.
Next, add the baking soda, which will help your gingerbread rise and create that spooky, crackled texture.
Now, it's time for the fun part – the spices! You'll want to include ground cinnamon, ginger, nutmeg, and cloves. These aromatic ingredients will give your haunted house that classic gingerbread flavor and scent. Don't forget a pinch of salt to enhance all the flavors.
Once you've added all your dry ingredients to the bowl, it's time to mix. Use a whisk or a fork to combine everything thoroughly, making sure there are no clumps. This step is crucial for evenly distributing the spices and leavening agents throughout your flour.
When you're done, your dry mixture should have a uniform color and consistency, ready to be transformed into deliciously spooky gingerbread!
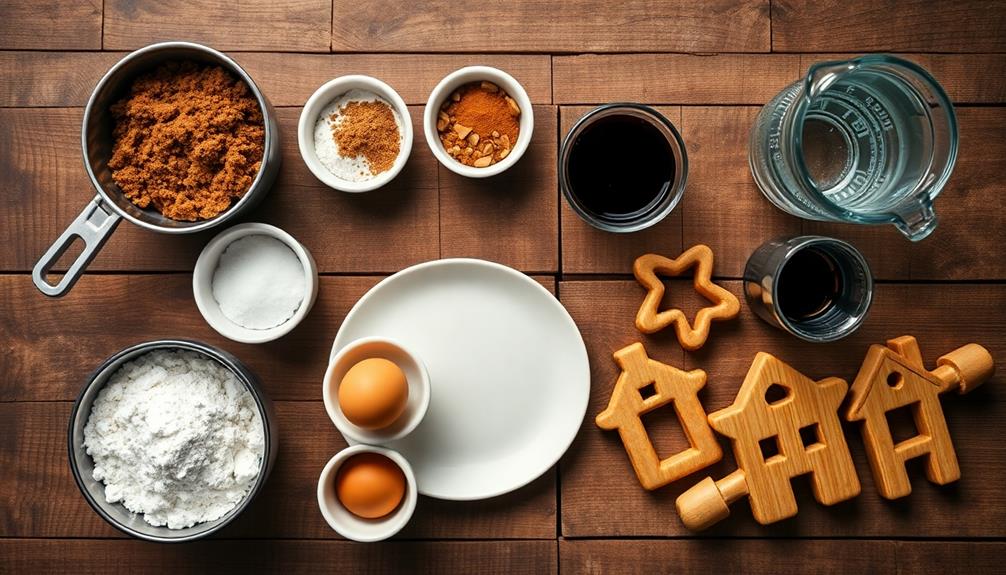
Step 2. Add Wet Ingredients Gradually
With your dry ingredients thoroughly combined, it's time to introduce the wet components. In a separate bowl, you'll find your melted butter, molasses, and egg.
Now, here's where you need to be patient and careful. You're going to add these wet ingredients to your dry mix gradually, not all at once.
Start by creating a well in the center of your dry ingredients. Pour about a third of your wet mixture into this well. Using a wooden spoon or spatula, gently fold the wet and dry ingredients together. As you mix, you'll notice the dough starting to form.
Continue adding the wet ingredients bit by bit, mixing after each addition. This gradual process helps ensure that everything combines evenly, without clumps.
Keep stirring until you've added all the wet ingredients and your dough looks uniform. It should be slightly sticky but not too wet. If it seems too dry, you can add a tablespoon of water.
Step 3. Roll Out Gingerbread Dough

Now that you've mixed your dough to perfection, it's time to roll it out for your haunted house pieces. Start by dusting your work surface with flour to prevent sticking.
Take about half of your dough and place it on the floured surface. Using a rolling pin, begin to roll the dough from the center outward, applying even pressure. Aim for a thickness of about 1/4 inch for sturdy walls and roof pieces.
As you roll, rotate the dough occasionally to ensure it's not sticking and to maintain an even thickness. If the dough starts to stick, sprinkle a bit more flour underneath.
Remember, you're creating the foundation for your spooky masterpiece, so take your time and roll carefully. Once you've reached the desired thickness, use your haunted house templates to cut out the shapes you need.
Gently transfer these pieces to a lined baking sheet, leaving space between each one. Don't forget to cut out windows and doors for that eerie haunted look!
Repeat this process with the remaining dough until you have all your house pieces ready for baking.
Step 4. Cut Out House Pieces
Once you've rolled out your gingerbread dough, it's time to cut out the house pieces. You'll need templates for the walls, roof, and any other spooky features you want to include. If you don't have templates, you can make your own using cardboard or thick paper.
Place these templates on the rolled-out dough and carefully cut around them with a sharp knife. Don't forget to cut out windows and doors for that haunted look!
For a standard haunted house, you'll need two rectangular side walls, two triangular gable ends, and two rectangular roof pieces. You might also want to cut out some tombstones, fences, or even gingerbread ghosts to decorate your haunted yard.
As you cut, make sure to leave some extra space around each piece. This will allow for any spreading during baking and give you room for assembly later.
Once you've cut out all your pieces, carefully transfer them to a baking sheet lined with parchment paper. Use a spatula if needed to avoid stretching or tearing the dough.
Now you're ready to bake your haunted house components!
Step 5. Bake Gingerbread House Pieces

Baking your gingerbread house pieces is a crucial step in creating your spooky masterpiece. Preheat your oven to 350°F (175°C) and line baking sheets with parchment paper. Carefully transfer your cut-out gingerbread pieces onto the prepared sheets, leaving about an inch of space between them. They'll spread a bit as they bake, so don't overcrowd the pan.
Place the baking sheets in the preheated oven and set a timer for 10 minutes. Keep a close eye on your gingerbread as it bakes, as cooking times may vary depending on the thickness of your dough. You're looking for edges that are slightly darker and a surface that's firm to the touch.
Don't worry if they're still a bit soft in the center; they'll continue to harden as they cool.
Once baked, remove the sheets from the oven and let the pieces cool on the baking sheet for about 5 minutes. This allows them to set without breaking.
Then, transfer them to a wire rack to cool completely. Your house pieces should be firm, slightly crisp, and ready for assembly and decorating!
Final Thoughts

Creating a haunted house gingerbread can be a thrilling and creative experience. As you step back and admire your spooky masterpiece, you'll feel a sense of accomplishment. Remember, it's not about perfection but having fun and expressing your creativity.
Don't worry if your haunted house isn't picture-perfect; the imperfections often add to its eerie charm.
You've learned valuable skills throughout this project, from baking gingerbread to assembling and decorating. These techniques can be applied to other baking projects, too. Why not try making a haunted castle or graveyard scene next time? The possibilities are endless!
Share your creation with friends and family, or display it as a centerpiece at your Halloween party. You might even inspire others to try their hand at gingerbread crafting.
Remember to take photos of your haunted house before it's eaten – if it lasts that long! Gingerbread houses can be preserved for a while, but they're ultimately meant to be enjoyed.
Frequently Asked Questions
Can I Use Alternative Sweeteners Instead of Sugar for This Recipe?
You can use alternative sweeteners instead of sugar in your recipe. Options like stevia, erythritol, or monk fruit sweetener work well. However, be aware that they may affect texture and taste differently than traditional sugar. Adjust quantities accordingly.
How Long Does a Haunted Gingerbread House Typically Last Before Spoiling?
Your haunted gingerbread house can last up to 2-3 weeks if stored properly. Keep it in a cool, dry place and avoid moisture. You'll notice it's spoiling when it becomes soft or develops mold. Enjoy it while it lasts!
Are There Any Vegan Substitutes for the Eggs in This Recipe?
You can replace eggs with several vegan options. Try using mashed bananas, applesauce, ground flaxseed mixed with water, or commercial egg replacers. These substitutes will help bind your ingredients together and maintain the right texture in your recipe.
What Tools Are Essential for Creating Intricate Haunted House Designs?
You'll need precision tools for intricate haunted house designs. Invest in piping bags, small tips, a sharp knife, and toothpicks. Don't forget a ruler for straight lines and cutters for custom shapes. A turntable's helpful too.
Can I Freeze a Completed Haunted Gingerbread House for Later Use?
You can freeze a completed gingerbread house, but it's not ideal. It'll affect texture and moisture. If you must, wrap it tightly in plastic and foil. Thaw slowly in the fridge to prevent condensation. Consider freezing components separately instead.