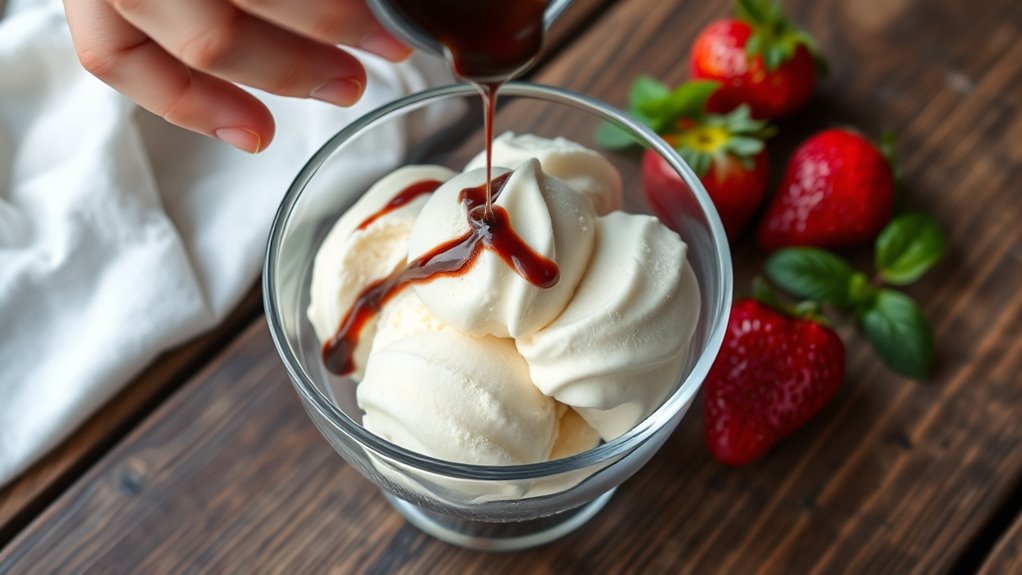
To make perfect ice cream at home every time, start with high-quality ingredients and carefully balance flavors like vanilla, chocolate, or fruit purées. Use proper mixing techniques to keep the texture smooth and avoid ice crystals, and add mix-ins just before serving for variety. Store in an airtight container at the right temperature and let it soften slightly before scooping. Keep these tips in mind, and you’ll soon master flawless homemade ice cream—learn more to perfect your skills.
Key Takeaways
- Use high-quality ingredients and balance flavors to achieve rich, smooth, and well-textured ice cream.
- Mix ingredients thoroughly but avoid overmixing to prevent ice crystal formation.
- Store in airtight containers, covering the surface with plastic wrap to prevent freezer burn.
- Maintain a consistent, cold freezer temperature and store in the coldest part for better preservation.
- Slightly soften the ice cream at room temperature before scooping for optimal texture and serving.

Making perfect ice cream at home is easier than you might think, even if you don’t have fancy equipment. With a few simple ingredients and some basic techniques, you can create rich, creamy treats tailored to your favorite ice cream flavors. The key is paying attention to your ingredients, mixing method, and storage tips to guarantee every batch turns out just right. When experimenting with different ice cream flavors, don’t be afraid to get creative. Classic vanilla and chocolate are always reliable, but adding fruit purees, nuts, or swirls of caramel can elevate your homemade creations. Keep in mind that balancing sweetness and texture is essential—too much sugar can make your ice cream icy, while too little might result in a bland flavor. Using high-quality ingredients will make a noticeable difference, especially with your chosen flavor combinations.
Once you’ve made your ice cream, proper storage tips become vital to maintaining the best texture and flavor. Use an airtight container to prevent ice crystals from forming, which can ruin that smooth consistency you’re aiming for. Cover the surface of the ice cream with plastic wrap before sealing the container—this extra step helps reduce freezer burn and keeps your flavors vibrant. Label your containers with the date so you can keep track of freshness; homemade ice cream is best enjoyed within a couple of weeks. If you notice ice crystals forming over time, let the ice cream sit at room temperature for a few minutes before scooping, which will soften it slightly for easier serving. Additionally, proper storage techniques can extend the quality of your homemade ice cream and prevent freezer burn. Using a thermometer to monitor freezer temperature can help maintain optimal conditions for freezing your ice cream and preserving its texture. Ensuring your freezer maintains a consistent temperature also helps to prevent temperature fluctuations that can cause ice crystals and spoil the texture.
Storing your ice cream in the coldest part of your freezer will also help preserve its quality longer. To further improve your ice cream’s texture, consider temperature control when freezing and serving. If you want to get fancy, you can even experiment with layering flavors or mixing in mix-ins just before serving. This way, each scoop offers a delightful surprise, adding variety and excitement to your homemade ice cream experience.
Frequently Asked Questions
How Long Does Homemade Ice Cream Typically Last in the Freezer?
Your homemade ice cream typically lasts about 2 to 4 months in the freezer. Over time, the freezer lifespan causes ice crystal formation, which can affect texture and flavor. To keep it fresh, store it in an airtight container and prevent temperature fluctuations. While it’s safe beyond that, the quality might decline, making it less enjoyable. For best results, enjoy your homemade treat within a few months.
Can I Make Ice Cream Without an Ice Cream Maker?
Yes, you can make ice cream without an ice cream maker using no churn methods or alternative tools. Simply mix your ingredients, like heavy cream, condensed milk, and flavorings, then freeze. Every 30 minutes, stir the mixture to break up ice crystals, ensuring a creamy texture. This approach lets you enjoy homemade ice cream without special equipment, making it easy and fun to create delicious frozen treats at home.
What Are Common Mistakes to Avoid When Making Ice Cream at Home?
You might think making ice cream is tricky, but avoiding common mistakes makes it easier. Don’t overmix your mixture, as it can lead to a gummy texture. Also, guarantee proper cooling before churning; rushing this step results in icy, uneven ice cream. Keep your ingredients cold and mix gently. By paying attention to these details, you’ll create smooth, creamy ice cream every time, even without an ice cream maker.
How Can I Prevent Ice Crystals From Forming in My Ice Cream?
To prevent ice crystals from forming, guarantee good air circulation in your freezer and use the right sugar content. Air circulation keeps the temperature steady and prevents ice crystals from developing. Additionally, adding enough sugar helps lower the freezing point, creating a smoother texture. Stir your ice cream during freezing or use an ice cream maker with a churning feature to break up crystals, resulting in a creamy, perfect treat every time.
What Are the Best Storage Methods to Maintain Ice Cream Quality?
Imagine your favorite ice cream nestled in an airtight container, sealing out moisture and preventing freezer burn. To keep it fresh and maintain quality, always store it in airtight containers and guarantee proper freezing at a consistent, cold temperature. Double-wrap if needed, and avoid frequent temperature changes. This way, your ice cream stays creamy and delicious, just like when you made it, ready for each tempting scoop.
Conclusion
Now that you know the secrets to making perfect ice cream at home, you’re all set to impress your friends and family. With a little patience and practice, you’ll become a pro in no time. Remember, it’s not just about the recipe but the love you put into it. Don’t be afraid to experiment — after all, the kitchen is your oyster. So go ahead, plunge in, and enjoy every delicious moment.


