Mummy Wrapped Stuffed Mushrooms are a spooky and tasty appetizer perfect for Halloween parties. You'll love how easy they are to make! Start by stuffing mushroom caps with a creamy cheese filling. Then, wrap them in thin strips of crescent roll dough to look like mummies. Add olive slices for eyes to complete the spooky look. Bake until golden brown and serve warm. These fun appetizers combine earthy mushroom flavor with a crispy, savory exterior that's sure to impress your guests. You can even customize the filling to suit different tastes. Get ready to uncover the secrets behind this hauntingly delicious treat!
Key Takeaways
- Mummy Wrapped Stuffed Mushrooms are Halloween-themed appetizers with mushrooms stuffed with cream cheese and wrapped in crescent roll dough.
- The dish originated in the early 2000s as a festive finger food, particularly suited for Halloween and autumn gatherings.
- Preparation involves stuffing mushroom caps with a savory filling, wrapping them in dough strips, and baking until crispy.
- Olive slices are often used for eyes to enhance the spooky mummy-like appearance.
- These appetizers can be customized with various fillings and are best served warm for optimal flavor and texture.
History
The origins of mummy wrapped stuffed mushrooms can be traced back to two distinct culinary traditions.
You'll find that these appetizers combine the ancient Egyptian practice of wrapping food for preservation with the more modern trend of stuffed mushrooms. While the Egyptians weren't actually stuffing mushrooms, they did wrap various foods in bandage-like coverings to preserve them for the afterlife.
On the other hand, stuffed mushrooms have been popular since the mid-20th century. You've probably seen them at parties or in fancy restaurants. They're often filled with a savory mixture of cheese, herbs, and sometimes meat.
The clever twist of wrapping these stuffed mushrooms in strips of pastry or prosciutto to mimic a mummy's bandages is a relatively recent Halloween-inspired innovation.
You'll find that this spooky appetizer started appearing in cookbooks and food blogs in the early 2000s. It's a fun way to combine history, Halloween, and delicious finger food. Plus, it's a great conversation starter at parties!
Recipe

Mummy Wrapped Stuffed Mushrooms are a delightful and spooky appetizer perfect for Halloween parties or any autumn gathering. These bite-sized treats combine the earthy flavor of mushrooms with a savory filling, all wrapped in a crispy, mummy-like exterior.
This recipe takes a classic stuffed mushroom and gives it a fun, festive twist. The cream cheese-based filling is enhanced with herbs and garlic, while the crispy exterior is created using strips of crescent roll dough. The result is a tasty appetizer that looks like tiny mummies, complete with olive slice "eyes" peeking out from beneath the wrappings.
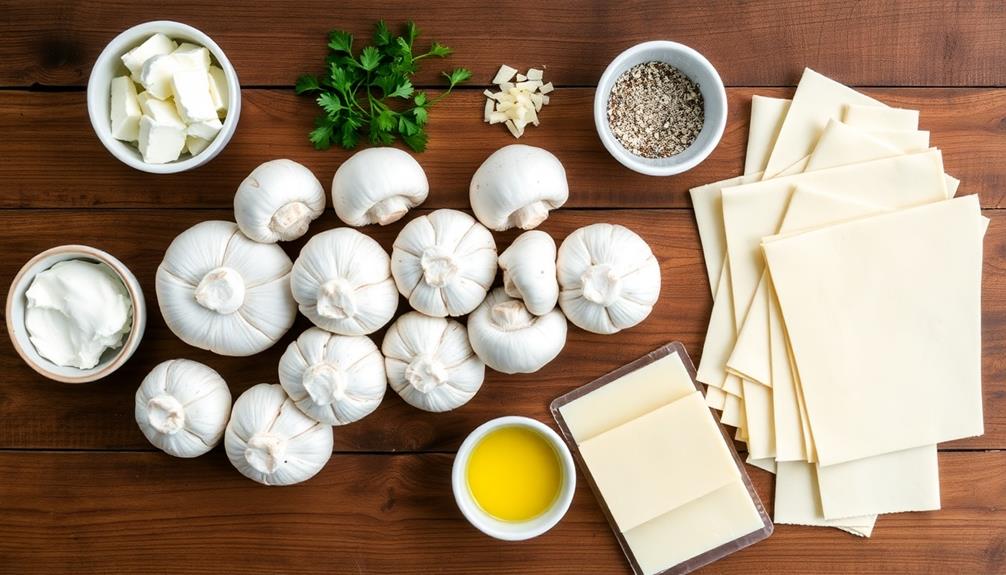
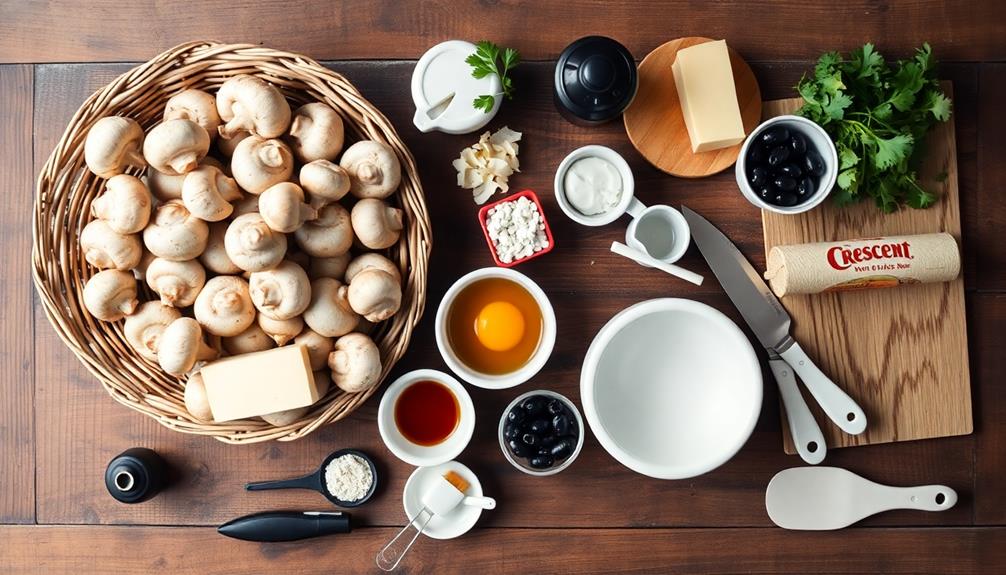
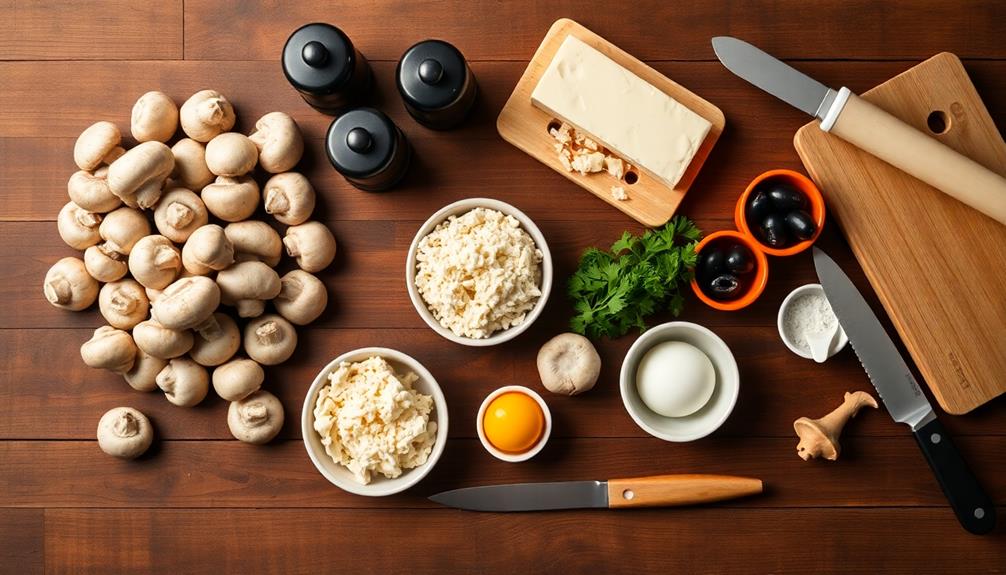
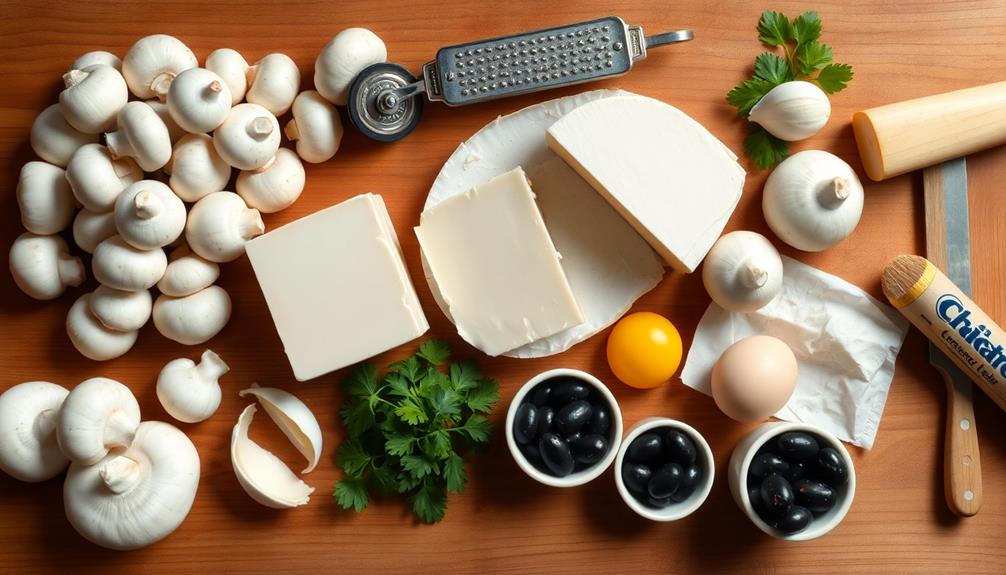
- 24 medium-sized button mushrooms
- 8 oz cream cheese, softened
- 1/4 cup grated Parmesan cheese
- 2 cloves garlic, minced
- 1 tbsp fresh parsley, chopped
- Salt and pepper to taste
- 1 tube crescent roll dough
- 24 black olive slices
- 1 egg, beaten (for egg wash)
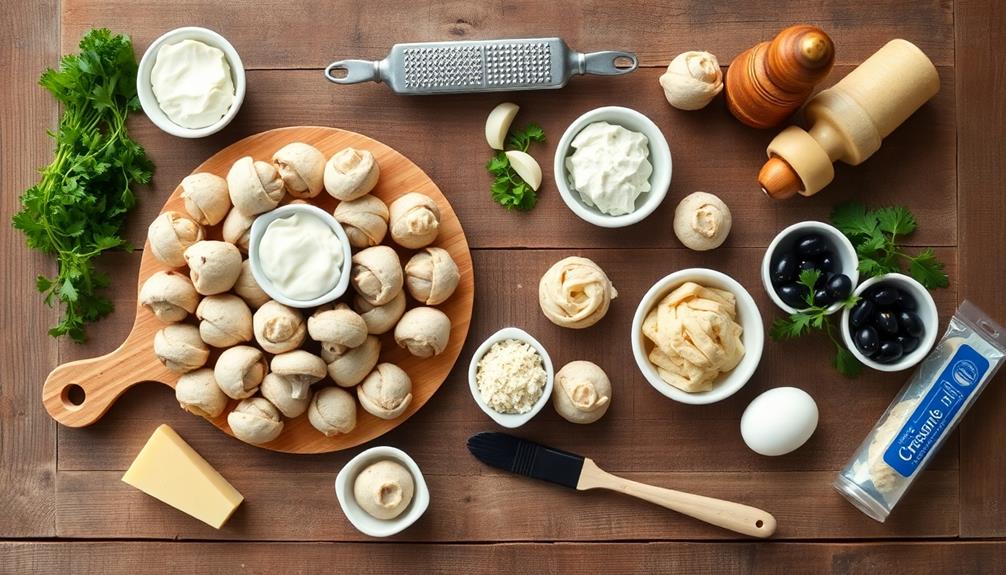
Preheat the oven to 375°F (190°C). Clean the mushrooms and remove the stems. In a bowl, mix the cream cheese, Parmesan, garlic, parsley, salt, and pepper. Fill each mushroom cap with the mixture.
Unroll the crescent dough and cut it into thin strips. Wrap each stuffed mushroom with the dough strips, leaving a small space for the "eyes." Place two olive slices in this space. Arrange the wrapped mushrooms on a baking sheet, brush with egg wash, and bake for 18-20 minutes or until golden brown.
For best results, serve these Mummy Wrapped Stuffed Mushrooms warm. You can prepare the stuffed mushrooms ahead of time and refrigerate them, then wrap and bake just before serving.
Experiment with different cheeses or add finely chopped spinach to the filling for variation. If you find the dough difficult to work with, chill it for a few minutes before cutting into strips.
Cooking Steps

You'll start by preheating your oven to 375°F and preparing the tasty mushroom filling mixture.
Once your mushrooms are stuffed, you'll wrap each cap snugly with a strip of bacon, creating a mummy-like appearance.
Step 1. Preheat Oven to 375°F
Before diving into the recipe, it's crucial to preheat your oven to 375°F (190°C). This step ensures your oven reaches the right temperature for cooking your mummy-wrapped stuffed mushrooms to perfection.
While you're waiting for the oven to heat up, you can gather your ingredients and start preparing the other components of the recipe.
Preheating typically takes about 10-15 minutes, depending on your oven model. Use this time wisely to clean and stuff your mushrooms or wrap them in their "mummy bandages."
If you have an older oven, you might want to give it a few extra minutes to reach the desired temperature. Some ovens have a preheat indicator light or sound that'll let you know when it's ready.
Step 2. Prepare Mushroom Filling Mixture

While your oven is preheating, it's time to prepare the delicious filling for your stuffed mushrooms. In a medium bowl, combine softened cream cheese, finely chopped garlic, and grated Parmesan cheese.
Add a pinch of salt and black pepper to taste, mixing everything thoroughly with a fork or spoon. Next, finely chop some fresh spinach and fold it into the cheese mixture, giving your filling a pop of color and extra nutrients.
For a bit of crunch, you can add some finely chopped walnuts or pine nuts to the mixture. If you're feeling adventurous, try sprinkling in some dried herbs like thyme or oregano for an extra flavor boost.
Once you've got all your ingredients combined, give the filling a taste test. Does it need more seasoning? You're the chef, so adjust it to your liking!
Now that your filling is ready, set it aside while you prepare the mushrooms. Don't worry if you've made a bit too much – any leftover filling makes a great spread for crackers or vegetables later!
Step 3. Stuff Mushroom Caps
Stuffing the mushroom caps is a crucial step in creating these delectable appetizers. You'll want to start by gently cleaning your mushrooms and removing the stems.
Don't toss those stems, though! Chop them up finely and add them to your filling mixture for extra mushroomy goodness.
Now, take your prepared filling and spoon it carefully into each mushroom cap. Don't be shy – you can really pile it on! Use the back of the spoon to press the filling down slightly, ensuring it's snug in the cap.
If you're feeling fancy, you can use a piping bag to fill the caps, which gives them a neater appearance.
As you're stuffing, keep an eye out for any overflow. You want the filling to be generous but not spilling over the sides.
If you've got leftover filling, no worries! It makes a tasty spread for crackers or bread.
Once all your caps are stuffed, give them a quick once-over to make sure they're evenly filled. Now you're ready for the next exciting step – wrapping these little guys up like mummies!
Step 4. Wrap Mushrooms in Bacon Strips
Now that your mushrooms are stuffed to perfection, it's time to wrap them up in bacon strips. Grab a package of thin-sliced bacon and cut each strip in half lengthwise. You'll want one strip per mushroom, so make sure you've got enough.
Take a bacon strip and carefully wrap it around a stuffed mushroom cap. Start at one end and wind it snugly around the mushroom, slightly overlapping each turn. Tuck the end of the strip under itself to secure it.
Don't worry if it's not perfect; the bacon will shrink as it cooks, holding everything together.
Place the wrapped mushrooms on a baking sheet lined with parchment paper, seam-side down. This helps prevent the bacon from unraveling during cooking. If you'd like, you can secure each wrap with a toothpick, but it's not always necessary.
Continue wrapping all your mushrooms until they're snugly encased in their bacon "mummy wrappings."
Once you're done, they'll be ready for the next step: baking these delicious morsels to crispy, savory perfection.
Step 5. Bake Until Bacon Crisps
With your bacon-wrapped mushrooms ready on the baking sheet, it's time to crisp them up in the oven. Preheat your oven to 375°F (190°C) and position the rack in the center.
Once the oven's hot, slide your baking sheet in carefully. You'll want to bake these little mummies for about 20-25 minutes, but keep an eye on them!
As they cook, you'll notice the bacon starting to shrink and turn a golden brown. That's exactly what you're looking for! About halfway through, you might want to rotate the baking sheet to ensure even cooking.
The smell of sizzling bacon will fill your kitchen, making everyone's mouths water.
You'll know they're done when the bacon is crispy and the mushrooms are tender. If you're not sure, you can always use a food thermometer to check – the internal temperature should reach 165°F (74°C).
Once they're perfectly crisp, take them out and let them cool for a few minutes. Be careful, they'll be super hot! Now you've got delicious, crispy mummy-wrapped mushrooms ready to serve.
Final Thoughts

These mummy-wrapped stuffed mushrooms are a delightfully spooky addition to your Halloween party spread. They're not only fun to look at but also tasty and easy to make. You'll find that guests of all ages will enjoy these creative appetizers, combining the earthy flavor of mushrooms with the savory goodness of bacon and cheese.
Remember, you can customize the filling to suit your taste preferences or dietary needs. If you're vegetarian, consider using plant-based bacon alternatives or simply omit the bacon altogether. The cheese mixture can also be adjusted with different types of cheese or herbs to create new flavor combinations.
When serving, arrange the mummy mushrooms on a platter with some spooky decorations to enhance the Halloween theme. You might add some plastic spiders, fake cobwebs, or small pumpkins around the dish.
Don't forget to provide napkins, as these can be a bit messy to eat. Lastly, these mushrooms are best served warm, so try to time their preparation close to when your guests will arrive. Enjoy your spooky culinary creation!
Frequently Asked Questions
Can I Prepare These Mushrooms in Advance and Refrigerate Them?
Yes, you can prepare these mushrooms in advance. Stuff them and wrap them, then refrigerate for up to 24 hours. When you're ready to serve, simply bake them as directed. They'll taste just as delicious as freshly prepared ones.
What's the Best Type of Cheese to Use for This Recipe?
For the best cheese, you'll want to use a blend of cream cheese and shredded mozzarella. The cream cheese adds richness, while mozzarella provides a gooey, stretchy texture. You can also add some grated parmesan for extra flavor.
Are There Any Vegetarian Alternatives for the Bacon Wrapping?
You've got several tasty vegetarian options for wrapping. Try thinly sliced eggplant, zucchini ribbons, or rice paper wrappers. You can also use plant-based bacon alternatives or skip the wrapping entirely and focus on flavorful stuffing instead.
How Long Do Leftover Mummy Wrapped Stuffed Mushrooms Stay Fresh?
You'll want to eat your leftover stuffed mushrooms within 3-4 days. Store them in an airtight container in the fridge. They're best when consumed quickly, as the texture may change over time. Reheat thoroughly before eating.
Can I Freeze These Mushrooms Before or After Cooking?
You can freeze these mushrooms both before and after cooking. For best results, freeze them before cooking. If you've already cooked them, let them cool completely before freezing. They'll keep for up to 3 months in the freezer.