Inspired by the classic tale of Snow White, these "Poisoned Apple Caramel Apples" blend the crisp sweetness of fresh apples with rich, indulgent caramel for a delightfully sinister treat that's perfect for seasonal celebrations. Start by carefully coating apple slices in hot caramel, then allow them to cool before dipping in melted chocolate and sprinkling with crushed nuts for added texture and flavor. Remember to select deep red apples like Honeycrisp and exercise caution with the hot caramel. After mastering these enchantingly delicious apples, you'll want to explore the fascinating history behind their creation.
Key Takeaways
Key Points:
- The recipe for "Poisoned Apple Caramel Apples" is inspired by Snow White's iconic poisoned apple, combining crisp apples, rich caramel, and a "sinister" twist.
- The cooking steps involve coating apple slices in hot caramel at 300°F, allowing them to cool, and then dipping them in melted chocolate with a sprinkle of crushed nuts.
- Important tips for making caramel apples include selecting deep red apples like Honeycrisp, exercising caution with hot caramel, and considering dietary restrictions regarding nuts.
- The 2014 listeriosis outbreak linked to prepackaged caramel apples resulted in three deaths and over 30 hospitalizations, highlighting the importance of stringent food safety measures.
- Collaboration between consumers, manufacturers, and regulators is essential for promoting a culture of safety within the food industry and preventing future food safety incidents.
History
In 2014, a tragic incident occurred that forever changed the perception of caramel apples. That year, a deadly outbreak of listeriosis was linked to prepackaged caramel apples, resulting in three deaths and over 30 hospitalizations. This shocking event prompted widespread recalls and heightened food safety concerns.
The investigation revealed that the apples had been contaminated with the Listeria monocytogenes bacteria, likely during the manufacturing process. This devastating case highlighted the importance of proper handling, storage, and preparation of seemingly innocent treats like caramel apples.
Today, heightened awareness and stricter regulations have made caramel apples a safer indulgence. However, the 2014 outbreak serves as a sobering reminder that even classic fall favorites can pose serious health risks if not handled with utmost care.
Food safety must remain a top priority, especially for beloved seasonal specialties.
Recipe
Poisoned Apple Caramel Apples
Recipe
Caramel apples are a classic fall treat, but this recipe takes a sinister twist. Inspired by the iconic poisoned apple from Snow White, these Poisoned Apple Caramel Apples are a delightfully dark culinary creation. The combination of a crisp, juicy apple, rich caramel, and a surprising touch of poison promises to delight and terrify your taste buds in equal measure.
Prepare to be enchanted (or cursed) as you sink your teeth into this bewitching confection. The perfect balance of sweet and deadly, these Poisoned Apple Caramel Apples are sure to cast a spell on all who dare to indulge.
Ingredients:
- 6 medium-sized apples
- 2 cups granulated sugar
- 1 cup light corn syrup
- 1 cup heavy cream
- 1/2 teaspoon salt
- 1 teaspoon ground cinnamon
- 1/2 teaspoon ground nutmeg
- 2 tablespoons apple cider vinegar
- 1 teaspoon red food coloring (optional)
Instructions:
Combine the sugar, corn syrup, heavy cream, and salt in a medium-sized saucepan. Cook over medium heat, stirring constantly, until the mixture reaches 300°F on a candy thermometer.
Remove from heat and stir in the cinnamon, nutmeg, and apple cider vinegar. Carefully dip each apple into the hot caramel, coating it completely.
Place the caramel-coated apples on a parchment-lined baking sheet and allow to cool completely. If desired, add a few drops of red food coloring to the caramel for a more sinister appearance.
Tips:
For the most authentic "poisoned" look, choose deep red apples, such as Honeycrisp or Gala. Avoid using apples that are too soft or bruised, as they may not hold the caramel well.
Be extremely cautious when working with hot caramel, as it can cause serious burns. Allow the caramel apples to cool completely before handling or serving.
Cooking Steps
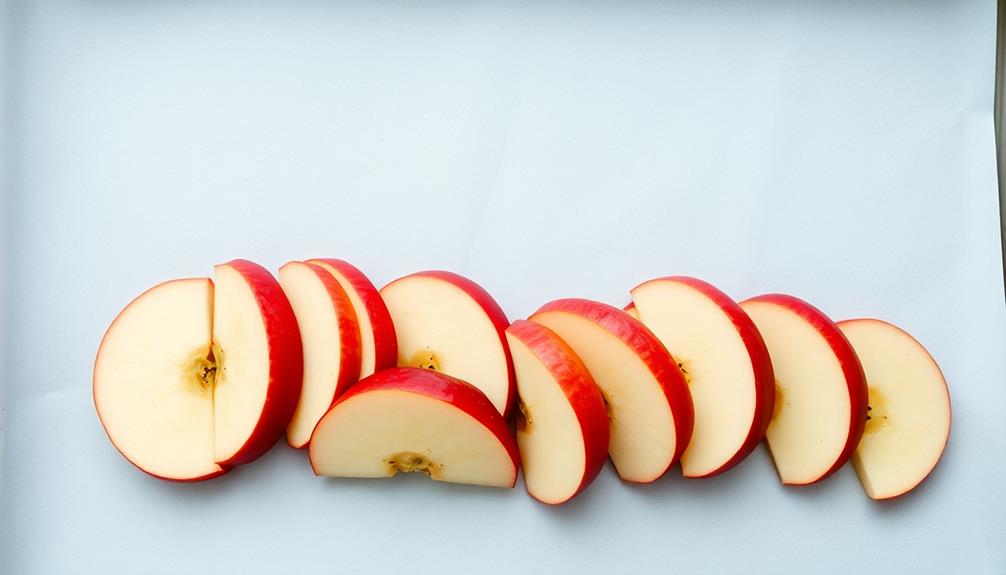
First, wash and dry the apple slices thoroughly.
Next, carefully coat the apple slices in a smooth caramel layer.
Step 1. Wash and Dry Apple Slices
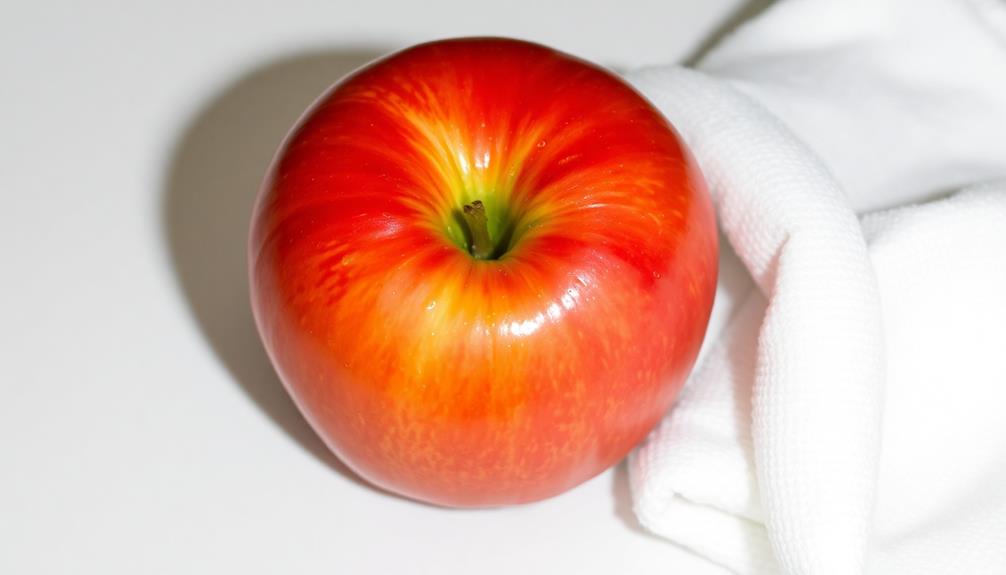
To prepare the apple slices, wash them under cool running water to remove any dirt or debris. Gently scrub the apples with your fingers to dislodge any stubborn particles.
Once washed, pat the apple slices dry with a clean, lint-free towel or paper towels. Make sure to get them completely dry, as any moisture left on the surface could interfere with the caramel coating.
Take your time with this step – the drier the apples, the better the caramel will adhere. Spread the slices out on a clean, flat surface and blot them with the towel, ensuring every nook and cranny is free of water droplets.
With the apples prepped and ready, you can move on to the next stage of the caramel apple making process. Just be sure to handle the slices gently to prevent any bruising or damage before coating them in the sweet, sticky caramel.
Step 2. Coat Apple Slices in Caramel
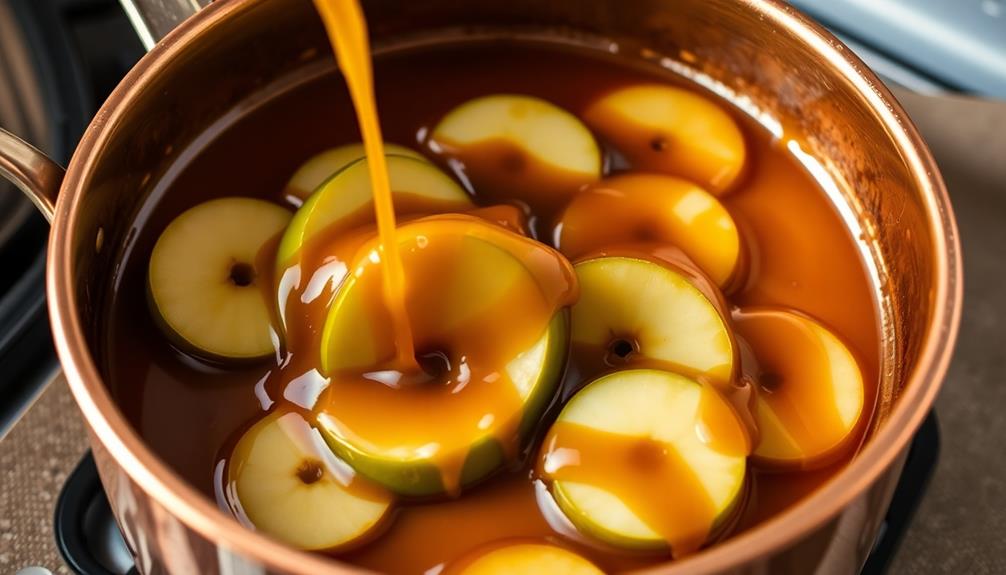
With the apple slices prepped, you can now move on to coating them in the rich, velvety caramel.
In a medium saucepan, combine the sugar, corn syrup, and water. Bring the mixture to a boil over medium heat, stirring constantly until the sugar has dissolved.
Once boiling, stop stirring and let the caramel cook undisturbed until it reaches 300°F on a candy thermometer.
Carefully remove the pan from the heat and quickly dip each apple slice into the hot caramel, coating it completely.
Use a fork or dipping tool to lift the coated slices out, allowing any excess caramel to drip back into the pan.
Place the coated apple slices on a parchment-lined baking sheet to cool and harden.
Work quickly, as the caramel will start to thicken as it cools.
Repeat with the remaining apple slices until they're all coated in the glossy, golden caramel.
Step 3. Let Apple Slices Cool
Once the caramel-coated apple slices are on the parchment-lined baking sheet, allow them to cool and harden completely. This will take about 30 minutes at room temperature.
Don't be tempted to rush the process – the caramel needs time to set properly. As the caramel cools, it'll become thicker and more opaque. You'll know it's ready when you can gently touch the surface without it sticking to your finger.
Once hardened, the caramel will have a nice, glossy sheen. If you're in a hurry, you can speed up the cooling by popping the pan in the fridge for 15-20 minutes.
Just be careful when removing it, as the cold pan may cause the caramel to crack. Once the caramel is fully set, your poisoned apple caramel apples are ready to enjoy!
Store them in an airtight container at room temperature for up to 5 days. Savor the sweet, sticky goodness – but don't forget, one bite and you'll be under my evil spell!
Step 4. Dip Apples in Chocolate Coating

After the caramel coating has fully set, it's time to take your poisoned apple caramel apples to the next level.
You'll need to prepare a chocolate coating to drizzle over the top. Start by melting high-quality chocolate chips or chopped chocolate in a double boiler, stirring constantly until the chocolate is smooth and glossy.
For a fun twist, consider incorporating flavors like Birthday Cake Ice Cream into your chocolate for a delightful surprise.
Once the chocolate is ready, carefully dip each caramel-coated apple into the melted chocolate, turning to coat the entire surface.
Gently tap off any excess chocolate, then place the dipped apples on a parchment-lined baking sheet.
If desired, you can add a sprinkle of crushed nuts, graham cracker crumbs, or even a drizzle of additional caramel on top of the chocolate.
Allow the chocolate coating to harden completely before serving your decadent poisoned apple caramel apples.
The contrast of the crisp chocolate shell and the gooey caramel center is sure to delight your unsuspecting victims.
Step 5. Sprinkle With Crushed Nuts
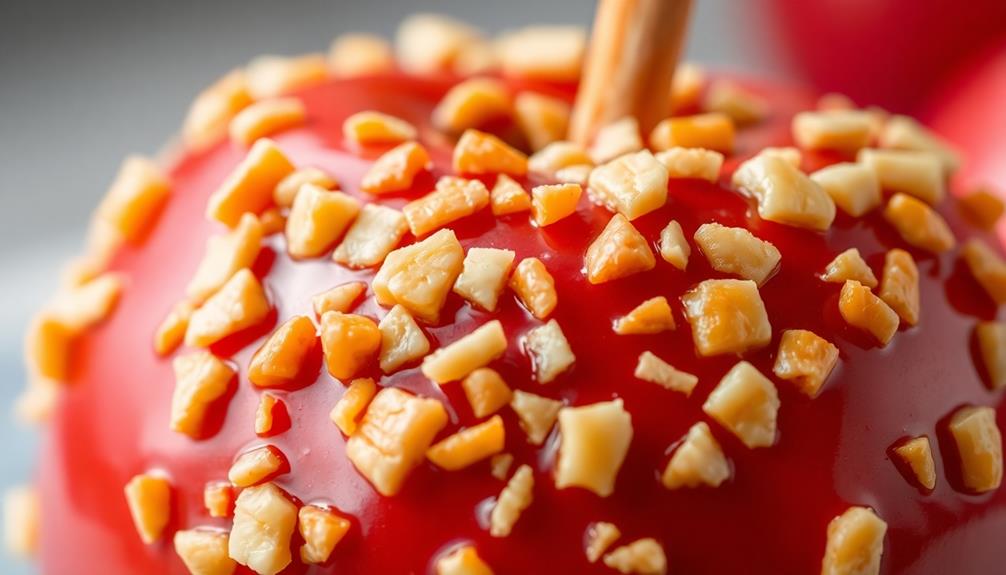
Grab a handful of crushed nuts, whether it's almonds, pecans, or walnuts, and sprinkle them generously over the chocolate-coated apples. The crunchy texture and nutty flavor will complement the sweetness of the caramel and chocolate perfectly.
Make sure to distribute the nuts evenly, covering the entire surface of the apples. You don't want any bare spots!
Next, use your fingers to gently press the nuts into the chocolate, ensuring they adhere securely. This will prevent them from falling off when you bite into the apple.
Feel free to add as many nuts as you like – the more the merrier! Just be mindful of any nut allergies your friends or family may have.
Once you've coated the apples to your liking, step back and admire your handiwork. These caramel apples with a crunchy nut topping are sure to be a hit at your next gathering.
Grab a few and enjoy the delightful mix of sweet and savory flavors in every bite.
Final Thoughts
As the article has explored the tragic consequences of the contaminated caramel apples, it's crucial to reflect on the importance of food safety and the need for stringent regulations to protect consumers.
While the details of this case are harrowing, we can learn from it and take steps to prevent similar incidents in the future.
Proper food handling, storage, and inspection protocols are essential to ensure the products we consume are safe. Manufacturers must adhere to the highest standards, and consumers should be vigilant about checking for any signs of tampering or contamination.
By working together, we can build a food system that prioritizes safety and transparency.
Moving forward, let's remember the lessons learned from this tragedy and commit to advocating for stronger food safety measures.
Together, we can create a world where everyone can enjoy the simple pleasure of a delicious caramel apple without fear.
Stay informed, stay safe, and let's work towards a future where such incidents are a thing of the past.
Frequently Asked Questions
How Long Do the Caramel Apples Last Once Made?
Caramel apples can typically last for 3-5 days when stored properly.
Once you've made them, place them in an airtight container in the refrigerator. This will help prevent the caramel from hardening or the apples from drying out.
Enjoy your homemade treats within a week for the best flavor and texture.
Just be sure to store them carefully, and you'll be able to savor your delicious caramel apples for days to come!
Can I Use Different Types of Apples for This Recipe?
Absolutely! You can use different types of apples for your caramel apple recipe.
Tart apples like Granny Smith or Honeycrisp work great, as their tartness balances the sweetness of the caramel. Sweeter apples like Fuji or Gala can also be used, though the overall flavor profile will be a bit richer.
Just be sure to choose firm, fresh apples that can hold up to the caramel coating. Have fun experimenting with different apple varieties to find your perfect match!
Is It Safe to Eat the Caramel Apples if They Have Been Sitting Out?
It's best not to eat caramel apples that have been sitting out too long.
Caramel and other toppings can provide a perfect environment for bacteria to grow, making the apples unsafe to consume. If the apples have been at room temperature for more than 2 hours, it's wise to play it safe and discard them.
To enjoy your caramel apples safely, be sure to refrigerate them and eat them within a day or two.
Can I Make the Caramel Apples Ahead of Time for a Party?
Sure, you can absolutely make caramel apples ahead of time for a party!
Just be sure to store them properly. Once the caramel has set, you can keep the apples in an airtight container in the fridge for up to 5 days.
When you're ready to serve, take them out and let them come to room temperature. The caramel will stay nice and gooey.
Your guests will love these homemade treats!
What Is the Best Way to Store the Leftover Caramel Apples?
If you've got leftover caramel apples, you'll want to store them properly to keep them fresh.
The best way is to place them in an airtight container or resealable plastic bag in the fridge. This will help prevent the caramel from hardening and the apples from getting mushy.
Just let them come back to room temperature before serving, and enjoy those sweet, gooey treats!