You're in for a treat with spellbinding sweet potato fries! These crispy, golden delights are a healthier twist on classic fries. To make them, you'll need sweet potatoes, olive oil, and your favorite seasonings. Start by cutting the potatoes into even strips, then toss them with oil and spices. Bake them in a hot oven, flipping halfway through, until they're perfectly crisp. The result? A magical side dish that's both nutritious and delicious. Sweet potato fries are versatile, pairing well with burgers or as a snack on their own. Get ready to discover the secrets behind making these irresistible fries that'll enchant your taste buds.
Key Takeaways
- Cut sweet potatoes into uniform strips for even cooking and a visually appealing presentation.
- Soak cut potatoes in cold water to remove excess starch, resulting in crispier fries.
- Experiment with unique seasoning combinations like cinnamon-sugar or rosemary-garlic for spellbinding flavors.
- Avoid overcrowding the baking sheet to ensure fries become crispy rather than steamed.
- Serve with creative dipping sauces such as maple-mustard or curry aioli for an enchanting twist.

Reynolds Kitchens Cookie Baking Sheets, Pre-Cut Baking Parchment Paper Sheets for Cookies, Oven-Safe up to 425 Degrees, Reusable Up to 3X, No-Mess Cleanup, 12 in x 16 in, 22 Count
Package Includes: Twenty two (22) Reynolds Kitchens Cookie Baking Sheets measuring 12 inches long by 16 inches wide
As an affiliate, we earn on qualifying purchases.
As an affiliate, we earn on qualifying purchases.
History
When did sweet potato fries first make their way onto our plates? You might be surprised to learn that sweet potatoes have been around for thousands of years, but their crispy, fried counterpart is a relatively new invention. Native to Central and South America, sweet potatoes were cultivated by ancient civilizations long before European explorers arrived.
The concept of frying sweet potatoes, however, didn't gain popularity until the late 20th century. You can trace the origins of sweet potato fries to the southern United States, where they emerged as a tasty alternative to regular french fries.
In the 1980s and 1990s, health-conscious diners began seeking out these orange-hued treats as a more nutritious option. As people became more aware of the sweet potato's nutritional benefits, restaurants started featuring them on menus.
You'll now find sweet potato fries in fast-food chains, upscale eateries, and even school cafeterias. Their rise to fame has been swift, and they've become a beloved side dish that's both delicious and packed with vitamins.

The Gourmet Collection Seasoning Blends Roast Vegetables & Fries Spice Blend Seasoning for Cooking Sweet Potatoes, Fries, Cauliflower Rice, Veggies!
Unlike other spices and seasonings, NEVER TOO SALTY with our LOWER SALT CONTENT.
As an affiliate, we earn on qualifying purchases.
As an affiliate, we earn on qualifying purchases.
Recipe
Sweet potato fries are a delicious and healthier alternative to traditional French fries. These crispy, golden-orange treats offer a perfect balance of sweetness and savory flavors, making them a popular side dish or snack. With their vibrant color and nutrient-rich profile, sweet potato fries aren't only tasty but also packed with vitamins and fiber.
This recipe for sweet potato fries is simple to follow and yields perfectly crispy results. By cutting the sweet potatoes into uniform strips and seasoning them with a blend of spices, you'll create a flavorful and satisfying dish that's sure to please both kids and adults alike.
Whether you're serving them alongside burgers, sandwiches, or as a standalone snack, these sweet potato fries are guaranteed to be a hit.
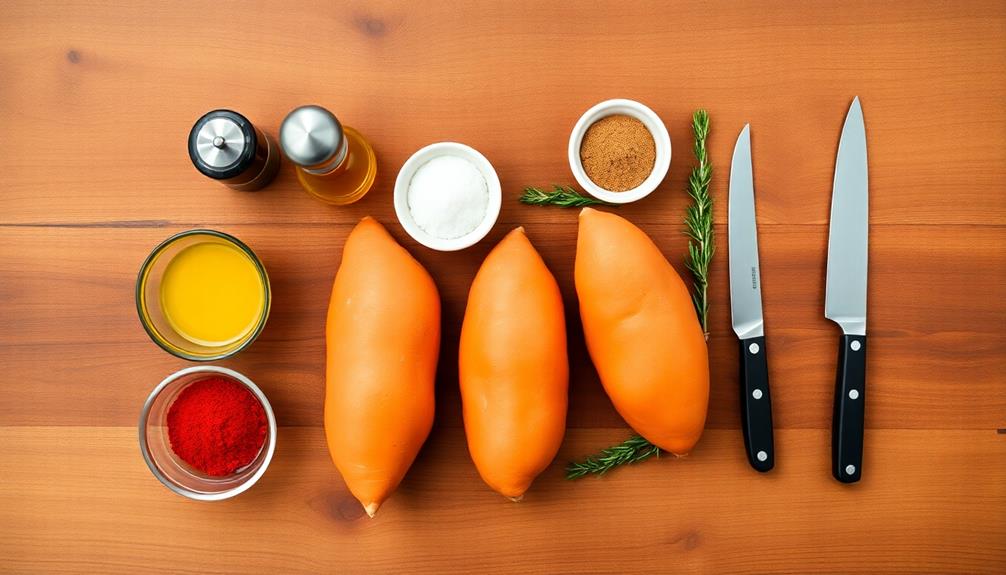
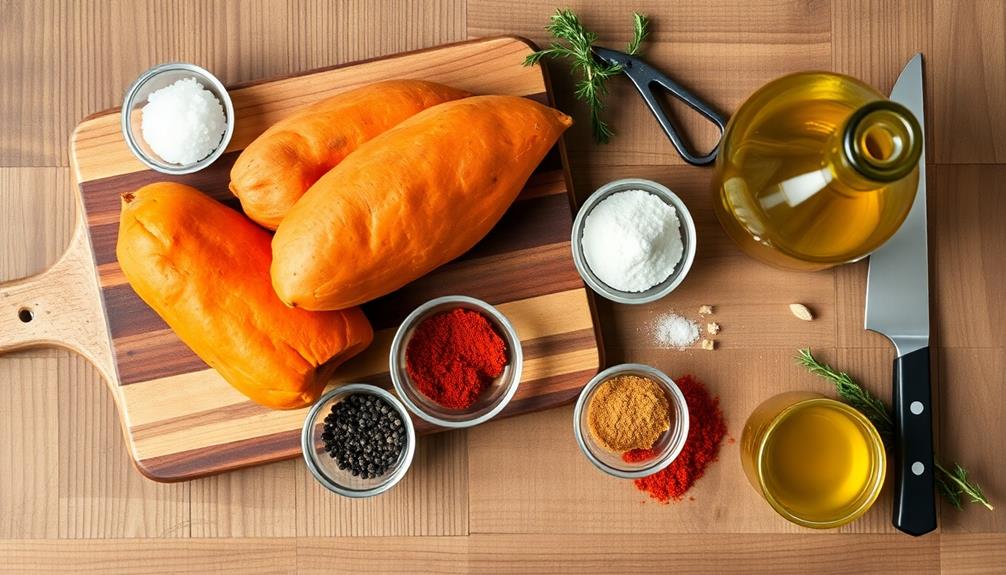
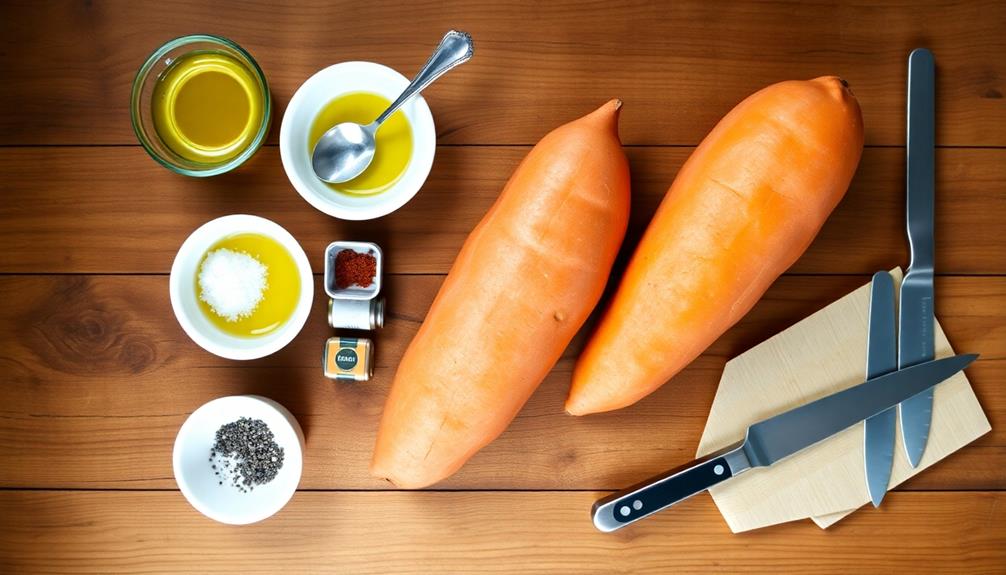
- 2 large sweet potatoes
- 2 tablespoons olive oil
- 1 teaspoon salt
- 1/2 teaspoon black pepper
- 1/2 teaspoon paprika
- 1/4 teaspoon garlic powder
- 1/4 teaspoon onion powder
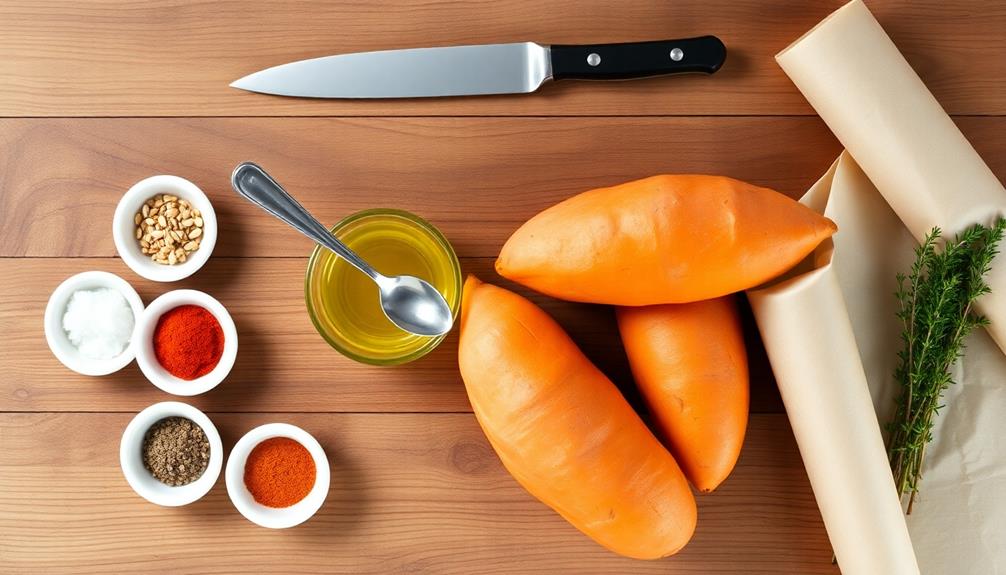
Preheat your oven to 425°F (220°C). Wash and peel the sweet potatoes, then cut them into uniform strips about 1/4 inch thick. In a large bowl, toss the sweet potato strips with olive oil and seasonings until evenly coated.
Arrange the fries in a single layer on a baking sheet lined with parchment paper, ensuring they don't overlap. Bake for 20-25 minutes, flipping halfway through, until the fries are golden brown and crispy on the outside.
For extra crispy fries, soak the cut sweet potato strips in cold water for 30 minutes before cooking. This helps remove excess starch, resulting in crispier fries.
Also, avoid overcrowding the baking sheet, as this can lead to steaming instead of crisping. If you prefer softer fries, reduce the cooking time slightly. Experiment with different seasonings to find your favorite flavor combination, such as adding cinnamon for a sweet twist or cayenne pepper for some heat.

Terrapin Ridge Farms Coconut Curry Aioli Garnishing Sauce – One 8.25 Ounce Squeeze Bottle – Gluten-Free, Keto-Friendly, Low Carb, Low Sugar
Bold, Crave-Worthy Flavors: Terrapin Ridge Farms offers unique, high-quality products with bold, original flavors made from better ingredients,…
As an affiliate, we earn on qualifying purchases.
As an affiliate, we earn on qualifying purchases.
Cooking Steps
To make crispy sweet potato fries, you'll want to follow these key steps.
First, preheat your oven to 425°F and cut your sweet potatoes into evenly sized fries.
Next, toss the fries with oil and your favorite seasonings, then arrange them in a single layer on a baking sheet.
Step 1. Preheat Oven to 425°F
Before diving into the fry preparation, set your oven to preheat at 425°F (218°C). This step is crucial for achieving that perfect crispy exterior on your sweet potato fries.
While the oven's heating up, you'll have time to prep your ingredients and tools. Don't rush this process; giving your oven enough time to reach the right temperature ensures even cooking.
If you're using a convection oven, you might want to lower the temperature by about 25°F, as these ovens circulate hot air more efficiently. Keep in mind that ovens can vary, so you may need to adjust slightly based on your specific appliance.
While waiting, gather your baking sheets and line them with parchment paper or silicone mats. This will prevent sticking and make cleanup a breeze.
If you're feeling extra prepared, you can also start washing and cutting your sweet potatoes. Just remember, patience is key when preheating – it's the foundation for perfectly crispy fries that'll have everyone asking for seconds!
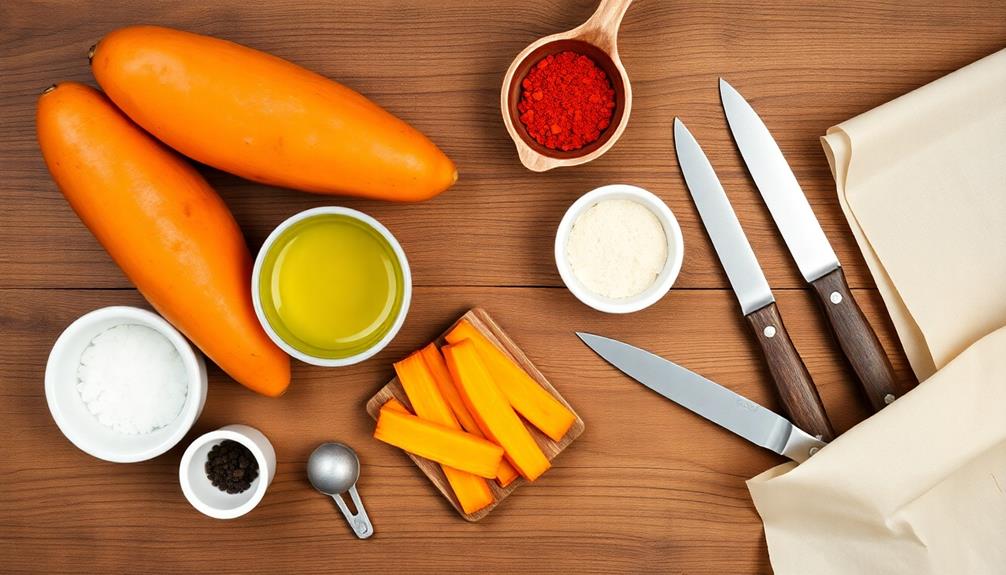
Step 2. Cut Potatoes Into Fries
Now that your oven's heating up, it's time to tackle the main event: cutting your sweet potatoes into fries. Start by washing your sweet potatoes thoroughly, scrubbing off any dirt or debris. Pat them dry with a clean kitchen towel.
Next, grab a sharp knife and a cutting board. Carefully slice off the ends of each potato, then cut them in half lengthwise. Place the flat side of each half on the cutting board for stability. Now, slice each half into long strips, about 1/4 to 1/2 inch thick, depending on how crispy you want your fries.
Try to keep the strips as uniform as possible for even cooking. If you're feeling fancy, you can use a crinkle cutter for wavy fries!
Once you've cut all your potatoes, place the fries in a large bowl of cold water. Let them soak for about 30 minutes to remove excess starch. This step helps make your fries extra crispy.
After soaking, drain the fries and pat them dry with paper towels. You're now ready to season and bake your sweet potato fries to perfection!
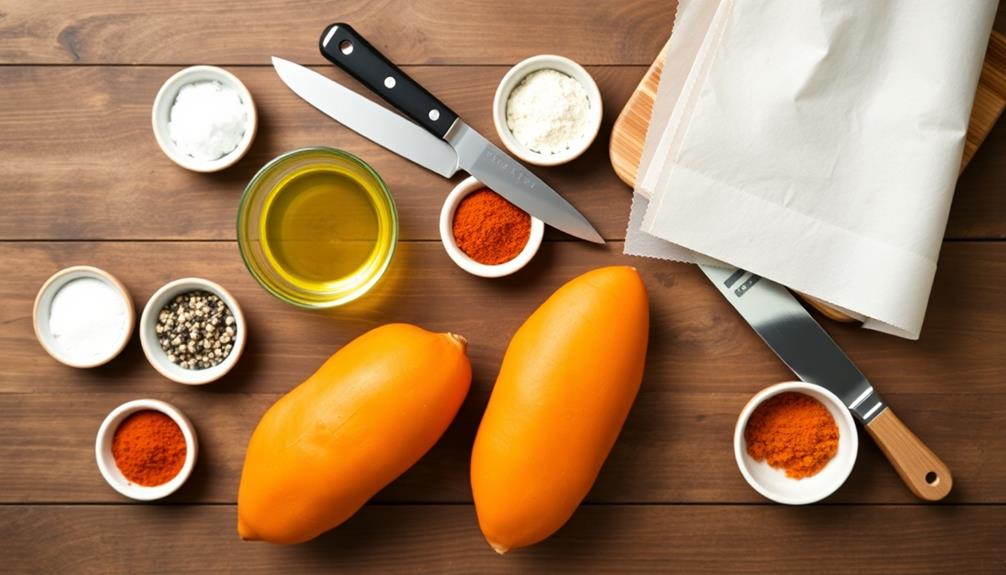
Step 3. Toss With Oil and Seasonings

Seasoning your sweet potato fries is where the magic happens. After cutting your potatoes, it's time to add flavor and prepare them for baking. First, grab a large bowl and toss your fries with a bit of oil. You'll want just enough to lightly coat each piece, about 1-2 tablespoons per pound of potatoes. Olive oil works great, but you can also use vegetable or coconut oil if you prefer.
Now, let's talk spices! Salt and pepper are must-haves, but don't stop there. Try adding garlic powder, paprika, or even a pinch of cinnamon for a sweet and savory twist. If you're feeling adventurous, a dash of cayenne pepper can add a spicy kick.
Mix your chosen spices in a small bowl before sprinkling them over the oiled fries. Then, use your hands to toss everything together, making sure each fry is evenly coated. This step is crucial for achieving that perfect, crispy exterior and ensuring every bite is packed with flavor.
Step 4. Arrange Fries on Baking Sheet

With your fries seasoned to perfection, it's time to prepare them for baking. Grab a large baking sheet and line it with parchment paper. This will prevent sticking and make cleanup a breeze.
Now, spread your seasoned sweet potato fries across the sheet in a single layer. It's crucial not to overcrowd the pan, as this can lead to soggy fries. If you've got too many for one sheet, use two – trust us, it's worth it!
Make sure there's a bit of space between each fry. This allows hot air to circulate, giving you that crispy exterior you're after. If the fries are touching, they'll steam instead of crisp up.
As you arrange them, try to keep similarly sized fries together. This helps ensure even cooking. For extra-long fries, you can place them diagonally on the sheet to fit more.
Once you've arranged your fries, give the baking sheet a little shake. This helps settle the fries into place and catches any that might be stacked.
Your sweet potato fries are now ready for their journey to crispy, golden perfection in the oven!
Step 5. Bake Until Crispy and Golden
The moment of truth has arrived for your perfectly arranged sweet potato fries. It's time to transform them into crispy, golden delights. Set your oven to 425°F (218°C) and let it preheat fully. Once it's hot, slide your baking sheet into the middle rack.
Keep a close eye on your fries as they bake. After about 15 minutes, you'll want to flip them over. Use a spatula to carefully turn each fry, ensuring they cook evenly on both sides. Pop them back in the oven for another 10-15 minutes.
You'll know they're done when the edges are crispy and golden brown. The centers should be soft and tender. If they're not quite there yet, give them a few more minutes, but watch carefully to avoid burning. Remember, cooking times may vary depending on how thick you've cut your fries.
Once they're perfect, remove the baking sheet from the oven. Let the fries cool for a few minutes – they'll be super hot! This brief cooling period also helps them crisp up a bit more.
Now you're ready to serve and enjoy your homemade sweet potato fries!
OXO Good Grips Swivel Vegetable Peeler
Easily Peel Potatoes, Apples, and Tough-Skinned Fruit: The swiveling twin blades with flexible action make this much more…
As an affiliate, we earn on qualifying purchases.
As an affiliate, we earn on qualifying purchases.
Final Thoughts

Sweet potato fries offer a delicious and healthier alternative to traditional french fries. They're packed with nutrients and fiber, making them a smart choice for snack time or as a side dish.
You'll find that these crispy, golden treats are easy to make at home, and you can customize them to suit your taste preferences.
Remember, the key to perfect sweet potato fries lies in consistent cutting and proper seasoning. Don't be afraid to experiment with different spices and herbs to create your own unique flavor combinations.
Whether you prefer them savory or with a touch of sweetness, there's a seasoning mix that's just right for you.
As you enjoy your homemade sweet potato fries, take pride in the fact that you've created a tasty, nutritious snack from scratch. They're great for sharing with friends and family, and you might find they become a new favorite in your household.
With practice, you'll master the art of making crispy sweet potato fries every time, impressing everyone with your culinary skills.
Frequently Asked Questions
Can Sweet Potato Fries Be Made in an Air Fryer?
Yes, you can definitely make sweet potato fries in an air fryer. It's a healthier alternative to deep-frying. You'll get crispy, delicious fries with less oil. Just cut, season, and air fry for about 15 minutes.
Are Sweet Potato Fries Healthier Than Regular French Fries?
You'll find sweet potato fries are generally healthier than regular french fries. They're lower in calories and carbs, higher in fiber, and packed with vitamins A and C. However, they're still fried, so eat them in moderation.
How Long Can Leftover Sweet Potato Fries Be Stored?
You can store leftover sweet potato fries in an airtight container in your fridge for up to 5 days. They'll stay fresh and tasty. For longer storage, freeze them for up to 6 months. Just reheat when you're ready!
What Dipping Sauces Pair Well With Sweet Potato Fries?
You'll love pairing sweet potato fries with various dips. Try classic ketchup, tangy barbecue sauce, or creamy ranch. For unique flavors, opt for honey mustard, garlic aioli, or spicy sriracha mayo. Don't forget maple syrup for a sweet twist!
Can You Freeze Uncooked Sweet Potato Fries for Later Use?
Yes, you can freeze uncooked sweet potato fries. Simply cut them into desired shapes, blanch briefly in boiling water, pat dry, and freeze on a baking sheet. Once frozen, transfer to freezer bags for long-term storage. They'll last up to 6 months.