
Witch's Finger Pretzel Rods are a fun and spooky Halloween treat you can easily make at home. You'll dip pretzel rods in melted white chocolate, tint them green for a ghoulish effect, and add an almond "fingernail" at the tip. These creepy snacks have gained popularity in recent years, becoming a staple at Halloween parties and fall festivals. They're perfect for kids and adults alike, requiring minimal baking skills. You can customize them with different colors, flavors, and even edible glitter for extra pizzazz. With just a few simple ingredients and some creativity, you'll be whipping up these eerie treats in no time. Let's explore how to create these delightfully creepy confections.
Key Takeaways
- Witch's Finger Pretzel Rods are a popular Halloween treat made with pretzel rods, white chocolate, and almonds.
- The recipe requires minimal baking skills, making it accessible for both novice cooks and experienced bakers.
- Key steps include melting white chocolate, dipping pretzels, adding green food coloring, and attaching almond fingernails.
- Customization options include varying food colorings, adding edible glitter, and creating different skin tones.
- These treats are ideal for Halloween parties, classroom celebrations, and as fun family cooking projects.

Merckens White Coating Melting Wafers, 5 lb (80 oz)
Merckens White Chocolate Coating Melting Wafers
As an affiliate, we earn on qualifying purchases.
As an affiliate, we earn on qualifying purchases.
History
While the exact origins of Witch's Finger Pretzel Rods aren't well-documented, they've gained popularity as a Halloween treat in recent decades. You'll find these spooky snacks at many fall festivals and parties, where they've become a staple alongside other creepy-themed foods.
The concept of Witch's Finger Pretzel Rods likely evolved from the broader tradition of Halloween-themed foods. As people started getting more creative with their party treats, someone had the clever idea to transform ordinary pretzel rods into witches' fingers. It's a simple yet effective way to add a touch of whimsy to the Halloween spread.
You might wonder how this treat caught on so quickly. Well, it's probably due to its ease of preparation and visual appeal. Anyone can make these at home with just a few ingredients, and they're sure to impress your friends.
Plus, they're a fun project to do with kids, combining creativity and snacking. As social media has grown, you've likely seen photos of these spooky treats online, further spreading their popularity and inspiring more people to make them each Halloween season.

Pretzel Rod Bags 2×10 Inches – 100pcs Clear Self Sealing Cellophane Bags, Resealable Cookie Bag Pretzels Individual Bag 2×10 Inches with Seal for Packaging ICY Candy Treat Popsicle Cookies
What You'll Get: Includes 100pcs clear pretzel bags, each 2×10 inches, can store food or small items. Ideal…
As an affiliate, we earn on qualifying purchases.
As an affiliate, we earn on qualifying purchases.
Recipe

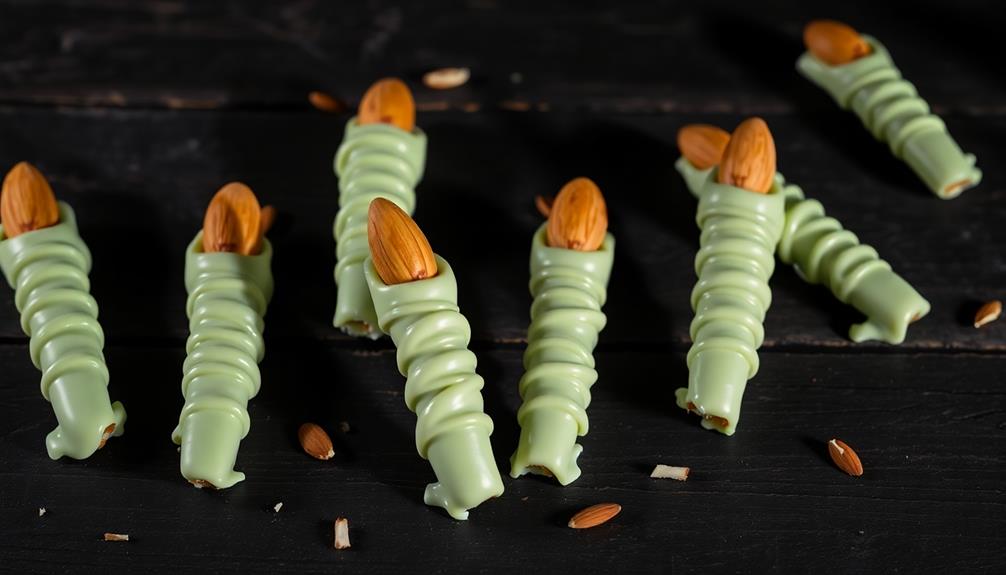
Witch's Finger Pretzel Rods are a delightfully spooky Halloween treat that combines the crunch of pretzel rods with the creepy appearance of witch fingers. These eerie snacks are perfect for Halloween parties, fall gatherings, or simply as a fun activity to do with children during the spooky season.
This recipe is easy to make and requires minimal baking skills, making it an ideal project for both novice cooks and experienced bakers alike. The pretzel rods serve as the base for the witch's fingers, while white chocolate and almonds create the illusion of bony fingers with long, pointed nails. With a few simple ingredients and some creative decorating, you can transform ordinary pretzels into a wickedly tasty Halloween treat.
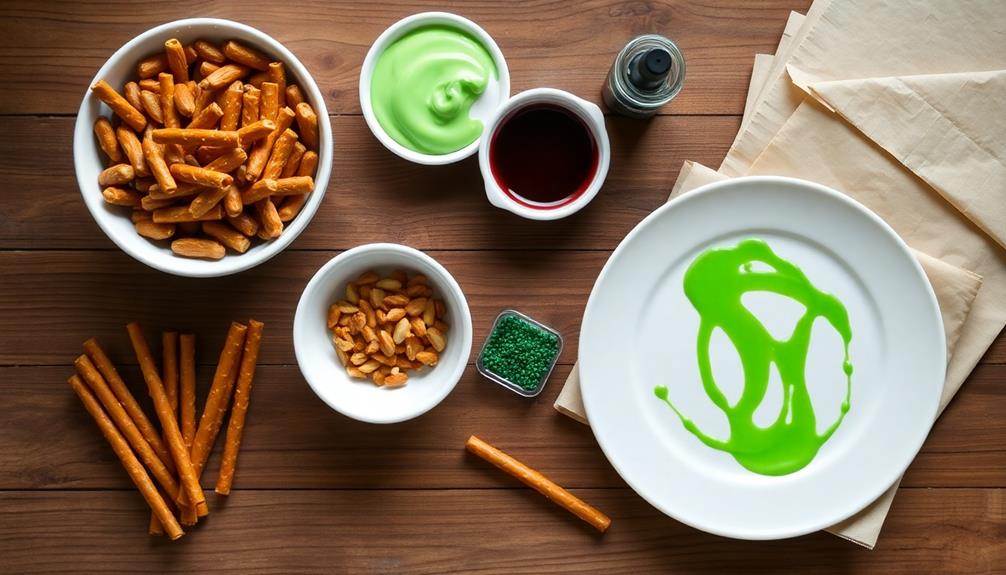
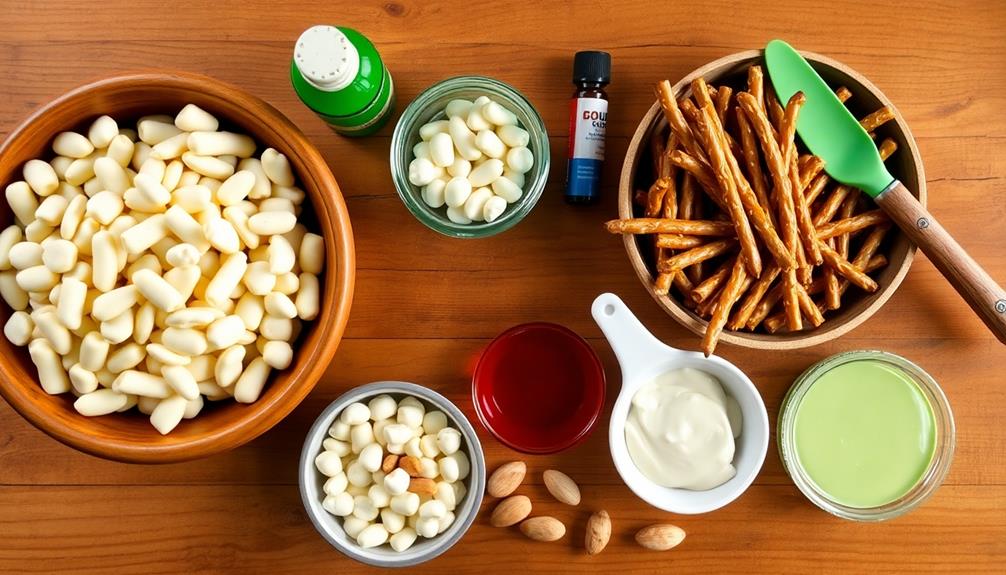
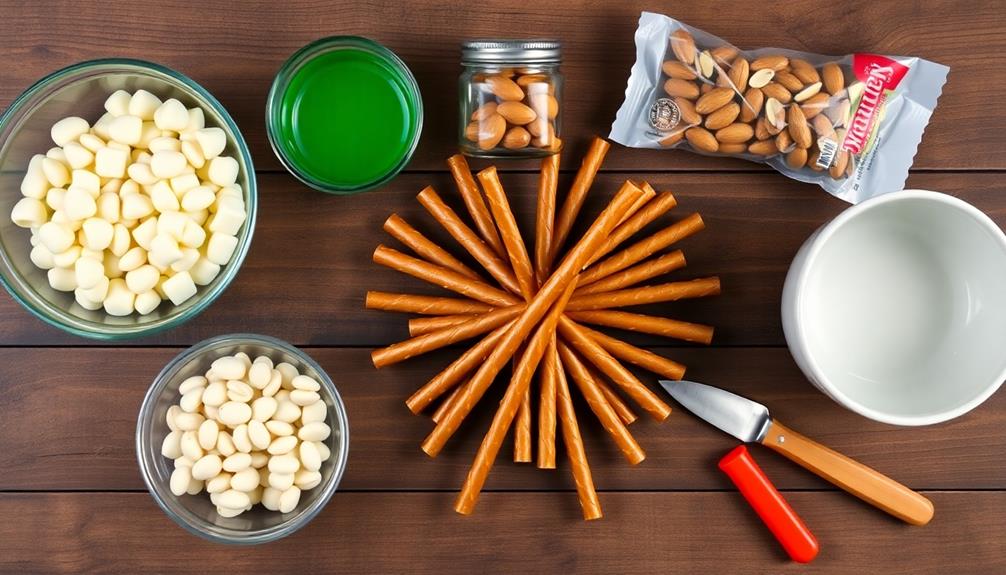
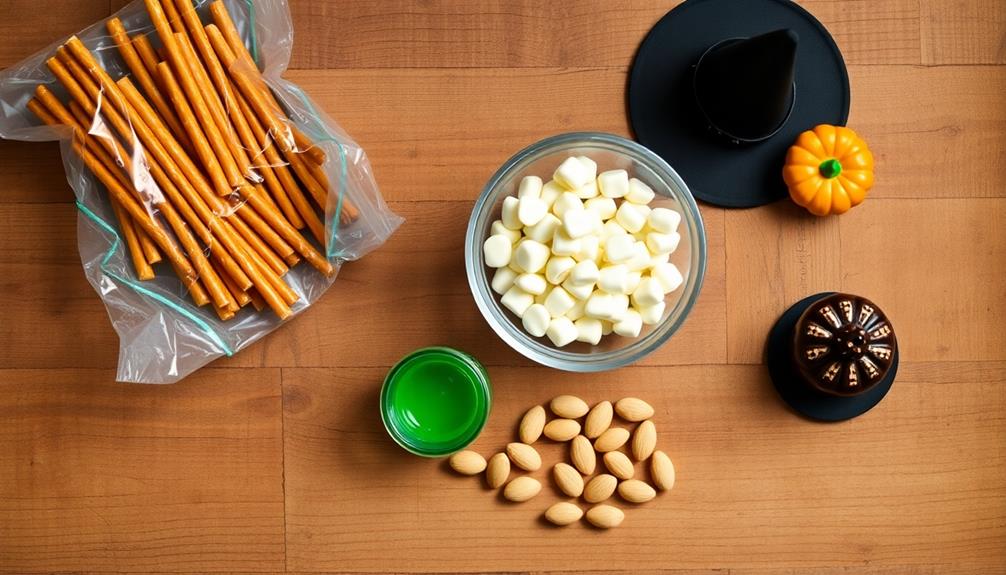
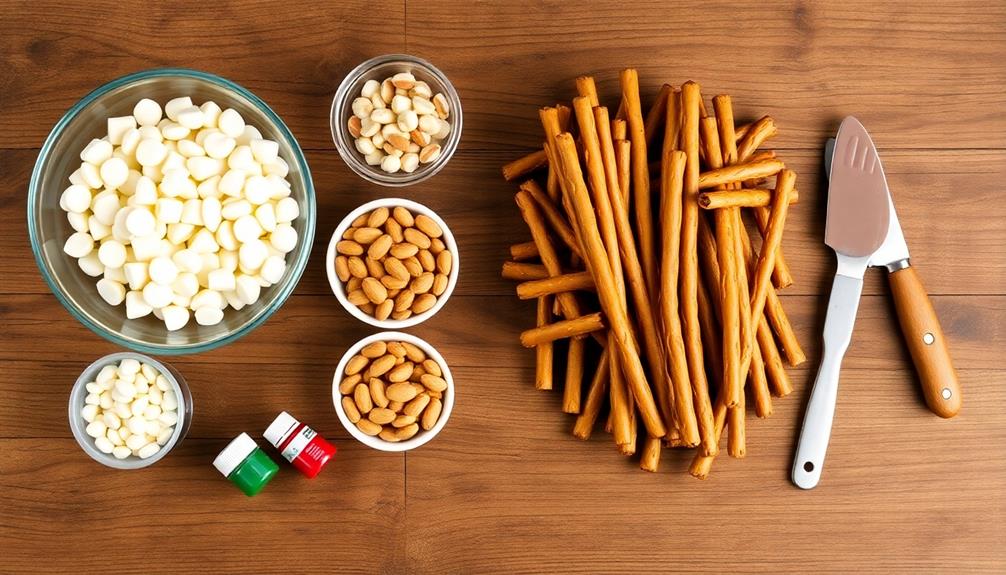
- Pretzel rods
- White chocolate chips or candy melts
- Green food coloring (optional)
- Whole blanched almonds
- Red gel food coloring
Melt the white chocolate chips or candy melts in a microwave-safe bowl, stirring every 30 seconds until smooth. If desired, add a few drops of green food coloring to give the "fingers" a sickly hue. Dip each pretzel rod into the melted chocolate, leaving about an inch at one end uncovered to serve as a handle. Use a knife or spatula to create knuckle-like ridges in the chocolate. Press a whole blanched almond onto the tip of each rod to create a fingernail.
Allow the chocolate to set completely, then use red gel food coloring to add small details around the fingernail for a bloody effect. For best results, work with small batches of melted chocolate at a time to prevent it from hardening too quickly. If the chocolate becomes too thick, reheat it briefly in the microwave.
To create a more realistic appearance, consider using different shades of food coloring for variety. Store the finished Witch's Finger Pretzel Rods in an airtight container at room temperature for up to a week, or in the refrigerator for up to two weeks.

Spring Press on Almond Nails Medium Glossy Full Cover Almond French False Nails with Floral Designs Artificial Almond Shaped Fake Nails with Charms Glue Stick ons Fingernails for Women Girls(Z940)
Easy to Use: Use press on almond nails adhesive tabs for nail presses and get your favorite manicure…
As an affiliate, we earn on qualifying purchases.
As an affiliate, we earn on qualifying purchases.
Cooking Steps

You'll start by melting the white chocolate coating in a microwave-safe bowl, stirring every 30 seconds until smooth.
Next, you'll dip each pretzel rod into the melted chocolate, add a few drops of green food coloring for a spooky effect, and press an almond slice at the tip to create a fingernail.
Step 1. Melt White Chocolate Coating
To kick off the coating process, you'll need to melt the white chocolate. Start by breaking your white chocolate into small, even pieces and placing them in a microwave-safe bowl. This will help it melt more evenly and prevent burning.
Microwave the chocolate in 30-second intervals, stirring well between each burst. You'll notice it starting to soften and become glossy. Keep a close eye on it, as white chocolate can burn easily!
If you don't have a microwave, you can use a double boiler method. Simply fill a saucepan with an inch of water, bring it to a simmer, and place a heat-safe bowl on top. Make sure the bottom of the bowl doesn't touch the water.
Add your chocolate to the bowl and stir gently as it melts. Whichever method you choose, remember that patience is key. Don't rush the process by using high heat, or you might end up with grainy, scorched chocolate.
Once your white chocolate is smooth and completely melted, it's ready for the next step in creating your spooky witch's finger pretzel rods!
Step 2. Dip Pretzels in Chocolate

Ready to transform your pretzel rods into eerie witch fingers? Now that your white chocolate is melted and smooth, it's time to dip those pretzels!
Grab a pretzel rod and hold it at one end, then slowly lower it into the melted chocolate. Gently twist the pretzel as you dip to ensure even coverage. You'll want to coat about two-thirds of the pretzel, leaving the end you're holding bare.
Once your pretzel is coated, carefully lift it out of the chocolate. Give it a gentle shake to remove any excess. If you're aiming for a smoother finish, you can use a spoon to help spread the chocolate evenly.
Now, lay your chocolate-covered pretzel on a sheet of wax paper or a cooling rack. This will allow the excess chocolate to drip off and the coating to set properly.
Repeat this process with the remaining pretzels. If the chocolate starts to thicken, you can reheat it briefly in the microwave. Remember, working quickly helps keep the chocolate at the right consistency for dipping.
Once all your pretzels are coated, it's time to let them cool and set before moving on to the next spooky step!
Step 3. Add Green Food Coloring
The transformation continues as we add a ghoulish green tint to our witch's fingers. You'll need green food coloring for this step, which you can find at most grocery stores.
Start by adding a few drops of green food coloring to your melted white chocolate. Remember, it's easier to add more color than to take it away, so start with just a little.
Use a spoon or whisk to mix the color thoroughly into the chocolate. You're aiming for a sickly green shade that'll make your witch's fingers look truly creepy. If the color isn't quite right, add more food coloring drop by drop until you're happy with the result.
Don't worry if it's not perfect – witches' fingers aren't supposed to look too neat!
Once you've achieved the desired green hue, you're ready to dip your pretzel rods. The green chocolate will create a spooky base for your witch's fingers, setting the stage for the next steps in your ghoulish creation.
Keep the chocolate warm as you work to ensure smooth dipping.
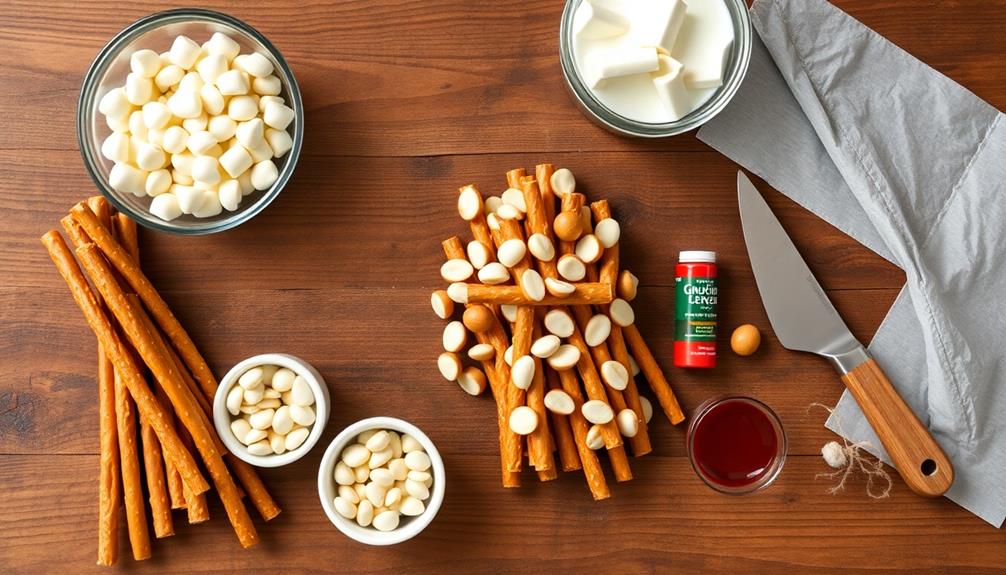
Step 4. Add Almond Fingernail
Now it's time to give your witch's fingers their creepy crowning touch – the fingernails. For this step, you'll need a small bag of whole, blanched almonds. These pale, oval-shaped nuts are perfect for creating realistic-looking fingernails on your pretzel rod creations.
Take each coated pretzel rod and carefully press a single almond onto one end. Make sure to place it at a slight angle, just like a real fingernail. The almond should stick easily to the still-wet candy coating. If you're having trouble getting the almond to stay put, you can use a small dab of melted candy coating as "glue" to secure it in place.
For an extra spooky touch, you can use red food coloring to paint the area around the almond, creating the illusion of a bloody fingertip. Just be careful not to overdo it – a little goes a long way!
Once you've added all the almond fingernails, set your witch's fingers aside to allow the coating to fully harden. Soon, you'll have a batch of deliciously creepy treats that are sure to be a hit at any Halloween party.
Step 5. Add Edible Glitter Accents
For an extra touch of magic, you'll want to add some sparkle to your witch's finger pretzel rods. Edible glitter is the perfect way to make your creepy treats shine! You can find this special ingredient at most baking supply stores or online.
To apply the glitter, you'll need a small, clean paintbrush. Dip it into a bit of light corn syrup or honey, then gently brush it onto specific areas of your pretzel rod. Focus on spots like the knuckles or around the almond fingernail for a truly bewitching effect.
Once you've applied the sticky substance, sprinkle the edible glitter over it. You can use different colors to create a spooky rainbow effect or stick to one shade for a more uniform look.
Gently tap off any excess glitter and let your creation dry completely. The result will be a shimmering, magical witch's finger that's sure to impress your friends.

Wilton Black Vanilla Candy Melts, Pastille, 10-Ounce
10-ounce bag of black colored candy wafers; artificially flavored
As an affiliate, we earn on qualifying purchases.
As an affiliate, we earn on qualifying purchases.
Final Thoughts
Crafting these spooky Witch's Finger Pretzel Rods is a fun and delicious way to celebrate Halloween. You've learned how to transform simple pretzel rods into creepy, edible witch fingers that'll wow your friends and family.
Remember, the key to success is in the details: carefully shaping the dough, adding realistic "knuckles," and creating that perfect almond fingernail.
Don't forget to experiment with different food colorings to achieve various skin tones for your witch fingers. Green, purple, or even a sickly gray can add extra spook factor to your treats. If you're feeling adventurous, try mixing different flavors into your dough, like cinnamon or pumpkin spice, for a tasty twist.
These Witch's Finger Pretzel Rods are perfect for Halloween parties, classroom treats, or just a fun afternoon project. They're not only a blast to make but also a great way to get creative in the kitchen.
Frequently Asked Questions
Can I Use Different Colors for the "Fingernails" Instead of Green?
Absolutely! You're free to use any color you'd like for the fingernails. Try red for a bloody look, black for a spooky vibe, or even multicolored for a fun twist. Let your creativity shine through!
How Long Do Witch's Finger Pretzel Rods Stay Fresh?
You'll find they stay fresh for about 3-5 days when stored properly. Keep them in an airtight container at room temperature. If you've used perishable ingredients, it's best to refrigerate them and consume within 2-3 days.
Are There Gluten-Free Options for Making Witch's Finger Pretzel Rods?
You can make gluten-free "witch's fingers" using alternatives like rice flour pretzels or gluten-free breadsticks. You'll need to adjust your recipe slightly, but you'll still get that spooky, finger-like appearance for your Halloween treats.
Can I Add Flavoring to the White Chocolate Coating?
You can definitely add flavoring to the white chocolate coating. Try mixing in extracts like peppermint, almond, or vanilla. You'll want to use oil-based flavorings to prevent seizing. Don't overdo it – a little goes a long way!
What's the Best Way to Package These for a Halloween Party?
For your Halloween party, you'll want to display these spooky treats creatively. Try arranging them in a tall glass jar, wrapping them individually in cellophane, or placing them in a decorative box lined with tissue paper. They'll be a hit!