Creating a DIY obstacle course indoors or outdoors is a fun way to boost fitness and challenge yourself. You can customize challenges using materials like ropes, tires, or wooden planks, ensuring safety and accessibility. Assess your space carefully to set up obstacles that are engaging yet achievable. Start simple, supervise activity, and prioritize safety features. Keep exploring to discover more tips on designing a vibrant, safe obstacle course that suits your space and skill level.
Key Takeaways
- Choose suitable indoor or outdoor space considering safety, size, and available materials for obstacle placement.
- Incorporate diverse activities like crawling, jumping, and balancing to create engaging challenges.
- Use weather-resistant, sturdy materials and regularly inspect obstacles for safety and durability.
- Implement safety measures such as soft padding, guardrails, and supervision to prevent injuries.
- Start with simple obstacles and progressively increase difficulty to build confidence and maintain fun.
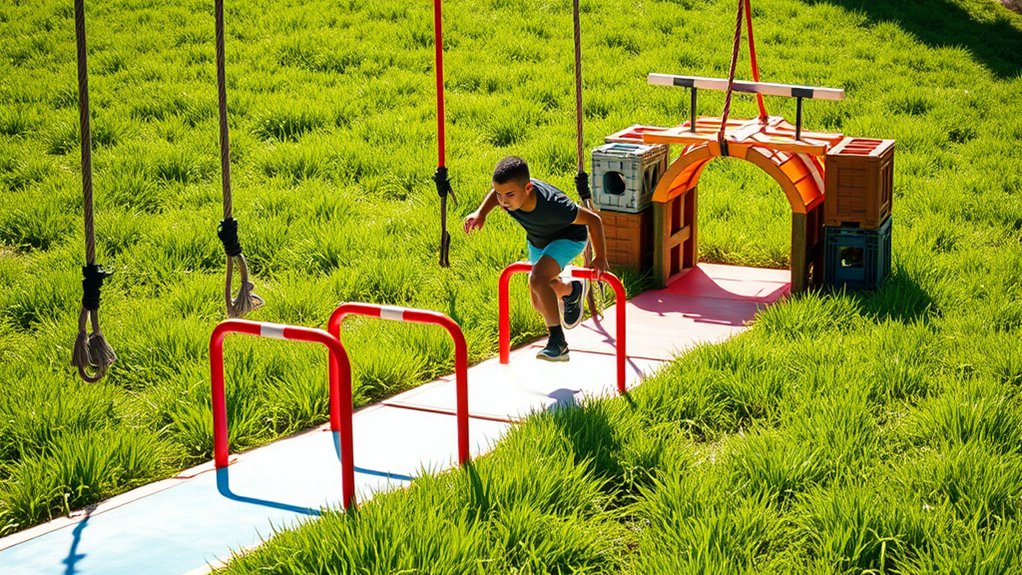
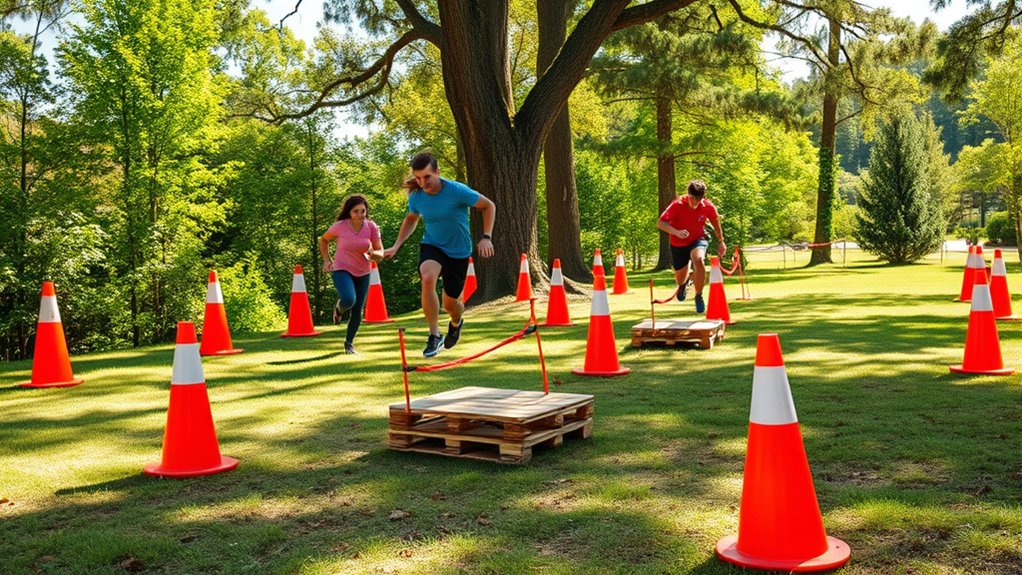
Ever wondered how to turn your backyard into an exciting adventure zone? Creating a DIY obstacle course is a fantastic way to bring fun and fitness together right outside your door. To start, you’ll need to think carefully about obstacle design. It’s important to craft challenges that are engaging but also achievable for everyone who’ll be using the course. Whether you’re designing a crawling tunnel, a balance beam, or a jumping station, consider the space you have and the kind of activities that will keep participants moving and motivated. Use available materials like ropes, tires, or wooden planks, but always prioritize stability and sturdiness. A well-designed obstacle course balances difficulty with accessibility, so it encourages effort without causing frustration or injury. When planning your course, researching suitable obstacle types can provide inspiration for creative and effective challenges.
Safety considerations should be at the forefront of your planning. Before building or setting up any obstacle, examine the area for potential hazards like sharp objects, uneven surfaces, or hidden debris. If you’re working outdoors, make sure the ground is level and has adequate padding, such as mulch or rubber mats, especially around areas where falls are likely. For indoor courses, check that the flooring is slip-resistant and free of obstructions. When designing obstacles, avoid sharp edges or fragile materials that could break under pressure. It’s also wise to include safety features like soft landing zones or guardrails where necessary. If you’re involving kids or multiple users, set clear rules to prevent rough play, and supervise the course during use.
Prioritize safety: check for hazards, ensure proper padding, and supervise all participants during obstacle course activities.
Installing obstacles with safety in mind doesn’t mean sacrificing fun; it means making smart choices to prevent accidents. For example, if you’re creating a climbing wall, ensure it’s of appropriate height and equipped with secure handholds. Use strong, weather-resistant materials if your course is outdoors, and regularly inspect your obstacles for wear and tear. Remember, the goal is to challenge yourself or others physically while minimizing risk. It’s better to start with simpler setups and gradually add complexity as you gain confidence in your obstacle design skills. Always involve safety considerations from the beginning—it can save you a lot of trouble later.
In short, a successful DIY obstacle course hinges on thoughtful obstacle design combined with diligent safety considerations. When you plan carefully, you’ll create an exciting, engaging, and safe environment for everyone to enjoy. Whether you’re doing it for fitness, fun, or both, your backyard or indoor space can transform into an energetic adventure zone that keeps everyone active and inspired.
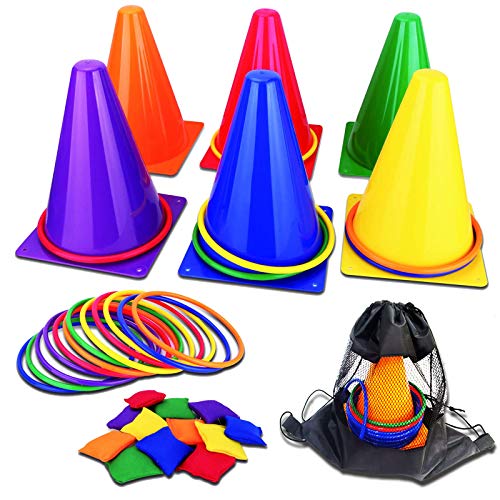
unanscre 31PCS 3 in 1 Carnival Outdoor Games Combo Set for Kids, Soft Plastic Cones Bean Bags Ring Toss Game, Gift for Birthday Party/Xmas
Carnival Outdoor Games Combo Set: Still considering what carnival game to play? unanscre 3 in 1 Carnival Outdoor…
As an affiliate, we earn on qualifying purchases.
As an affiliate, we earn on qualifying purchases.
Frequently Asked Questions
What Age Groups Are Suitable for DIY Obstacle Courses?
You can tailor DIY obstacle courses to suit various age groups by considering age appropriateness and skill levels. Young children benefit from simple, safe challenges that develop coordination, while older kids and teens can handle more complex, challenging obstacles. Adults and seniors can customize courses for gentle activity or low-impact exercises. By adjusting difficulty and safety measures, you guarantee everyone enjoys the activity, making it inclusive and suitable for all skill levels.
How Do I Ensure Safety During the Obstacle Course?
To guarantee safety during the obstacle course, always use safety equipment like helmets, knee pads, and gloves. Supervise participants closely and set clear rules to prevent accidents. Have an emergency plan in place, including a first aid kit and quick access to help if needed. Regularly inspect the course for hazards, and modify obstacles to match skill levels, ensuring everyone stays safe while having fun.
What Materials Are Best for Outdoor Obstacle Setups?
Think of your outdoor obstacle course as a sturdy ship sailing through unpredictable seas. You should choose materials with garden durability and weather resistance, like galvanized steel, treated wood, and heavy-duty ropes. These withstand rain, sun, and wind, ensuring safety and longevity. Avoid cheap plastics or untreated wood, which can warp or rot. By selecting resilient materials, you create a course that endures nature’s tests, keeping your fitness adventure afloat.
How Can I Modify the Course for Beginners?
To make your obstacle course beginner-friendly, use simple modification techniques like lowering heights and adding padding. Incorporate beginner-friendly equipment such as soft cones, low hurdles, and foam pits to reduce injury risk. You can also create clear, easy-to-follow instructions and allow more rest time between obstacles. These adjustments help newcomers gain confidence while still enjoying the challenge, making the course accessible and fun for everyone.
What Are the Best Ways to Motivate Participants?
You can motivate participants by encouraging group participation, making the challenge more social and fun. Use reward strategies like small prizes or recognition to boost enthusiasm. Create a supportive environment where everyone feels included and celebrated for their efforts. Highlight progress and teamwork to inspire continued effort. When participants see rewards and enjoy working together, they stay motivated and engaged, making the obstacle course experience more rewarding for everyone.

Eocolz 49PCS Carnival Games Outdoor Combo Set for Kids with LED Light, Plastic Cones Obstacle Course Bean Bags Balls Ring Toss Game Egg and Spoon Race Lawn Game, Gift for Birthday Party/Xmas/Easter
Carnival Outdoor Games Combo Set with LED: The newly upgraded carnival traffic cones comes with LED lights. Not…
As an affiliate, we earn on qualifying purchases.
As an affiliate, we earn on qualifying purchases.
Conclusion
Creating your own obstacle course transforms your space into a thrilling adventure land. Whether indoors or outdoors, you become the hero of your story, conquering each challenge like a brave explorer steering uncharted territory. Imagine your course as a vibrant tapestry, woven with determination and fun, inviting you to push boundaries and embrace the journey. So, gear up, get creative, and let your obstacle course turn everyday spaces into epic battlegrounds of strength and fun!

NEATATOU 32 PCS Rock Climbing Holds for Kids,Rock Climbing Wall Grips Climbing Rocks Wall Kit for Indoor and Outdoor Playground Play Set with Hardware
【32 Multi-Shaped Rock Wall Climbing Holds】Features 32 climbing holds in various sizes and shapes that can be combined…
As an affiliate, we earn on qualifying purchases.
As an affiliate, we earn on qualifying purchases.
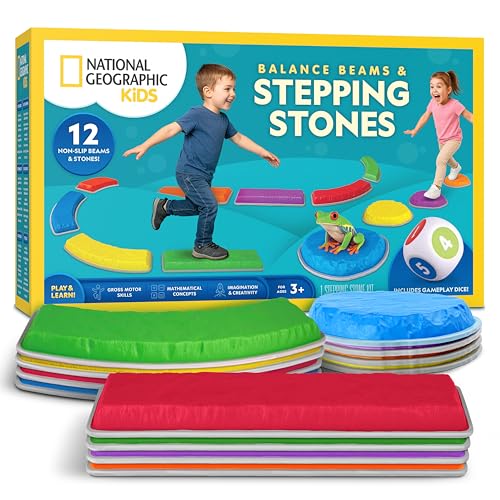
National Geographic Kids Stepping Stones & Balance Beams – 12 Piece Obstacle Course for Kids Ages 3+ with Foam Dice, Play & Learn Cards, Non-Slip Rubber Base, Toddler Indoor & Outdoor Active Play Set
12 COLORFUL PIECES – Includes 4 hard plastic stepping stones, 4 straight beams, and 4 curved beams, so…
As an affiliate, we earn on qualifying purchases.
As an affiliate, we earn on qualifying purchases.