Bloody Bandaid Rice Krispie Treats are a spooky twist on the classic snack, perfect for Halloween parties. You'll need Rice Krispies cereal, marshmallows, butter, and red food coloring. Melt the butter and marshmallows, mix in the cereal, and press into a pan. Once cooled, cut into bandage shapes and add "blood" with red food coloring. Get creative with your presentation by arranging them on a fake medical tray or scattering them across a themed tablecloth. These treats are easy to make, fun to decorate, and sure to impress your friends. There's more to discover about making these ghoulish goodies even spookier!
Key Takeaways
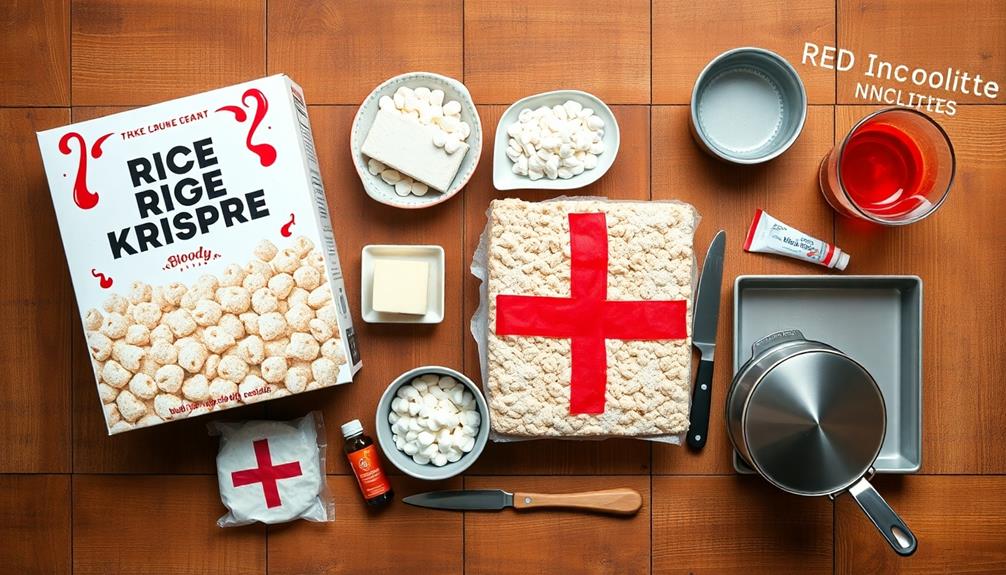
- Bloody Bandaid Rice Krispie Treats are Halloween-themed desserts resembling bloody bandages, made with traditional Rice Krispie ingredients and red food coloring.
- The recipe involves shaping Rice Krispie treats into rectangular "bandages" and adding red food coloring for a bloody effect.
- These treats originated from creative home bakers and food bloggers adding a spooky twist to classic Rice Krispie treats.
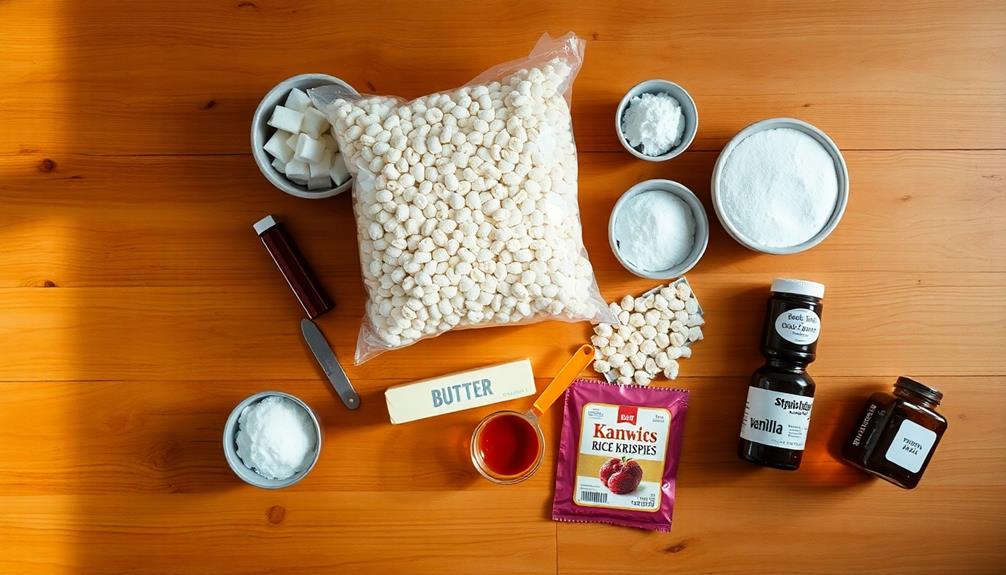
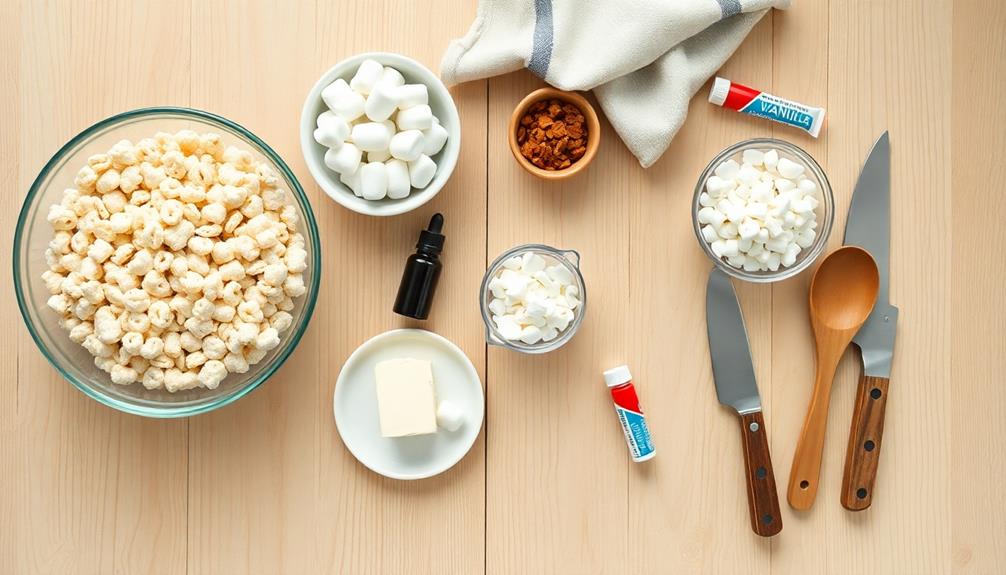
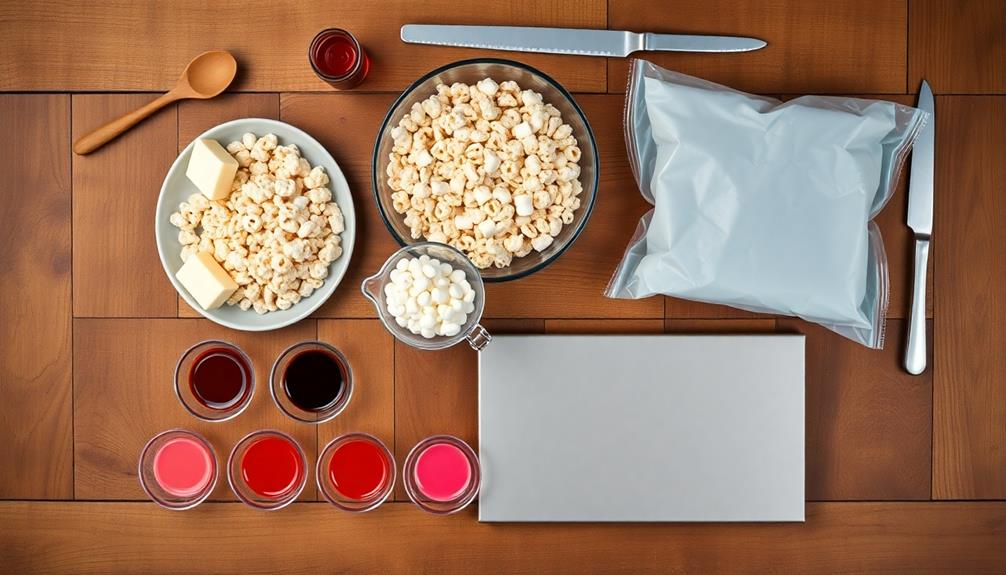
- Key ingredients include Rice Krispies cereal, marshmallows, butter, red food coloring, and optional white chocolate for decoration.
- Presentation is crucial, with suggestions including arranging on fake medical trays or scattering across Halloween-themed tablecloths for visual impact.

Kellogg's Rice Krispies Cold Breakfast Cereal, 8 Vitamins and Minerals, Rice Krispies Treats, Giant Size, Original, 24oz Box (1 Box)
Kellogg's is working with No Kid Hungry to provide free breakfast to children in need; Ends May 9,…
As an affiliate, we earn on qualifying purchases.
As an affiliate, we earn on qualifying purchases.
History
Despite their gruesome name, Bloody Bandaid Rice Krispie Treats don't have a long or gory history. You might be surprised to learn that these spooky snacks are a relatively recent invention in the world of Halloween treats. They've gained popularity over the past decade as people have looked for creative ways to make classic Rice Krispie treats more festive for the Halloween season.
The idea likely originated from creative home bakers and food bloggers who wanted to add a creepy twist to a beloved snack. You'll find that the concept builds on the traditional Rice Krispie treat recipe, which has been around since the 1930s. By adding red food coloring and shaping the treats to resemble bandages, clever cooks transformed an everyday dessert into a Halloween showstopper.
As Halloween parties and themed events have become more elaborate, you've probably noticed an increase in themed foods like these treats. They're part of a broader trend of turning familiar foods into spooky versions for Halloween celebrations, appealing to both kids and adults who enjoy a bit of playful gore with their sweets.

Chefmaster Super Red Liqua-Gel® Food Coloring | Vibrant Color | Professional-Grade Dye for Icing, Frosting, Fondant | Baking & Decorating | Fade-Resistant | Easy-to-Use | Made in USA | 10.5 oz
Eye-Catching Color Premium blends add vivid, rich, fade-resistant, true-to-shade colors that are made specially for your baking and…
As an affiliate, we earn on qualifying purchases.
As an affiliate, we earn on qualifying purchases.
Recipe

These Bloody Bandaid Rice Krispie Treats are a wickedly fun and deliciously spooky dessert perfect for Halloween parties or horror-themed gatherings. The classic Rice Krispie treat recipe gets a gruesome twist with the addition of red food coloring and clever shaping to resemble bloody bandages.
While these treats may look alarmingly realistic, they're still the same sweet and chewy marshmallow-based snack that everyone loves. The key to achieving the bandage-like appearance is in the careful shaping and strategic placement of the "blood" streaks, which are created using red-tinted white chocolate or candy melts.
- 6 cups Rice Krispies cereal
- 4 tablespoons butter
- 1 (10 oz) package marshmallows
- 1/2 teaspoon vanilla extract
- Red food coloring
- 1 cup white chocolate chips or candy melts
- Red gel food coloring
Begin by melting the butter in a large saucepan over low heat. Add the marshmallows and stir until completely melted. Remove from heat and stir in the vanilla extract. Add a few drops of red food coloring to achieve a pale pink color.
Pour the mixture over the Rice Krispies cereal in a large bowl and mix well. Press the mixture into a greased 9×13 inch pan. Allow to cool completely before cutting into rectangular "bandage" shapes.
For best results, use a sharp knife to cut clean edges on your Rice Krispie treats. Melt the white chocolate or candy melts and divide into two portions. Tint one portion with red gel food coloring.
Use a spoon or piping bag to drizzle the red "blood" onto the treats in realistic patterns. Allow the chocolate to set before serving. These treats can be stored in an airtight container at room temperature for up to three days.

365 by Whole Foods Market, Mini White Chocolate Baking Chips, 12 Ounce
12 ounces of premium white chocolate mini chips
As an affiliate, we earn on qualifying purchases.
As an affiliate, we earn on qualifying purchases.
Cooking Steps
To make these spooky treats, you'll start by melting butter and marshmallows together in a large pot.
Once you've got a smooth mixture, you'll stir in the Rice Krispies cereal until it's well-coated.
Then press the gooey concoction into a greased pan.
For the final touch, you'll drizzle red food coloring over the treats and cut them into bandage shapes, creating a creepy yet delicious Halloween snack.
Step 1. Melt Butter and Marshmallows
Begin by melting 3 tablespoons of butter in a large saucepan over low heat. As the butter starts to liquefy, keep a close eye on it to prevent burning.
Once it's completely melted, it's time to add the marshmallows. You'll need about 4 cups of mini marshmallows or 40 regular-sized ones.
Gently pour the marshmallows into the saucepan with the melted butter. Using a wooden spoon or silicone spatula, start stirring the mixture. You'll notice the marshmallows slowly beginning to soften and melt.
Keep stirring continuously to ensure even heating and to prevent any sticking to the bottom of the pan. As the marshmallows melt, you'll see the mixture become smooth and gooey.
This process usually takes about 5-7 minutes, depending on your stove's heat. Be patient and resist the urge to turn up the heat, as this could lead to scorching.
Once you've achieved a uniform, creamy consistency with no lumps, you're ready for the next step in creating your spooky Bloody Bandaid Rice Krispie Treats!
Step 2. Add Rice Krispies Cereal
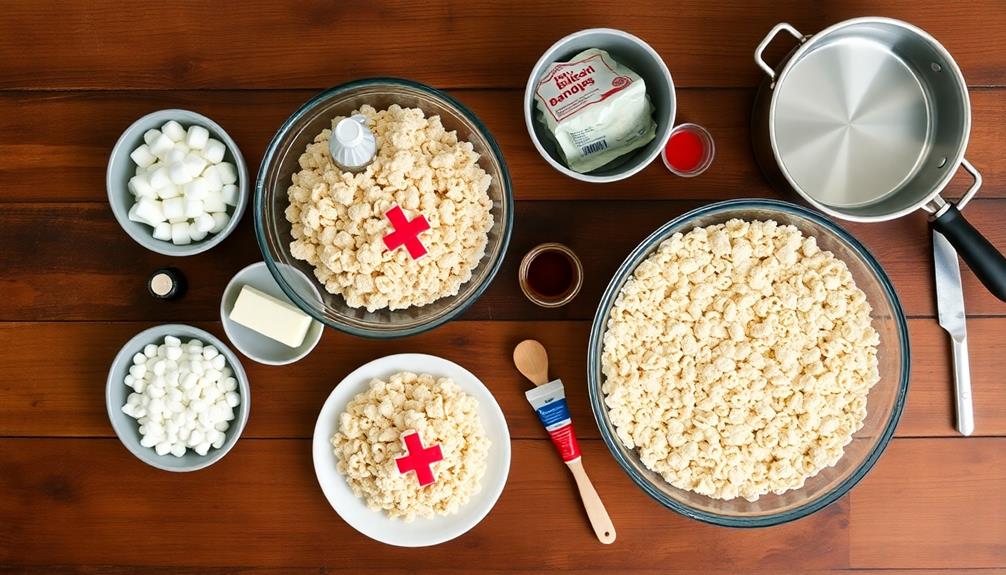
Now that your marshmallow mixture is smooth and gooey, it's time to add the Rice Krispies cereal. Grab your measuring cup and pour in 6 cups of Rice Krispies.
As you add the cereal, use a large spatula or wooden spoon to gently fold it into the marshmallow mixture. Be sure to coat every piece of cereal evenly, which might take a minute or two of steady stirring.
You'll notice the mixture getting thicker and stickier as you mix. Don't worry if it seems a bit tough to stir at first; that's totally normal. Keep folding and mixing until all the cereal is coated with the marshmallow goodness.
If you see any dry spots, give those areas extra attention to ensure everything's well-combined.
Once your Rice Krispies are fully incorporated, it's time to transfer the mixture to your prepared pan. Use your spatula to spread it evenly, pressing down gently to create a smooth surface.
Don't pack it too tightly, though, or your treats might end up too dense. Remember, we're going for that perfect balance of crispy and chewy!
Step 3. Press Mixture Into Pan
With your gooey mixture ready, it's time to transfer it to the prepared pan. Grab your greased spatula and scoop the Rice Krispies mixture into the 9×13-inch pan you've lined with parchment paper. Don't worry if it looks a bit messy at first; you'll smooth it out soon.
Now, here's the fun part: use your hands to press the mixture evenly into the pan. If the mixture is too sticky, you can lightly grease your hands with cooking spray or butter. Press firmly but gently, making sure to reach all the corners and edges. You want a uniform thickness throughout, so take your time with this step.
For a perfectly smooth top, you can use the bottom of a measuring cup or a flat spatula to press down on the surface. This will give your treats a professional look.
Step 4. Add Red Food Coloring

Anticipation builds as you prepare to transform your ordinary Rice Krispie treats into spooky, bloody bandages. It's time to add the final, gruesome touch that'll make your treats stand out at any Halloween party.
Grab your red food coloring and a small bowl. You'll want to mix a few drops of the coloring with a tablespoon of water to create a "blood" mixture.
Don't worry if it seems too watery; it'll dry darker on the treats. Using a clean paintbrush or your finger, carefully dab the red mixture onto the Rice Krispie treats. Focus on the edges and corners to make them look like bloody bandages. You can also drip some "blood" down the sides for an extra gory effect.
Remember, less is more – you want it to look realistic, not like you've dumped ketchup on your treats! Let the coloring dry for about 15 minutes before serving.
If you want a darker, more sinister look, you can add a second layer of "blood" after the first one dries. Your bloody bandage treats are now ready to disgust and delight your friends!
Step 5. Cut Into Bandage Shapes

Before adding the gruesome "blood" effect, you'll need to shape your Rice Krispie treats into convincing bandages. Start by allowing your treats to cool slightly, so they're firm enough to handle but still pliable.
Using a sharp knife or pizza cutter, carefully cut the treats into rectangular shapes, about 3 inches long and 1 inch wide. For added realism, you can round the corners slightly to mimic the shape of actual bandages.
Next, create the distinctive "tabs" found on real bandages. At each end of your rectangles, make small cuts about a quarter-inch deep. These cuts will form the tabs that you'd typically peel off when applying a bandage.
To add even more detail, use the back of a butter knife to gently press a faint line down the center of each treat, simulating the absorbent pad of a real bandage. If you're feeling extra creative, you can even vary the sizes of your bandages, just like you'd find in a real first aid kit.

Halloween Cupcake Toppers, 48 PCS Tombstones Graveyard Cupcake Toppers with Mini Shovel Spoons for Halloween Party Decorations, Horror Birthday Decorations, Nightmare Before Christmas Cake Topper
Product includes: This tombstone cake decoration contains a total of 24 pieces of cake decoration inserts and 24…
As an affiliate, we earn on qualifying purchases.
As an affiliate, we earn on qualifying purchases.
Final Thoughts

After creating these gruesome yet delicious treats, you'll have a spooky snack that's sure to impress at any Halloween party. These Bloody Bandaid Rice Krispie Treats aren't only fun to make but also a great conversation starter.
Remember, the key to success is in the details, from shaping the treats to perfecting the "bloody" strawberry sauce.
Don't be afraid to get creative with your presentation. You could arrange the bandaid treats on a fake medical tray or scatter them across a Halloween-themed tablecloth. If you're feeling extra adventurous, try experimenting with different flavors of Rice Krispies or adding food coloring to the marshmallow mixture for an even more ghoulish effect.
Lastly, keep in mind that these treats are best served fresh. If you need to make them in advance, store them in an airtight container at room temperature for up to two days. When it's time to serve, add the strawberry sauce just before presenting to maintain the perfect "bloody" look.
With these tips in mind, you're ready to wow your friends with your spooky culinary skills!
Frequently Asked Questions
Are Bloody Bandaid Rice Krispie Treats Safe for Children to Eat?
You shouldn't worry about safety if you've made them properly. They're just regular Rice Krispie treats with a fun, Halloween-themed appearance. As long as you've used food-safe ingredients, they're perfectly fine for children to enjoy.
Can I Use Different Cereals Instead of Rice Krispies?
Yes, you can substitute other cereals for Rice Krispies. Try using Corn Flakes, Cheerios, or even Chex. You'll get different textures and flavors, but the basic recipe remains the same. Experiment to find your favorite combination!
How Long Do These Treats Stay Fresh?
You'll find these treats stay fresh for about 2-3 days at room temperature. If you want them to last longer, store them in an airtight container in the fridge. They'll keep for up to a week that way.
Are There Any Vegan Alternatives for Marshmallows in This Recipe?
You can use vegan marshmallows made from plant-based ingredients like agar or carrageenan. Alternatively, try aquafaba (chickpea liquid) whipped with sugar and cream of tartar. These substitutes will give you a similar texture and sweetness for your treats.
Can I Add Food Coloring to Make the "Blood" More Realistic?
You can definitely add food coloring to make the "blood" more realistic. Try using red gel food coloring for a deeper, more vivid hue. You'll want to mix it in gradually until you achieve the desired shade.