Eyeball cake pops are a spooky treat that's perfect for your Halloween party. You'll start by baking a cake, crumbling it, and mixing it with frosting to form balls. After freezing, you'll dip these in white chocolate and decorate them to look like creepy eyeballs. The process is fun and engaging, suitable for both kids and adults. You can get creative with different cake flavors and decorations, making each batch unique. These ghoulish treats have gained popularity in the last decade, thanks to social media and baking competitions. With a bit of practice, you'll be crafting eye-catching cake pops that'll impress your friends and family. Curious about the tricks to make them extra spooky?
Key Takeaways
- Eyeball cake pops are Halloween-themed treats made from crumbled cake mixed with frosting, shaped into balls, and decorated to resemble eyeballs.
- They typically involve a white candy coating for the eyeball, with colored candy melts or chocolate chips for the iris and pupil.
- The recipe requires basic ingredients like cake, frosting, candy melts, and lollipop sticks, making them accessible for home bakers.
- Eyeball cake pops gained popularity in the last decade, becoming a staple of Halloween parties and baking competitions.
- The process includes baking a cake, mixing it with frosting, freezing the balls, dipping in candy coating, and decorating creatively.
History

While eyeball cake pops don't have a long-documented history, they've gained popularity in the last decade as part of the broader cake pop trend. You might remember when cake pops first burst onto the scene in the late 2000s, quickly becoming a favorite at parties and events.
Eyeball cake pops, a spooky variation, emerged as Halloween treats gained more attention on social media platforms. These creepy confections combine the fun of cake pops with the playful spirit of Halloween. You'll find that they're often made to look incredibly realistic, with details like veins and colored irises. The idea likely stemmed from bakers looking to create unique, eye-catching designs for the holiday season.
As you explore the world of eyeball cake pops, you'll discover that they've become a staple of Halloween baking competitions and DIY projects. Their popularity has grown alongside the trend of creating Instagram-worthy food, with home bakers and professionals alike sharing their most impressive creations online.
Today, you'll find countless tutorials and recipes to help you make your own spooky eyeball treats.
Recipe
Eyeball Cake Pops are a delightfully spooky treat perfect for Halloween parties or any ghoulish gathering. These bite-sized sweets combine the rich flavors of cake and frosting with a creepy, eye-catching design that's sure to impress your guests. The beauty of this recipe lies in its versatility – you can use your favorite cake flavor as the base and get creative with the decorations to make each eyeball unique.
Creating these eerie treats is a fun and engaging process that can be enjoyed by both adults and children alike. The recipe involves crumbling baked cake, mixing it with frosting, and forming the mixture into balls before decorating them to resemble realistic eyeballs. While the process may seem intricate, it's actually quite simple and allows for plenty of creativity in the final presentation.
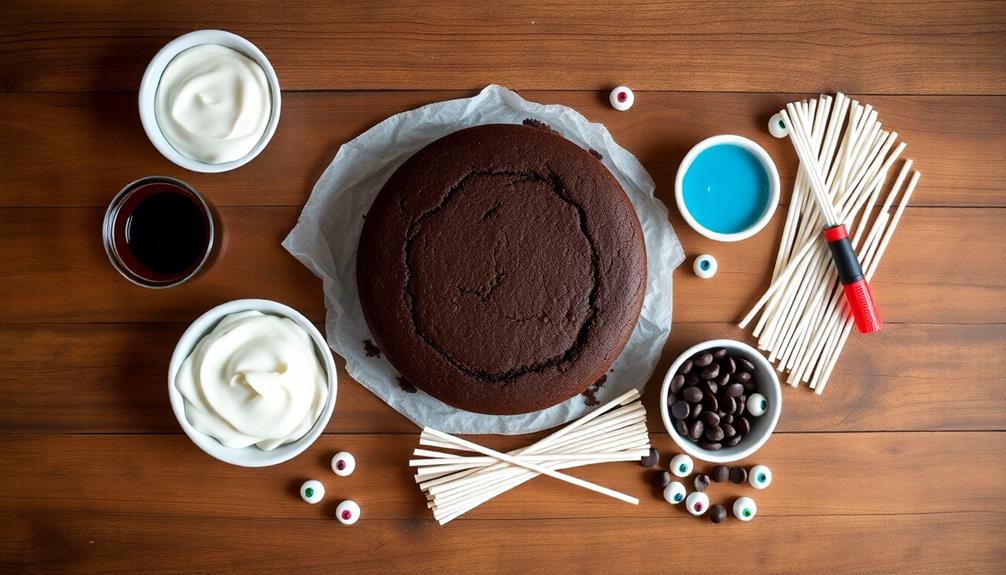
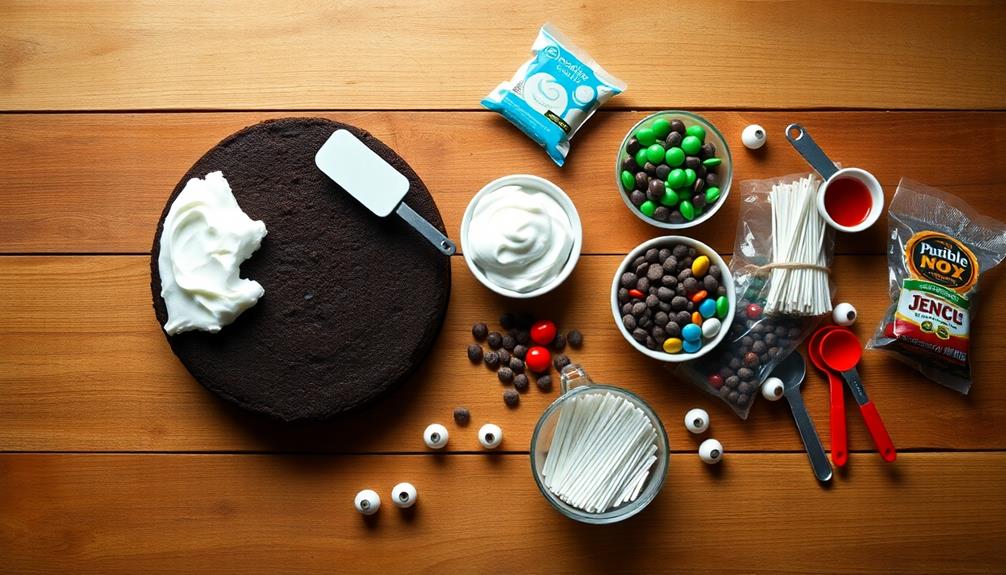
Ingredients:
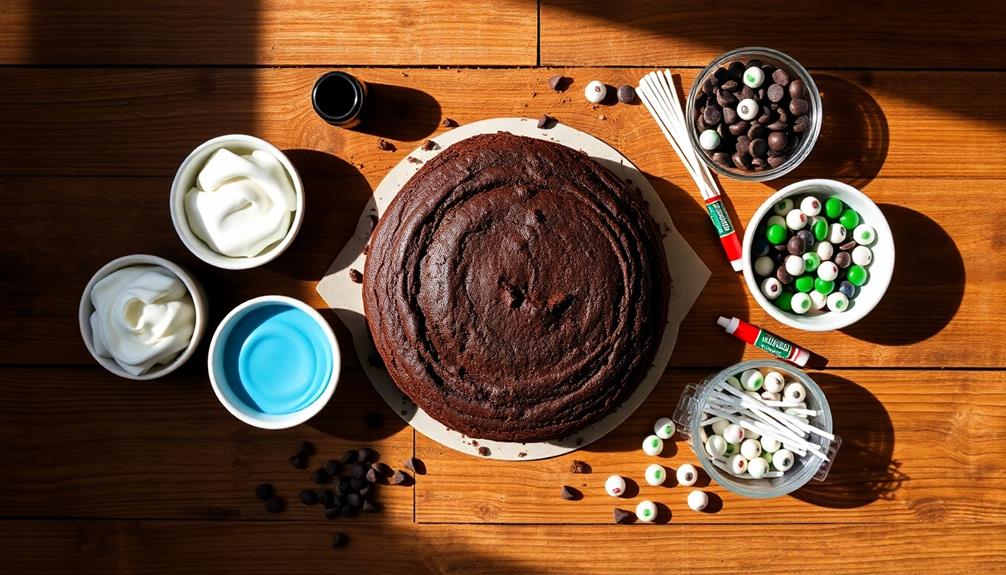
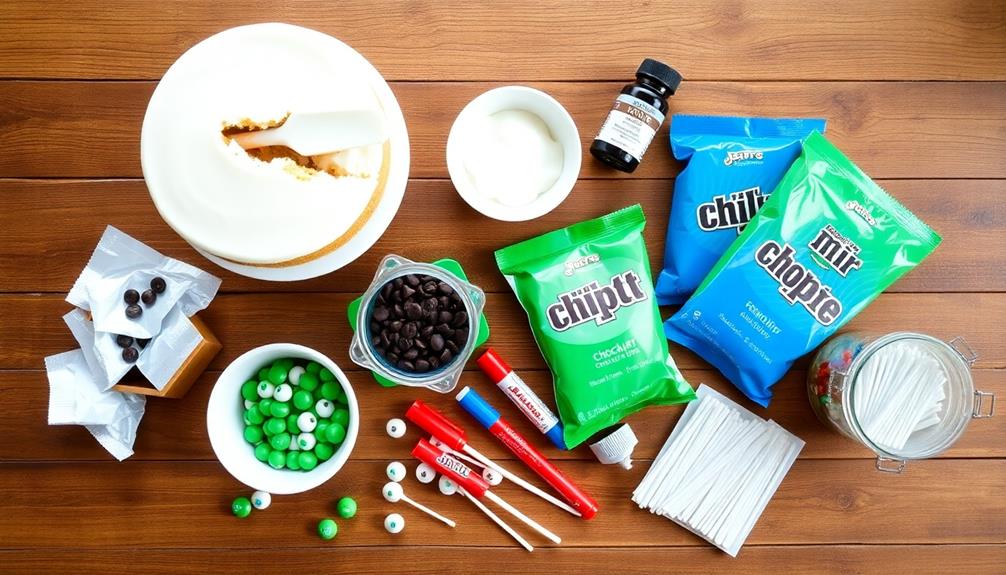
- 1 baked 9-inch cake (any flavor)
- 1/2 cup frosting
- 24 oz white candy melts
- 24 lollipop sticks
- 24 blue or green candy melts (for irises)
- 24 chocolate chips or mini M&Ms (for pupils)
- Red food coloring or edible marker
- Optional: candy eyeballs for added detail
To make the Eyeball Cake Pops, start by crumbling the cake into fine crumbs in a large bowl. Mix in the frosting until you have a moldable consistency. Form the mixture into 24 balls and chill them in the refrigerator for about an hour.
Melt the white candy melts and dip one end of each lollipop stick into the melted candy before inserting it into a cake ball. Once set, dip each cake pop into the white candy melts, allowing excess to drip off. Before the coating sets, place a blue or green candy melt for the iris and a chocolate chip or mini M&M for the pupil. Use red food coloring or an edible marker to draw veins on the white surface. Allow the cake pops to set completely before serving.
For best results, work in small batches when coating and decorating the cake pops to prevent the candy coating from hardening too quickly. If the cake mixture is too crumbly, add more frosting a little at a time until it reaches the right consistency. For a smoother finish, double-dip the cake pops in the white candy coating.
To create a more realistic eyeball effect, consider adding a small dot of white candy melt on top of the pupil to mimic a light reflection. Remember, practice makes perfect, so don't be discouraged if your first few eyeballs aren't exactly as you envisioned – they'll still be deliciously creepy!
Cooking Steps

To create your spooky eyeball cake pops, you'll follow a series of steps that transform ordinary cake into creepy treats.
You'll start by mixing and baking the cake, then crumble it to shape into balls before freezing them overnight.
Step 1. Mix Cake Batter
The cake's foundation begins with mixing the batter. You'll need a large mixing bowl and ingredients like flour, sugar, eggs, and butter. Start by creaming the butter and sugar together until they're light and fluffy. This step helps create a smooth texture in your final cake.
Next, add the eggs one at a time, mixing well after each addition. Don't worry if the batter looks a bit curdled at this point; it'll come together soon.
In a separate bowl, sift together your dry ingredients, including flour, baking powder, and salt. This helps remove any lumps and ensures everything's well combined.
Now, alternately add the dry ingredients and milk to your butter mixture, stirring gently after each addition. Be careful not to overmix, as this can make your cake tough.
Step 2. Bake and Cool Cake

Once your batter is ready, it's time to bake the cake. Preheat your oven to 350°F (175°C) and grease a 9×13-inch baking pan. Pour the batter into the pan, making sure it's evenly spread. Gently tap the pan on the counter to remove any air bubbles.
Place the pan in the center of the oven and set a timer for 25 minutes.
While the cake bakes, you'll notice a delicious aroma filling your kitchen. Keep an eye on it, but resist the urge to open the oven door too often. After 25 minutes, insert a toothpick into the center of the cake. If it comes out clean, your cake is done. If not, bake for another 5 minutes and check again.
Once baked, remove the cake from the oven and let it cool in the pan for about 10 minutes. Then, carefully transfer it to a wire rack to cool completely.
This step is crucial for your eyeball cake pops, as working with warm cake can lead to crumbly results. Be patient – it'll be worth the wait!
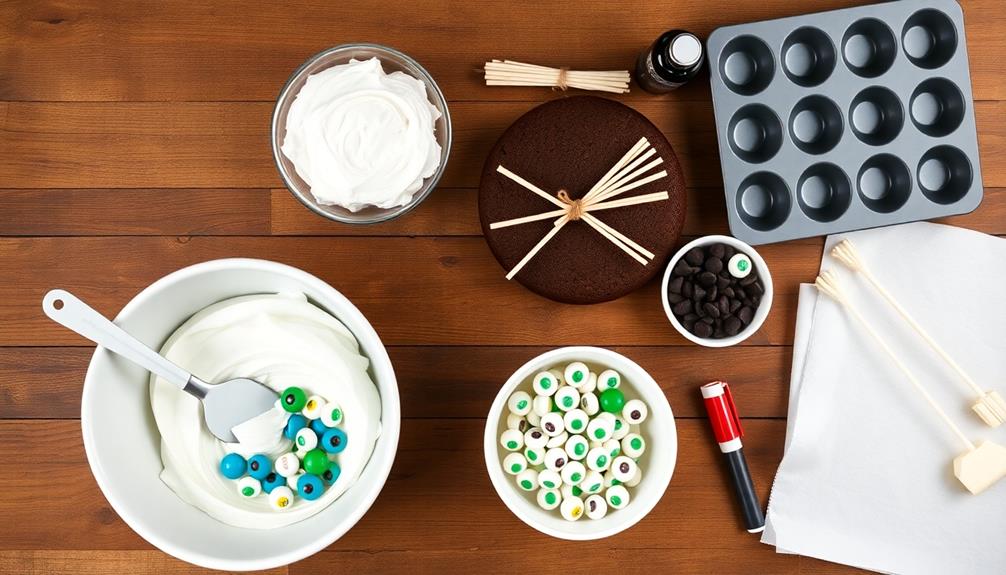
Step 3. Crumble and Shape Cake Balls
Now that your cake has cooled completely, it's time to transform it into perfectly shaped balls for your eyeball pops. Start by breaking the cake into fine crumbs using your hands or a fork. Don't worry about being too neat; the goal is to create a uniform texture throughout.
Next, add frosting to your cake crumbs. You'll want to use just enough to help the mixture stick together when you shape it. Start with a small amount and gradually add more if needed. Mix thoroughly until you have a consistency that's easy to mold.
Now comes the fun part! Take small portions of the cake mixture and roll them between your palms to create smooth, round balls. Aim for balls that are about 1 to 1.5 inches in diameter. If they're too big, they might fall off the stick later.
As you shape each ball, place it on a baking sheet lined with parchment paper. Once you've used all the mixture, pop the tray into the fridge for about 15 minutes to firm up the balls. This will make them easier to work with in the next steps.
Step 4. Freeze Cake Pops Overnight
After chilling your cake balls for 15 minutes, you're ready for the next step: overnight freezing. This crucial stage ensures your cake pops will hold their shape when you dip them in melted candy coating.
Take a baking sheet and line it with parchment paper. Carefully transfer your chilled cake balls onto the sheet, spacing them about an inch apart. Make sure they're not touching each other to prevent sticking.
Once you've arranged all your cake balls, it's time to cover them. You can use plastic wrap or aluminum foil, but be gentle to avoid squishing your perfectly shaped balls. Seal the edges tightly to prevent freezer burn.
Now, find a flat spot in your freezer where the tray can sit undisturbed. Carefully slide it in and let the freezing magic happen overnight.
While you're waiting, why not dream up some spooky designs for your eyeball cake pops? Tomorrow, you'll be ready to add sticks and start decorating.
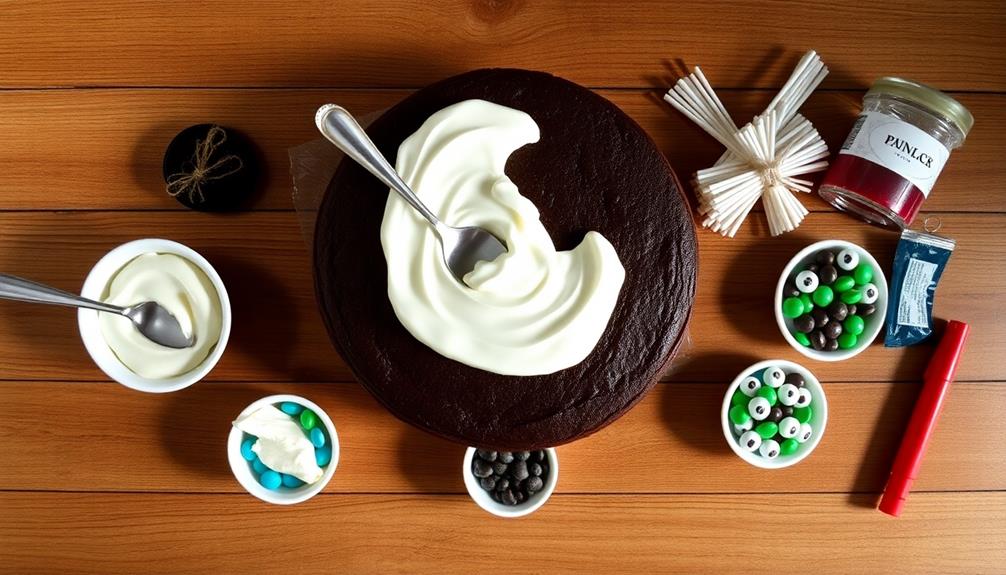
Step 5. Dip in White Chocolate Coating
The aroma of melting white chocolate fills your kitchen as you prepare to transform your frozen cake pops into spooky eyeballs. Start by melting white chocolate in a microwave-safe bowl, stirring every 30 seconds until smooth. You'll want the chocolate to be warm but not too hot, or it'll melt your pops.
Take your frozen cake pops out of the freezer and let them sit for a few minutes. This prevents condensation from forming when you dip them.
Now, hold a pop by its stick and dip it straight down into the melted chocolate. Gently tap the stick on the bowl's edge to remove excess coating. Slowly pull the pop out, allowing the extra chocolate to drip off.
If you're aiming for perfectly round eyeballs, use a spoon to help shape the coating as it sets. You can also add a slight dome shape on top for a more realistic look.
Place the dipped pops in a styrofoam block or cake pop stand to dry completely. Don't rush this step – patience is key for a smooth finish!
Final Thoughts
Crafting these spooky eyeball cake pops is a fun and delicious way to add a creepy touch to your Halloween festivities. You'll love how these treats turn out, and your friends will be both impressed and spooked by your culinary skills.
Remember, practice makes perfect, so don't worry if your first few eyeballs aren't exactly symmetrical. The more you make, the better you'll get at shaping and decorating them.
These cake pops are versatile, too. You can experiment with different cake flavors, frostings, and even colored coatings to create a variety of eyeball styles. Why not try making bloodshot eyes with red veins or monster eyes with different-colored irises? The possibilities are endless, and you're only limited by your imagination.
Lastly, don't forget to store your eyeball cake pops properly. Keep them in an airtight container in the refrigerator, and they'll stay fresh for up to a week. Just be sure to bring them to room temperature before serving for the best taste and texture.
Happy Halloween baking!
Frequently Asked Questions
Can I Use Different Colors for the Eyeball Irises?
Absolutely! You can use any colors you'd like for the irises. It's a great way to add variety and make each one unique. Try different shades of blue, green, brown, or even go wild with purple or red!
How Long Do Eyeball Cake Pops Stay Fresh?
You'll find that your cake pops stay fresh for about 3-5 days at room temperature. If you store them in an airtight container in the fridge, they'll last up to a week. Don't freeze them, as it affects texture.
Are There Allergen-Free Alternatives for the Ingredients?
You can find allergen-free alternatives for most ingredients. Try gluten-free flour, dairy-free milk, and egg substitutes. For decorations, use allergy-safe candies or natural food coloring. Always check labels and consult with guests about specific allergies.
Can I Make These in Advance for a Party?
You can definitely make these in advance for your party. It's best to prepare them 1-2 days ahead and store them in an airtight container in the fridge. Just bring them to room temperature before serving.
What's the Best Way to Transport Eyeball Cake Pops?
You'll want to transport cake pops carefully. Use a sturdy container with individual slots or holes to keep them upright. Wrap each pop in cellophane or place in small bags. Don't forget to cushion the bottom and sides.