Witch's Fingers Breadsticks are a spooky and tasty Halloween treat you'll love making. These savory breadsticks, shaped like long, bony fingers with almond "fingernails," have a fun history dating back to medieval times. They're easy to prepare, using simple ingredients like flour, yeast, and herbs. You'll mix the dough, shape it into creepy fingers, and bake them to perfection. Kids can join in the fun by helping with shaping and decorating. These breadsticks are perfect for Halloween parties or as a unique snack any time. They're not just visually appealing but also delicious, making them a hit with both children and adults. There's more to uncover about this wickedly good treat!
Key Takeaways
- Witch's Fingers Breadsticks are savory Halloween-themed snacks shaped to resemble long, bony fingers with almond "fingernails."
- Originally used to ward off evil spirits, they're now popular party food for Halloween celebrations.
- The recipe typically includes flour, yeast, herbs, and Parmesan cheese for a flavorful breadstick base.
- Shaping the dough involves rolling portions into finger shapes, scoring knuckle lines, and adding almond "nails."
- These breadsticks can be customized with various herbs, spices, or toppings to suit different tastes and preferences.

Silicone Pumpkin Molds, 2 Pack Pumpkin-Shaped Cake Molds Thanksgiving Cookie Molds Muffin Cupcake Pan Hot Chocolate Bomb Mold for Halloween Thanksgiving Fall Baking and Wax Melts Soap Making
- Food-Grade Silicone Material: BPA-free, durable, flexible silicone
- Temperature Resistant: -40℉ to 464℉ safe for microwave and oven
- Pumpkin-Shaped Mold Set: Includes 2 molds with 6 cavities each
As an affiliate, we earn on qualifying purchases.
As an affiliate, we earn on qualifying purchases.
History
Culinary folklore surrounds the origins of Witch's Fingers Breadsticks. You've probably seen these spooky treats at Halloween parties, but did you know they've been around for centuries?
Legend has it that medieval bakers first created these eerie breadsticks to ward off evil spirits during All Hallows' Eve celebrations.
As the story goes, villagers believed that witches would try to sneak into their homes on Halloween night. To protect themselves, they'd shape breadsticks to look like gnarly witch fingers, complete with almond "fingernails."
They'd place these breadsticks near windows and doors, thinking witches would be too distracted trying to eat them to cause any mischief.
Over time, the tradition spread across Europe and eventually made its way to America.
Today, you'll find Witch's Fingers Breadsticks as a popular Halloween party snack. While they're no longer used to ward off witches, they've become a fun and tasty way to celebrate the spooky season.
You can make them savory or sweet, depending on your preference, and they're a great conversation starter at any Halloween gathering.
Recipe

Witch's Fingers Breadsticks are a spooky and delicious Halloween-themed treat that will delight both children and adults alike. These eerie breadsticks are designed to look like long, bony fingers with an almond "fingernail" at the tip, making them perfect for Halloween parties or as a fun addition to your October dinner table.
This recipe transforms simple breadstick dough into creepy, finger-like shapes that are both tasty and visually striking. The combination of herbs and Parmesan cheese in the dough adds a savory flavor that contrasts nicely with the slivered almond "nails." While they may look gruesome, these witch's fingers are sure to be a hit with guests who appreciate a good Halloween-themed snack.
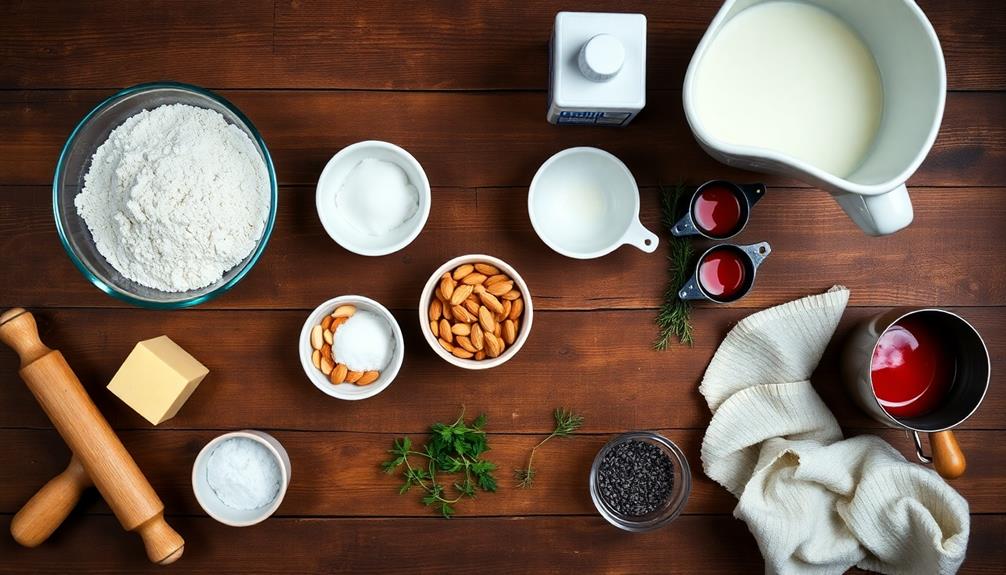
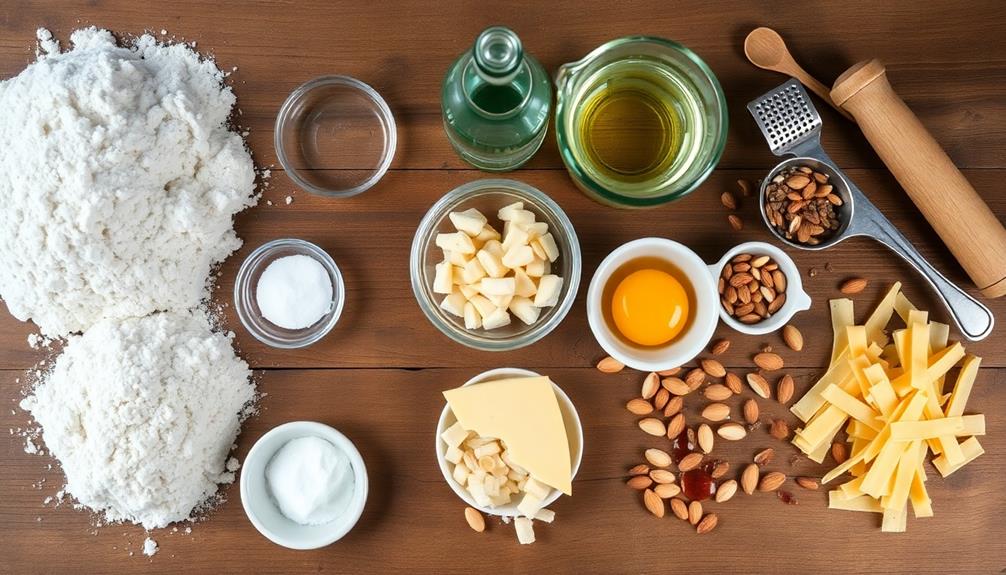
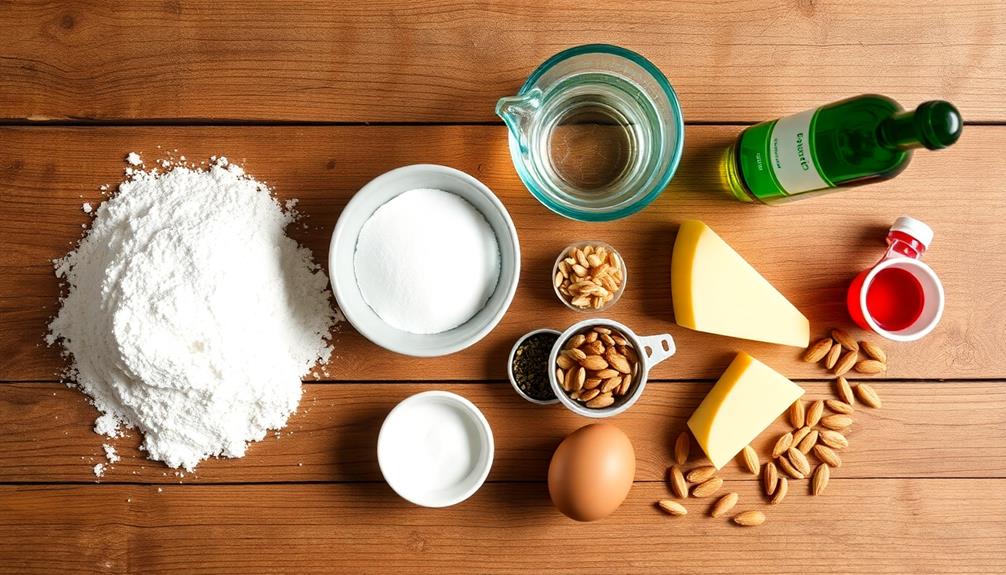
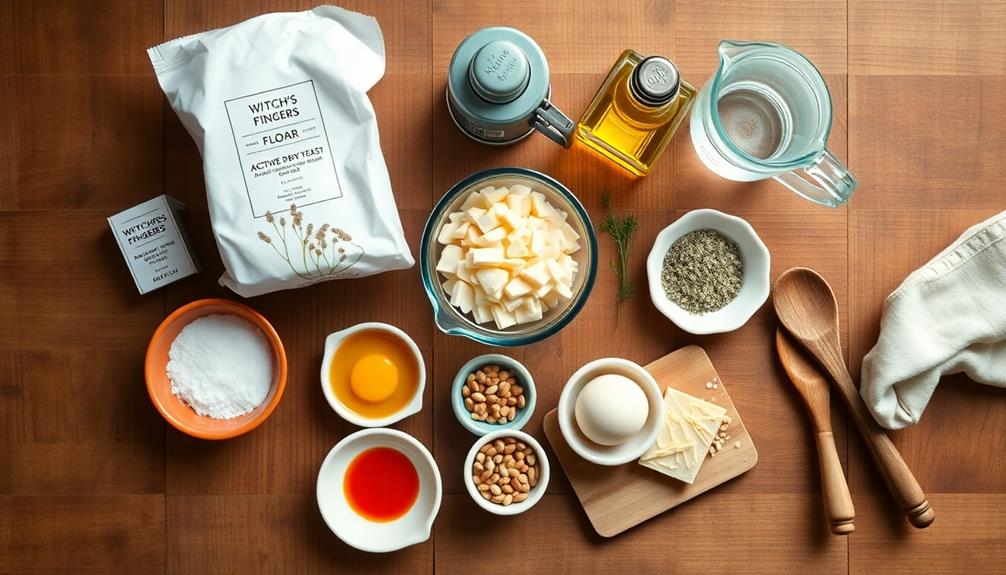
- 2 3/4 cups all-purpose flour
- 1 tablespoon active dry yeast
- 1 teaspoon salt
- 1 teaspoon sugar
- 1 cup warm water
- 2 tablespoons olive oil
- 1 tablespoon dried Italian herbs
- 1/4 cup grated Parmesan cheese
- 1 egg, beaten
- Slivered almonds
- Red food coloring (optional)
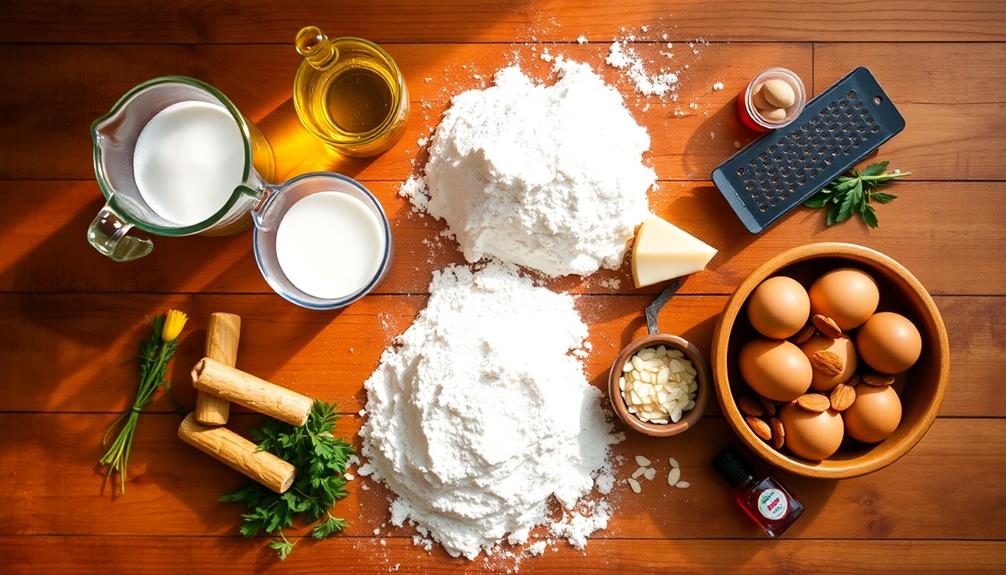
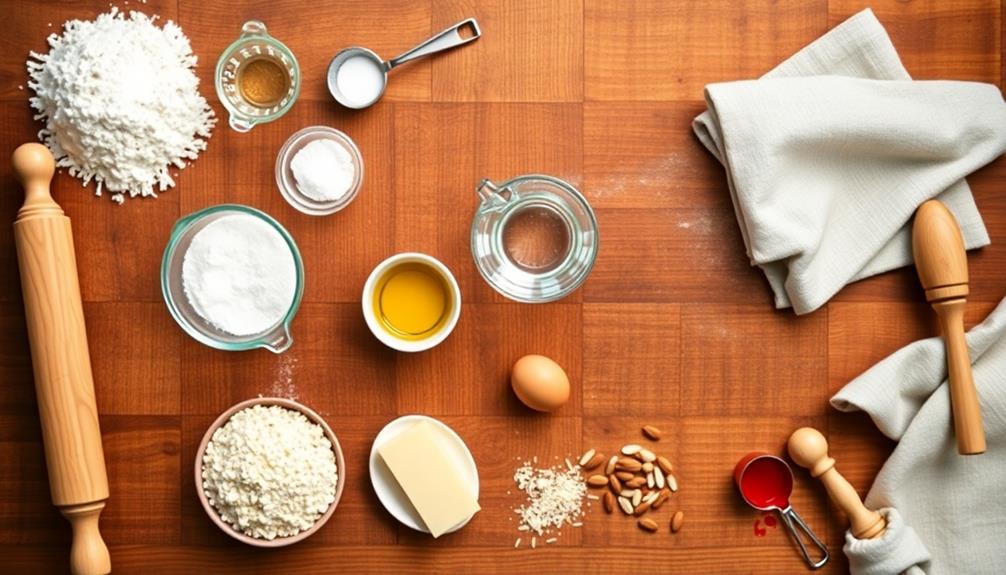
To prepare the Witch's Fingers Breadsticks, start by combining the flour, yeast, salt, and sugar in a large bowl. Add the warm water and olive oil, mixing until a soft dough forms. Knead in the Italian herbs and Parmesan cheese.
Let the dough rise for about an hour, then divide it into small portions. Roll each portion into a finger shape, pinching one end to form a knuckle. Press a slivered almond into the other end for the "nail." Brush with beaten egg and bake at 375°F (190°C) for 12-15 minutes or until golden brown.
For an extra creepy touch, you can use red food coloring to create "bloody" fingertips. Mix a few drops of red food coloring with water and brush it around the base of the almond "nails" after baking.
To achieve the most realistic finger-like appearance, vary the sizes and shapes of your breadsticks slightly. You can also score the dough with a knife to create knuckle lines before baking. These breadsticks are best served warm and can be reheated in the oven for a few minutes if made in advance.
Cooking Steps

You'll start by preheating your oven to 375°F and mixing the dry ingredients together in a large bowl.
Next, you'll gradually add the wet ingredients, stirring until a dough forms, then knead it until it becomes elastic.
Step 1. Preheat Oven to 375°F
To kick off the cooking process, preheat your oven to 375°F (190°C). This step is crucial for ensuring your Witch's Fingers Breadsticks bake evenly and achieve the perfect texture.
While your oven's heating up, it's a great time to gather your ingredients and prepare your workspace. Make sure your oven rack is positioned in the center, as this will help distribute heat evenly around your spooky treats.
If you're using a convection oven, you might want to lower the temperature by about 25°F, as these ovens tend to cook food faster. Don't forget to use an oven thermometer to double-check the temperature, especially if your oven's known to be a bit temperamental.
While you're waiting for the oven to reach the right temperature, you can start shaping your breadsticks into creepy witch fingers. Remember, preheating usually takes about 10-15 minutes, so you've got plenty of time to get creative with your dough.
Once your oven's ready, you'll be all set to start baking your deliciously eerie Witch's Fingers Breadsticks!
Step 2. Mix Dry Ingredients Together

With the oven preheating, it's time to focus on the dry ingredients. You'll need a large mixing bowl for this step, so grab one from your kitchen cabinet.
First, measure out 2 cups of all-purpose flour and pour it into the bowl. Next, add 1 teaspoon of salt and 1 teaspoon of baking powder. These ingredients will help your witch's fingers rise and have the right texture.
Now, it's time to add some flavor to your breadsticks. Sprinkle in 1 teaspoon of garlic powder and 1/2 teaspoon of dried oregano. If you're feeling adventurous, you can also add a pinch of cayenne pepper for a spicy kick.
Using a whisk or a fork, mix all these dry ingredients together until they're well combined. Make sure there aren't any lumps of flour or spices hiding in the mixture. As you stir, imagine you're casting a spell to make your breadsticks extra delicious!
Once everything's evenly distributed, set the bowl aside. You've now completed the dry ingredient step, and you're ready to move on to the wet ingredients.
Step 3. Add Wet Ingredients Gradually
The wet ingredients bring life to your witch's fingers breadsticks. Now that you've mixed your dry ingredients, it's time to add the wet ones gradually. This step is crucial for achieving the perfect dough consistency.
Start by creating a well in the center of your dry mixture. Slowly pour in the warm water, olive oil, and beaten egg. As you add these liquids, use a fork or your hands to gently incorporate them into the flour mixture.
Don't rush this process; take your time to ensure everything blends evenly. As you mix, you'll notice the dough starting to come together. It might seem a bit sticky at first, but that's okay. Keep working it until it forms a shaggy ball.
If the dough feels too dry, add a little more water, one tablespoon at a time. Conversely, if it's too wet, sprinkle in some extra flour.
Once you've added all the wet ingredients and the dough has formed a cohesive mass, it's time to knead. This will help develop the gluten and give your witch's fingers that perfect chewy texture.
Step 4. Knead Dough Until Elastic
Kneading your witch's fingers dough is crucial for developing the right texture. Once you've mixed in all the wet ingredients, it's time to get your hands dirty!
Turn the dough out onto a lightly floured surface and begin kneading. Use the heel of your hand to push the dough away from you, then fold it back over itself. Give it a quarter turn and repeat this process.
As you knead, you'll feel the dough become smoother and more elastic. It's like giving the dough a workout! Keep at it for about 8-10 minutes, or until the dough springs back when you poke it gently.
If it's too sticky, add a little more flour, but be careful not to add too much. You want the dough to be slightly tacky but not sticking to your hands.
Step 5. Shape Dough Into Fingers
Now that you've kneaded the dough to perfection, it's time to shape those eerie witch's fingers.
Divide your dough into 12 equal portions, each about the size of a small egg. Roll each portion between your palms to create finger-like shapes, about 4-5 inches long. As you work, taper one end slightly to form the fingertip.
For added creepiness, use the back of a knife to gently score knuckle lines across each finger. Don't press too hard; you just want to create subtle indentations.
At the tip of each finger, use your thumb or the end of a spoon to make a small depression where you'll later place the "fingernail."
To give your witch's fingers some gnarly character, bend them slightly at the knuckles. You can also twist them a bit for an extra gnarled look.
Remember, witches' hands aren't known for their beauty, so imperfections are welcome!
Once you've shaped all your fingers, place them on a lightly greased baking sheet, leaving some space between each one for expansion during baking.
Final Thoughts
After enjoying these spooky Witch's Fingers Breadsticks, you'll find they're not just a Halloween treat. They're perfect for any themed party or when you want to add a touch of whimsy to your meal.
You can experiment with different flavors by adding herbs or spices to the dough, like rosemary or garlic powder. Don't be afraid to get creative with the "nails" too – try using different types of nuts or even candy corn for a sweet twist.
Remember, practice makes perfect when it comes to shaping the fingers. If your first batch doesn't look quite right, don't worry! Each time you make them, you'll improve your technique.
These breadsticks are a great way to get kids involved in the kitchen, as they'll love helping to shape the dough and add the "fingernails." Plus, it's a fun opportunity to teach them about baking basics.
Lastly, don't forget to store any leftover breadsticks in an airtight container. They'll stay fresh for a couple of days, but they're best enjoyed warm, straight from the oven.
Happy baking!
Frequently Asked Questions
Can Witch's Fingers Breadsticks Be Made Gluten-Free?
Yes, you can make gluten-free witch's fingers breadsticks. You'll need to substitute regular flour with gluten-free alternatives like almond flour, rice flour, or a gluten-free all-purpose blend. Adjust the recipe accordingly to maintain the desired texture and taste.
How Long Do Witch's Fingers Breadsticks Stay Fresh?
You'll find they stay fresh for about 3-5 days when stored properly. Keep them in an airtight container at room temperature. They're best eaten within the first couple of days for optimal taste and texture.
Are There Any Vegan Alternatives for the Egg Wash?
You've got options for vegan egg wash alternatives! Try brushing your breadsticks with plant-based milk, aquafaba, or a mixture of oil and maple syrup. These will give you that golden-brown finish without using eggs.
Can I Freeze the Dough for Later Use?
Yes, you can freeze the dough for later use. Wrap it tightly in plastic wrap and place it in a freezer bag. It'll keep for up to 3 months. Thaw in the refrigerator before using.
What Are Some Creative Dipping Sauces for Witch's Fingers Breadsticks?
You'll love these dipping sauce ideas! Try a spicy marinara, creamy garlic aioli, or zesty ranch. For a sweet twist, whip up a pumpkin spice dip or caramel sauce. Don't forget classic options like honey mustard or cheese fondue.