Ghostly Meringue Pops are a fun and spooky Halloween treat you'll love making! These light, airy confections are shaped like cute ghosts and perfect for parties. You'll whip up egg whites with sugar, pipe them into ghostly shapes, and bake them slowly for a crispy exterior. Once cooled, you can decorate your ghosts with edible markers or melted chocolate for faces. They're not just tasty; they're also a great way to show off your baking skills. Don't worry if your first batch isn't perfect – practice makes perfect! With a bit of patience and creativity, you'll be creating hauntingly delicious treats in no time. There's so much more to discover about these sweet spectral snacks!
Key Takeaways
- Ghostly Meringue Pops are Halloween-themed desserts made from whipped egg whites and sugar, shaped like ghosts on lollipop sticks.
- The recipe involves whipping egg whites, gradually adding sugar, piping ghost shapes, and baking at low temperature for 2 hours.
- Meringues are decorated with edible markers or melted chocolate to create ghostly faces, enhancing their spooky appearance.
- These treats are ideal for Halloween parties, featuring a crispy exterior and light, airy center that melts in the mouth.
- Proper storage in airtight containers is crucial to maintain the meringues' crispiness and extend their shelf life.

5PCS Large Piping Tips Set, COKUMA Stainless Steel Cake Decorating Tips, Frosting Icing Tips for Cupcakes, Cake, Cookie and Decorating (Dishwasher Safe)
1. Versatile Design: Our stainless steel piping tips offers unparalleled versatility for your baking endeavors.Each frosting tips is…
As an affiliate, we earn on qualifying purchases.
As an affiliate, we earn on qualifying purchases.
History

Tracing the origins of ghostly meringue pops reveals a delightful blend of tradition and innovation. You'll find that meringue itself has been around since the 17th century, originating in Swiss and French cuisines. It's a simple mixture of egg whites and sugar, whipped into a light, airy confection.
The idea of shaping meringue into ghostly forms, however, is a more recent trend. In the early 2000s, as Halloween treats became increasingly popular, creative bakers started experimenting with meringue's versatility. They discovered that its white color and ability to hold shapes made it perfect for crafting spooky desserts.
The addition of a stick, transforming meringue ghosts into pops, likely drew inspiration from cake pops, which gained fame in the late 2000s. You might be surprised to learn that ghostly meringue pops have quickly become a Halloween staple in many households and bakeries.
They're not just tasty; they're also a fun, hands-on project that's captured the imagination of bakers young and old. As you make these treats, you're participating in a culinary tradition that's both ancient and modern.

White Chocolate Meringue Ghost Halloween Treat Gift Home Table Décor
A handmade collectible solid glass white chocolate meringue ghost created from colorful glass utilizing flameworking techniques. Meticulous attention…
As an affiliate, we earn on qualifying purchases.
As an affiliate, we earn on qualifying purchases.
Recipe
Ghostly Meringue Pops are a delightful and spooky treat perfect for Halloween parties or any autumn gathering. These ethereal confections combine the light, airy texture of meringue with a whimsical ghost shape, creating a visually striking and delicious dessert that's sure to impress both children and adults alike.
The beauty of these Ghostly Meringue Pops lies in their simplicity and versatility. While the base recipe creates classic white ghosts, you can easily add food coloring or flavored extracts to customize them for your event. The pops can be decorated with edible markers or melted chocolate to add facial features, making each ghost unique and full of personality.
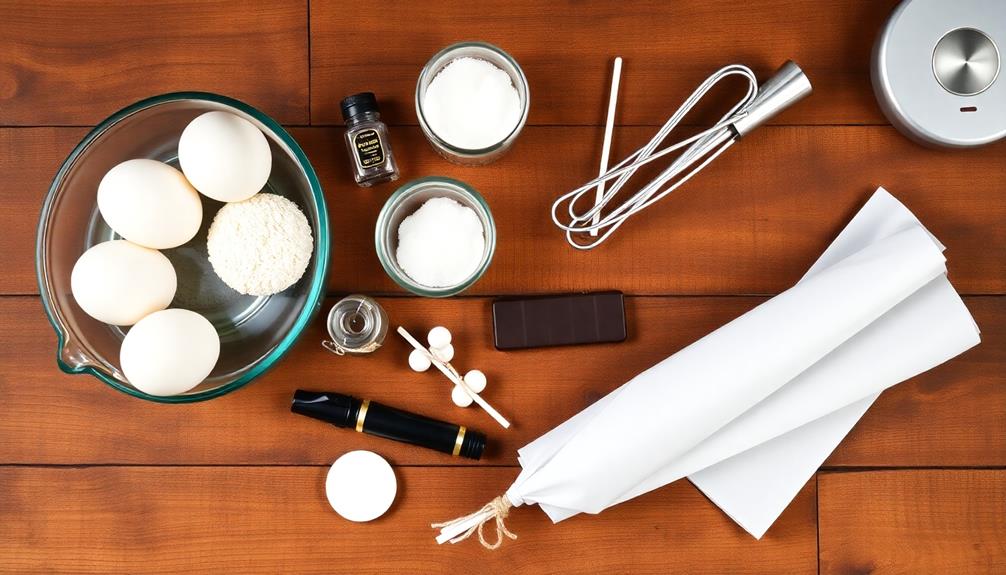
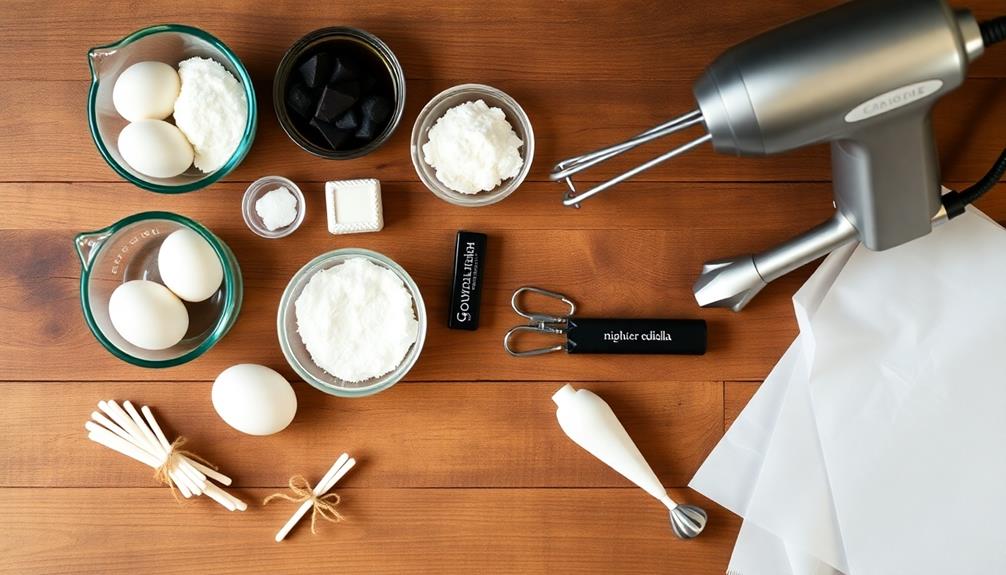
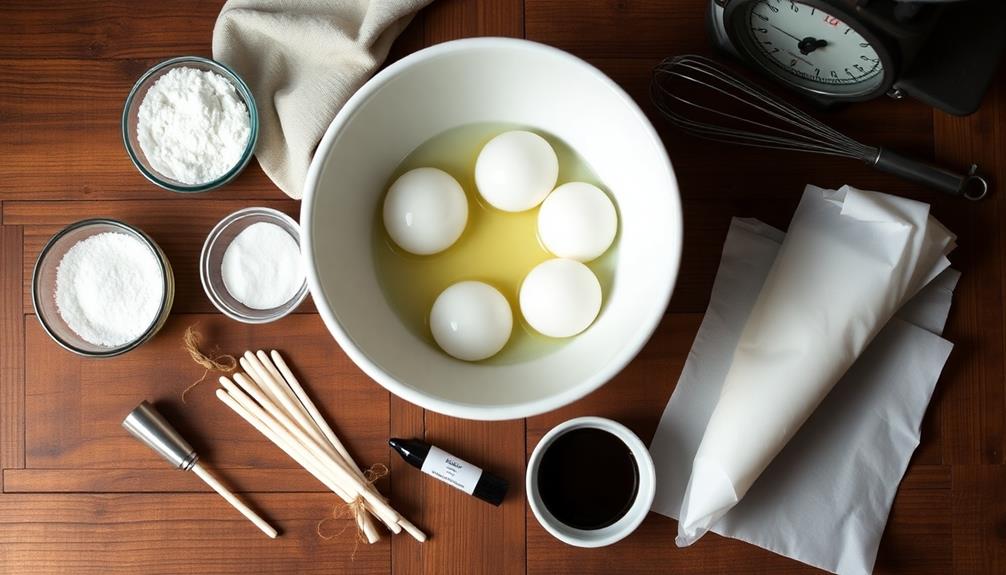
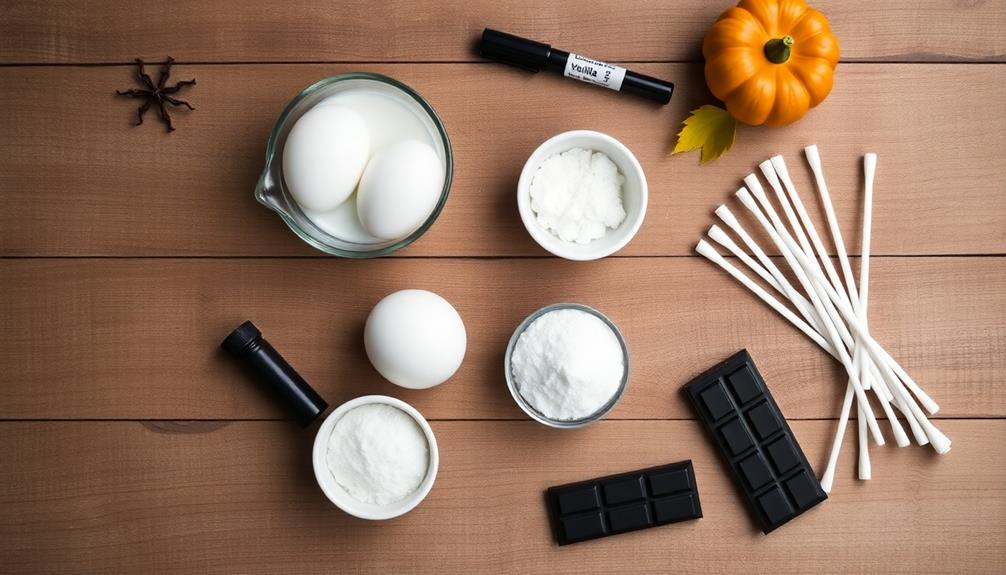
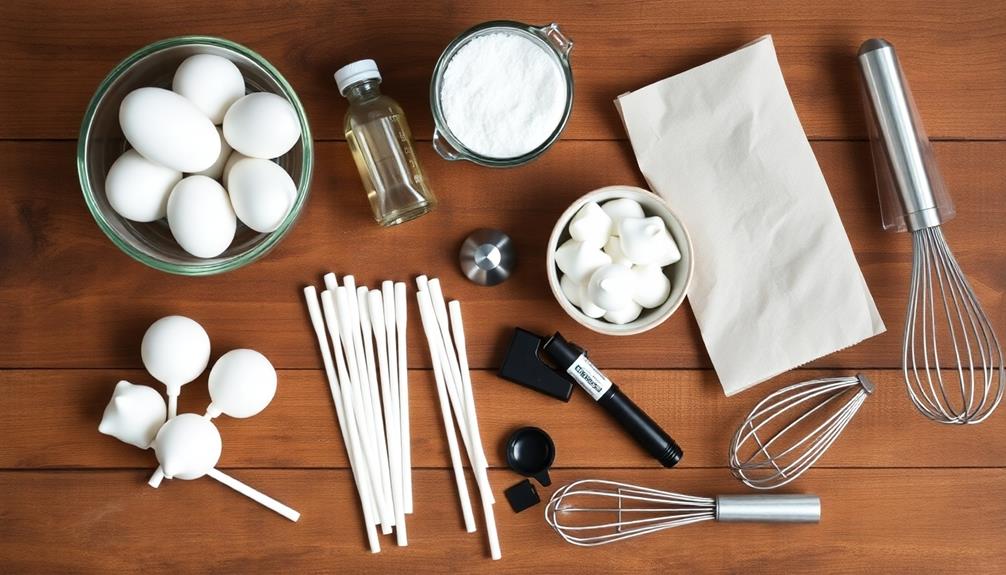
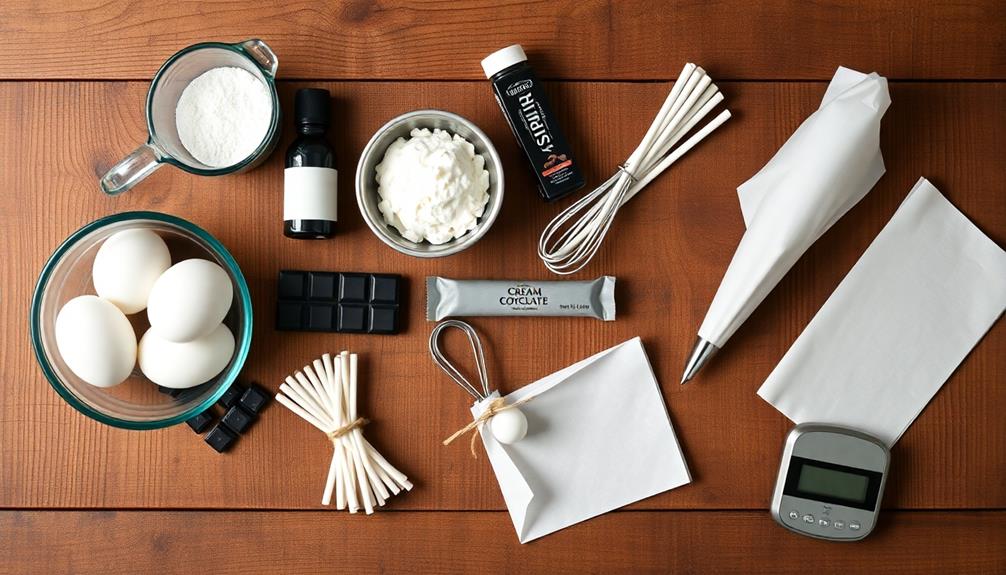
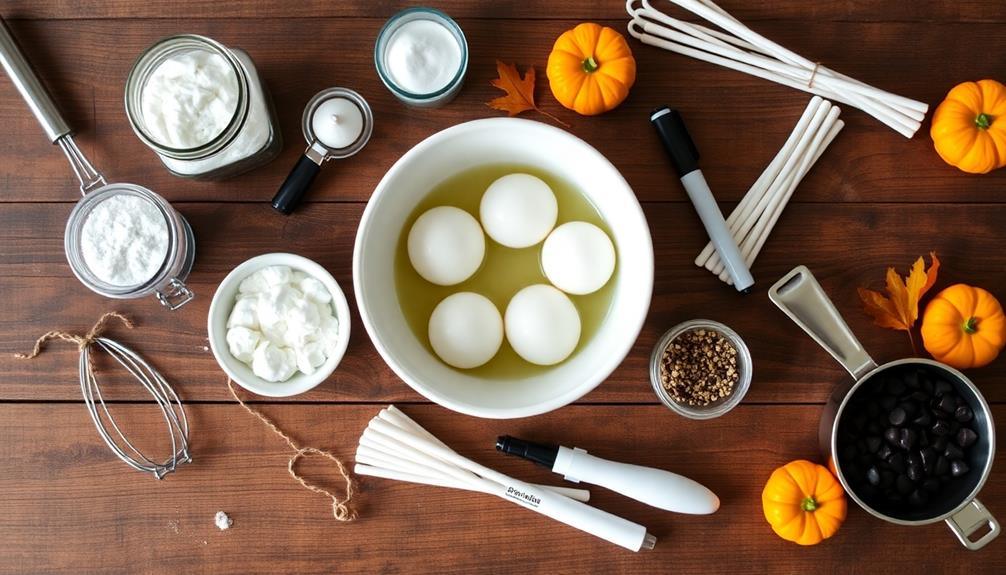
- 4 large egg whites, at room temperature
- 1 cup granulated sugar
- 1/4 teaspoon cream of tartar
- 1/2 teaspoon vanilla extract
- Black edible marker or melted dark chocolate (for decorating)
- Lollipop sticks
Preheat the oven to 200°F (95°C) and line two baking sheets with parchment paper. In a clean, dry bowl, whip the egg whites on medium speed until foamy. Add the cream of tartar and continue whipping while gradually adding the sugar. Increase the speed to high and whip until stiff, glossy peaks form and the sugar is fully dissolved. Fold in the vanilla extract.
Transfer the meringue to a piping bag fitted with a large round tip. Pipe ghost shapes onto the prepared baking sheets, inserting a lollipop stick into the base of each ghost. Bake for 2 hours, then turn off the oven and let the meringues cool completely inside without opening the door. Once cooled, use the edible marker or melted chocolate to draw faces on the ghosts.
For best results, make these Ghostly Meringue Pops on a dry day, as humidity can affect the texture of the meringue. If storing, keep them in an airtight container at room temperature for up to a week.
To add variety, consider incorporating different flavors like peppermint or almond extract, or create colorful ghosts using gel food coloring. Remember that meringue is delicate, so handle the finished pops with care to avoid breakage.

Food Coloring Marker Pens,12Pcs Dual Sided Food Grade and Edible Markers with Fine&Thick Tip,Edible Pen Gourmet Writers for Decorating Cake,Cookies,Fondant,Frosting,Easter Eggs,Painting,Drawing,Baking( For 12+ Year Old)
12 Vivid Food Coloring Marker Pens: Gold, Silver, Black, Bright Red, Purple, Fluorescent Yellow, Fluorescent Orange, Grass Green,…
As an affiliate, we earn on qualifying purchases.
As an affiliate, we earn on qualifying purchases.
Cooking Steps
You'll start by preheating your oven to 200°F and whipping egg whites until they form stiff peaks.
Next, you'll gradually add sugar to the egg whites while continuing to whip, creating a glossy meringue.
Once your meringue is ready, pipe it onto parchment paper in ghost shapes, then bake for 2 hours until the meringues are crisp and dry.
Step 1. Preheat Oven to 200°F
The initial step in creating these spooky treats is preheating your oven to 200°F (93°C). This low temperature is crucial for achieving the perfect meringue texture.
While it might seem unusually low, don't worry – it's exactly what you need for these ghostly pops.
As your oven heats up, you'll want to gather your baking sheets and line them with parchment paper. This step ensures your meringues won't stick.
While you're waiting, it's a good time to check that your egg whites are at room temperature. They'll whip up better this way!
Step 2. Whip Egg Whites Until Stiff

Starting with the heart of our ghostly treats, it's time to whip those egg whites into stiff peaks. You'll need a clean, dry mixing bowl and an electric mixer for this step.
Carefully separate your egg whites from the yolks, making sure no yolk sneaks in, as it can prevent proper whipping. Pour the whites into your bowl and start mixing on low speed.
As you whip, you'll notice the egg whites becoming foamy. Gradually increase the mixer speed to medium-high. Keep a close eye on the whites as they transform. They'll first become soft and cloud-like, then start to look glossy.
You're aiming for stiff peaks, which means when you lift the beaters, the egg whites should stand up straight without flopping over.
Don't overbeat, though! If the whites start looking grainy or separating, you've gone too far. The whole process usually takes about 3-5 minutes, depending on your mixer.
Once you've got those perfect stiff peaks, you're ready for the next ghostly step in our meringue adventure!
Step 3. Add Sugar Gradually
Gradually adding sugar is the next crucial step in creating our ghostly meringue pops. You'll want to do this slowly and steadily to ensure the sugar dissolves completely into the egg whites. Start by adding about a tablespoon of sugar at a time while continuing to beat the mixture. This process helps create a smooth, glossy texture that's essential for perfect meringues.
As you add the sugar, you'll notice the mixture becoming thicker and more opaque. Keep beating at medium-high speed, and don't rush this part – it's key to achieving the right consistency. You're aiming for stiff, glossy peaks that hold their shape when you lift the beater.
If you're using superfine sugar, it'll dissolve more quickly, but regular granulated sugar works too. Just be patient and keep adding gradually.
Once all the sugar is incorporated, give the mixture a final beat for about 30 seconds to ensure everything's well combined. Now you're ready for the next exciting step in creating your spooky treats!
Step 4. Pipe Meringue Onto Parchment Paper
With your meringue mixture ready, it's time to pipe out your ghostly shapes onto parchment paper.
First, prepare your baking sheets by lining them with parchment paper. You'll want to give your ghosts plenty of space to spread out.
Next, fill a piping bag with your meringue mixture. If you don't have a piping bag, you can use a large zip-top plastic bag with a corner snipped off.
To create your ghost shapes, hold the piping bag vertically and squeeze gently, starting with a wider base and moving upward to form a tapered top. You're aiming for a shape that's about 2-3 inches tall.
As you finish each ghost, give a little swirl at the top to create a cute, curly peak. Don't worry if they're not perfect – each ghost can have its own unique personality!
Remember to leave some space at the bottom of each ghost for inserting a lollipop stick later.
Once you've piped out all your ghosts, gently tap the baking sheets on the counter to remove any air bubbles.
Your spooky meringue ghosts are now ready for the next step in their transformation!
Step 5. Bake for 2 Hours
Now that your ghostly shapes are piped onto the parchment paper, it's time to bake them. Preheat your oven to 200°F (93°C), which is much lower than you'd use for most baking. This low temperature is crucial for creating the perfect meringue texture.
Place your baking sheet with the piped ghosts into the preheated oven. You'll need to be patient, as these spooky treats require a long, slow bake. Set your timer for 2 hours and resist the urge to open the oven door during this time. The steady heat will slowly dry out the meringue, creating a crisp exterior while keeping the inside slightly chewy.
After 2 hours, turn off the oven but don't remove the ghosts yet. Let them cool completely inside the oven with the door closed. This gradual cooling helps prevent cracks and ensures your ghosts maintain their shape.
Once they're completely cool, you can gently remove them from the parchment paper. They should easily lift off, revealing perfectly formed, ghostly white meringue pops that are ready for the next step in your spooky creation!
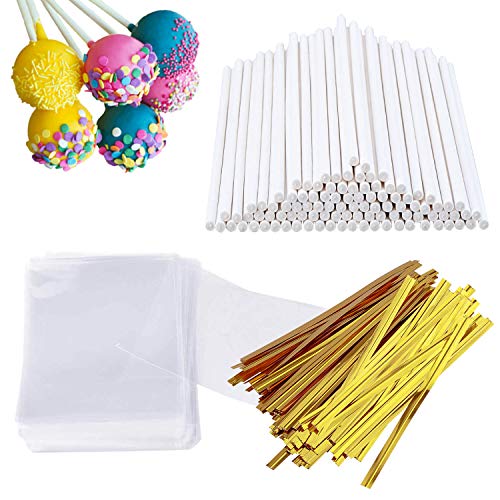
300 PCS Cake Pop Sticks and Wrappers Kit, Including 100ct 6-inch Paper Lollipop Sticks, 100ct Clear Candy Treat Bags Parcel, 100ct Gold Twist Ties for Cakepop, Lollipop, Hard Candy, Suckers, Chocolate
Food-Grade & Sturdy Paper: These paper cookies sticks are made of premium food-grade paper, tasteless. Sturdy sticks won't…
As an affiliate, we earn on qualifying purchases.
As an affiliate, we earn on qualifying purchases.
Final Thoughts
These ghostly meringue pops are sure to be the hit of any Halloween party. They're not only cute and spooky, but they're also delicious and fun to make. You'll love how the crispy exterior gives way to a light, airy center that melts in your mouth.
Remember, patience is key when making meringues. Don't rush the process, and you'll be rewarded with perfect results.
If you're feeling creative, you can experiment with different designs. Try adding chocolate chips for eyes or using food coloring to create colorful ghosts. You can also make larger meringues without sticks for a different presentation.
Just be sure to store your finished meringues in an airtight container to keep them fresh and crispy.
Don't be discouraged if your first attempt isn't perfect. Meringues can be tricky, but with practice, you'll become an expert.
These ghostly treats are a great way to impress your friends and family while honing your baking skills. So grab your mixing bowl, preheat that oven, and get ready to create some hauntingly good Halloween memories!
Frequently Asked Questions
Can I Use Different Shapes Instead of Ghosts for the Meringue Pops?
Absolutely! You can use any shape you'd like for your meringue pops. Get creative with seasonal designs, animals, or geometric forms. Just adjust your piping technique to create the desired shape on your baking sheet before cooking.
How Long Do Ghostly Meringue Pops Stay Fresh?
You'll find your meringue pops stay fresh for about 2-3 days when stored properly. Keep them in an airtight container at room temperature, away from moisture. They'll start to soften after that, so enjoy them quickly!
Are There Any Vegan Alternatives for Making Meringue Pops?
You can make vegan meringue pops using aquafaba, the liquid from canned chickpeas. It whips up just like egg whites. You'll also need sugar and cream of tartar. They'll have a similar texture and taste to traditional meringues.
Can I Add Food Coloring to Create Colorful Ghost Pops?
Yes, you can add food coloring to create colorful ghost pops. It's easy to do! Just mix a few drops of your chosen color into the meringue mixture before piping. You'll have vibrant, spooky treats in no time.
What's the Best Way to Package These Pops for Gifting?
You'll want to protect your delicate pops. Try wrapping them individually in cellophane bags, tied with ribbon. For added flair, place them in a decorative box or tin. Don't forget to include a cute gift tag!