Transform your traditional gingerbread house into a spooky Halloween masterpiece! You'll need the usual gingerbread ingredients, plus some creative decorations to give it a haunted flair. Start by baking your gingerbread pieces, then assemble them with royal icing. Add eerie touches like fondant ghosts, candy cobwebs, and spooky lighting effects. Don't forget to experiment with glow-in-the-dark icing or tiny LED lights for an extra creepy ambiance. Remember, there's no right or wrong way to design your haunted house – let your imagination run wild! This fun project combines baking skills with Halloween magic, perfect for a unique centerpiece or party activity. Discover how to bring your haunted vision to life with just a few simple steps.
Key Takeaways
- Transform traditional gingerbread houses into spooky Halloween-themed creations using dark colors and eerie decorations.
- Incorporate edible ghosts made from fondant or marshmallows to enhance the haunted atmosphere.
- Use LED tea lights, colored lights, and glow-in-the-dark icing for spooky lighting effects.
- Experiment with unconventional decorations like candy cobwebs, pretzel stick fences, and cookie gravestones.
- Display the haunted gingerbread house as a centerpiece for Halloween parties or seasonal decor.

Homemory 24Pcs Flickering Flameless Candle Battery Operated, 200+Hours Fake Electric LED Tea Lights for Votive, Centerpiece Table Decorations, Wedding, Aniversary, Halloween, Christmas
FLICKERING WARM GLOW: These battery tea lights boast an impressively melting edge design and a realistic warm flicker,…
As an affiliate, we earn on qualifying purchases.
As an affiliate, we earn on qualifying purchases.
History

Gingerbread houses have a rich history dating back to 16th century Germany. You might be surprised to learn that these sweet creations weren't always associated with Christmas. In fact, they started as year-round treats that gained popularity during festivals and fairs. The Brothers Grimm's fairy tale "Hansel and Gretel" helped popularize the idea of edible houses, inspiring bakers to create more elaborate designs.
As you explore the history of gingerbread houses, you'll discover that they've evolved over time. In the 1800s, German immigrants brought the tradition to America, where it quickly caught on. You'll find that different regions developed their own unique styles and decorations. For example, some areas favored intricate piping work, while others focused on candy embellishments.
Today, you can see gingerbread houses in all shapes and sizes. They're not just limited to traditional cottages anymore – you'll spot gingerbread versions of famous landmarks, castles, and even spooky haunted houses. It's amazing how a simple baked good has become such a beloved holiday tradition around the world.

Luckymica Glow in The Dark Pigment Powder 12 Colors, Epoxy Resin Dye Luminous Pigments 20g/0.71oz Each Bottle for DIY, Crafts, Nail Art, Acrylic Paint, Halloween or Christmas Decoration
UPGRADED GLOW-IN-THE-DARK POWDER: Non-toxic, eco-friendly, and safe to use—Luckymica’s glow-in-the-dark pigment powder set is ideal for a wide…
As an affiliate, we earn on qualifying purchases.
As an affiliate, we earn on qualifying purchases.
Recipe

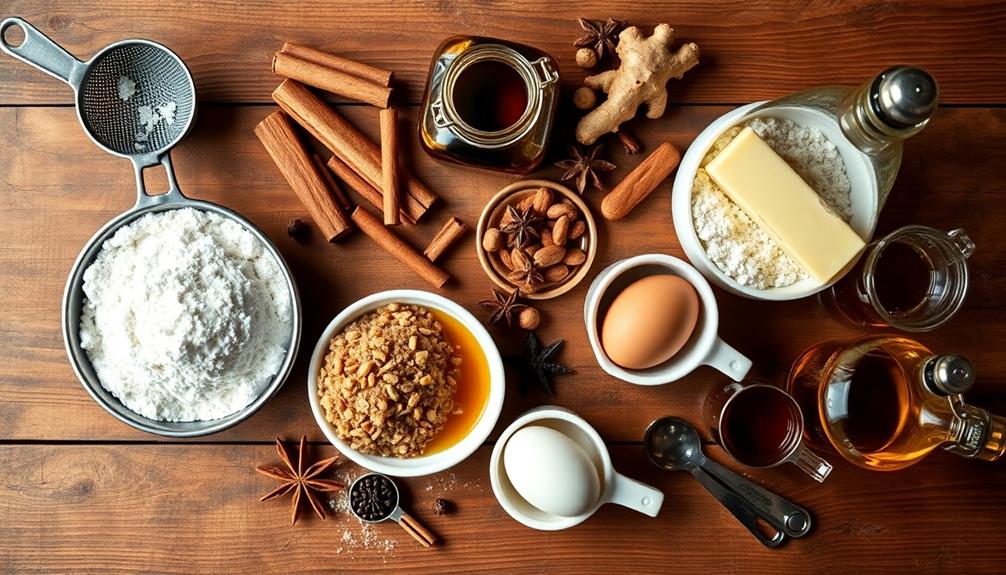
Creating a haunted gingerbread house is a delightfully spooky twist on the classic holiday tradition. This recipe combines the warmth and sweetness of traditional gingerbread with eerie decorations to craft a Halloween-worthy centerpiece. The gingerbread itself is infused with rich molasses and a blend of aromatic spices, providing a sturdy foundation for your haunted creation.
While the recipe may seem complex, breaking it down into manageable steps makes it an enjoyable project for bakers of all skill levels. The key is to allow ample time for each stage, from preparing the dough to assembling and decorating the house. With patience and creativity, you'll be able to construct a spine-chilling gingerbread abode that's as tasty as it's terrifying.
- 3 cups all-purpose flour
- 1 1/2 teaspoons ground cinnamon
- 1 teaspoon ground ginger
- 1/4 teaspoon ground cloves
- 1/4 teaspoon salt
- 3/4 cup unsalted butter, softened
- 3/4 cup dark brown sugar
- 1/2 cup molasses
- 1 large egg
- 1 teaspoon vanilla extract
- Royal icing (for assembly and decoration)
- Assorted candies for spooky decorations
Begin by whisking together the dry ingredients in a bowl. In a separate large bowl, cream the butter and sugar until light and fluffy. Beat in the molasses, egg, and vanilla. Gradually add the dry ingredients to the wet mixture, mixing until a stiff dough forms.
Divide the dough into two discs, wrap in plastic, and refrigerate for at least 2 hours. Roll out the chilled dough and cut into house pieces using templates. Bake at 350°F (175°C) for 10-12 minutes until edges are lightly browned. Allow to cool completely before assembling with royal icing and decorating with candies to create your haunted masterpiece.
For best results, make the gingerbread dough a day in advance to allow the flavors to meld. When decorating, consider using black food coloring in some of the royal icing to create shadows and eerie effects. Edible luster dust can add a ghostly shimmer to your creation.

6Pcs/Set Halloween Cake Fondant Molds, Halloween Party Cupcake Topper Decorating Tools, Silicone Chocolate Candy Mold Gum Paste Polymer Clay Epoxy Resin Mould (Bat Pumpkin Spider Owl Ghost Cobweb)
You will receive 6 fondant molds featuring a Halloween theme: a cobweb, a spider, a pumpkin, an owl,…
As an affiliate, we earn on qualifying purchases.
As an affiliate, we earn on qualifying purchases.
Cooking Steps

You're about to embark on a spooky culinary adventure as you create your haunted gingerbread house.
First, you'll mix the dry ingredients and whip up a ghostly gingerbread dough, then cut and assemble the house pieces with precision.
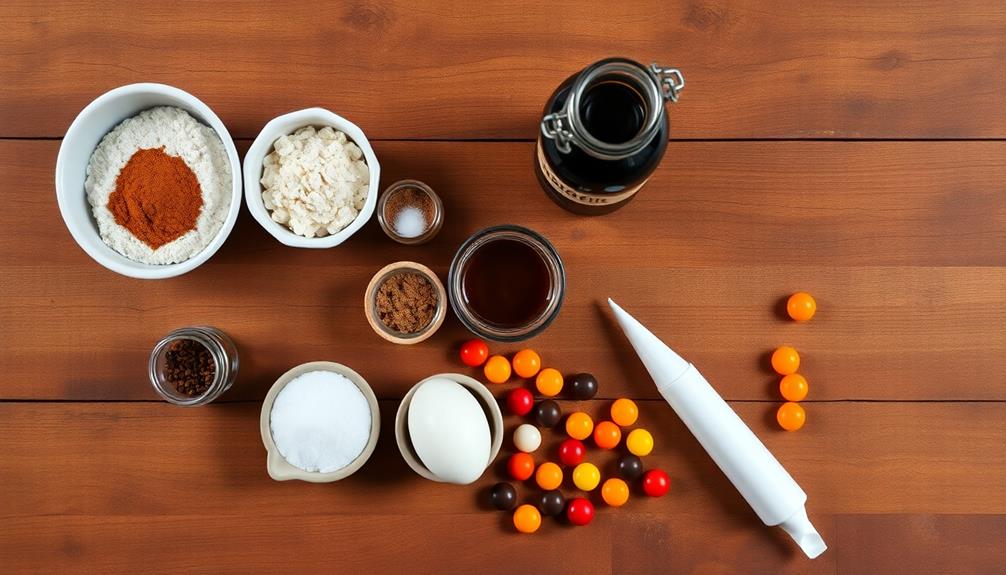
Step 1. Mix Dry Ingredients Together
Now that you've gathered all your ingredients, it's time to start mixing the dry components. Grab your largest mixing bowl and sift together the all-purpose flour, baking soda, and salt. This step is crucial for removing any lumps and ensuring your gingerbread has a smooth texture.
Next, add your ground spices: cinnamon, ginger, nutmeg, and cloves. These aromatic ingredients will give your haunted house its signature spooky scent and flavor.
Use a whisk to thoroughly combine all the dry ingredients, making sure there are no pockets of spices or clumps of flour. As you mix, you'll notice the color of the mixture becoming a light brown, thanks to the warm spices.
Don't forget to add a pinch of black pepper for an extra kick – it's our secret ingredient! Once everything is well combined, set the bowl aside. You'll need this mixture later when you're ready to create your dough.
Step 2. Create Spooky Gingerbread Dough
The spooky gingerbread dough is where the magic begins. You'll need to combine your dry ingredients with the wet ones to create a dough that's perfect for your haunted house.
In a large bowl, add your pre-mixed dry ingredients. Create a well in the center and pour in the melted butter, molasses, and egg. Using a wooden spoon, start mixing from the center, gradually incorporating the dry ingredients.
As you stir, you'll notice the dough turning a rich, dark color – perfect for a haunted house! Keep mixing until all the ingredients are well combined. If the dough feels too sticky, add a little more flour. If it's too dry, a splash of milk will do the trick.
Once your dough reaches the right consistency, it's time to get your hands dirty. Knead the dough on a lightly floured surface for about 5 minutes. This will help develop the gluten and make your gingerbread sturdier.
Form the dough into a ball, wrap it in plastic, and chill it in the fridge for at least an hour. This resting time will make it easier to roll out and cut your spooky shapes!
Step 3. Cut and Assemble House Pieces

After your spooky gingerbread dough has chilled, it's time to cut and assemble the house pieces. Roll out the dough on a floured surface to about 1/4 inch thickness. Use your haunted house template to cut out the walls, roof, and any spooky features you'd like to add.
Don't forget to cut out windows and doors for that eerie, abandoned look!
Once you've cut all the pieces, carefully transfer them to a baking sheet lined with parchment paper. Bake according to your recipe's instructions, usually around 10-12 minutes at 350°F. Let the pieces cool completely before assembly.
Now comes the fun part – putting your haunted house together! Use royal icing as "glue" to attach the walls to the base. Hold each piece in place for a minute to ensure it sticks.
Once the walls are secure, add the roof pieces. For extra stability, let the structure dry for an hour before decorating. Remember, imperfections add to the haunted charm, so don't worry if things aren't perfectly aligned.
Your spooky gingerbread house is taking shape!
Step 4. Decorate With Edible Ghosts

With your haunted gingerbread house structure in place, it's time to add some spooky residents – edible ghosts! To create these eerie apparitions, you'll need white fondant or marshmallows. If using fondant, roll it out and cut small ghost shapes using a cookie cutter or knife. For marshmallow ghosts, simply stretch large marshmallows into ghost-like forms.
Next, give your ghosts some personality with edible black food coloring or melted dark chocolate. Use a fine-tipped brush or toothpick to draw eyes and mouths on each ghost. You can make them look scared, mischievous, or even friendly – it's up to you!
Once your ghosts are ready, start placing them around your gingerbread house. Stick them to the roof, windows, or doorway using a dab of royal icing. You can even create a ghostly parade leading up to the house by arranging them on the base.
For an extra spooky touch, try making some ghosts appear to be peeking out from behind gingerbread gravestones or trees. Remember, the key is to have fun and let your creativity haunt the house!
Step 5. Add Spooky Lighting Effects

Creating a spine-chilling atmosphere for your haunted gingerbread house is essential, and spooky lighting effects can take it to the next level. Start by placing small LED tea lights inside your gingerbread house, positioning them behind windows or in doorways to create an eerie glow. You can use colored lights, like orange or purple, to enhance the Halloween vibe.
For a ghostly effect, try using glow-in-the-dark icing to create spectral shapes or messages on your house. Apply the icing during daylight hours, then turn off the lights to see it come alive!
Another cool trick is to use tiny fiber optic lights to create twinkling stars in the night sky backdrop of your display.
Don't forget about the surroundings! Place battery-operated candles around your gingerbread house to cast flickering shadows. You can even create a spooky fog effect by using dry ice in a small container of warm water near your display. Just be sure to handle dry ice carefully and with adult supervision.
With these lighting techniques, your haunted gingerbread house will be the talk of the Halloween party!

Whaline 4 Packs Halloween Ghost Fondant Silicone Molds Cute Spooky Ghost Chocolate Candy Mould for Halloween Kitchen Party Baking Crafts Decor Supplies
The Package Includes – 4 packs Halloween themed fondant molds with ghost design, different patterns are slightly different…
As an affiliate, we earn on qualifying purchases.
As an affiliate, we earn on qualifying purchases.
Final Thoughts

Crafting a haunted gingerbread house offers a delightful twist on a beloved holiday tradition. You've now learned how to transform a classic sweet treat into a spooky masterpiece, complete with eerie decorations and ghostly lighting effects.
As you put the finishing touches on your creation, take a moment to step back and admire your work. You've combined creativity, baking skills, and a touch of Halloween magic to make something truly unique.
Remember, there's no right or wrong way to design your haunted gingerbread house. Let your imagination run wild and don't be afraid to experiment with different techniques. If something doesn't work out as planned, it's okay – imperfections can add to the haunted charm! You can always try again or incorporate unexpected results into your design.
Share your haunted gingerbread house with friends and family, or display it as a centerpiece at your next Halloween party. It's sure to be a conversation starter and might even inspire others to try their hand at this fun project.
Happy haunting and happy baking!
Frequently Asked Questions
Can I Use Alternative Ingredients for a Gluten-Free Haunted Gingerbread House?
You can definitely use alternative ingredients for a gluten-free version. Try almond flour, coconut flour, or gluten-free all-purpose flour. Don't forget to adjust your binding agents and leaveners accordingly. Experiment with different flours to find your favorite texture.
How Long Does a Haunted Gingerbread House Typically Last Before Spoiling?
Your gingerbread house can last 2-4 weeks if stored properly. Keep it in a cool, dry place away from direct sunlight. Don't eat it after this time, as it'll become stale and potentially grow mold.
Are There Any Safety Concerns When Using Edible Decorations for Haunted Effects?
When using edible decorations for haunted effects, you'll want to avoid choking hazards and allergens. Don't use anything that's spoiled or moldy. Ensure all ingredients are food-safe and follow proper hygiene practices when handling the decorations.
What's the Best Way to Transport a Completed Haunted Gingerbread House?
You'll want to secure your creation on a sturdy base. Use a cake board or thick cardboard, then place it in a large, flat box. Don't forget to cushion it with tissue paper or bubble wrap.
Can I Reuse Gingerbread House Molds for Creating Haunted Versions?
You can absolutely reuse gingerbread house molds for haunted versions. They'll provide the perfect base structure. Just get creative with spooky decorations and dark-colored icing. Don't forget to add eerie details to make it truly haunted!