
Yes, homemade ice cream can go bad if not stored properly. To keep it fresh, use airtight containers and minimize air gaps to prevent freezer burn. Maintain your freezer at 0°F (-18°C) and place the ice cream in the coldest spot. Proper sealing, quick freezing, and adding plastic wrap on top help prevent ice crystals and texture loss. For more tips on extending its freshness, keep exploring these storage secrets.
Key Takeaways
- Homemade ice cream can spoil or develop freezer burn if not stored properly or kept too long.
- Proper airtight containers and plastic wrap help prevent spoilage and ice crystal formation.
- Maintaining a consistent freezer temperature at 0°F (-18°C) extends shelf life.
- Avoid frequent freezer door openings to prevent temperature fluctuations that can degrade quality.
- For best taste and texture, consume homemade ice cream within a few weeks of freezing.
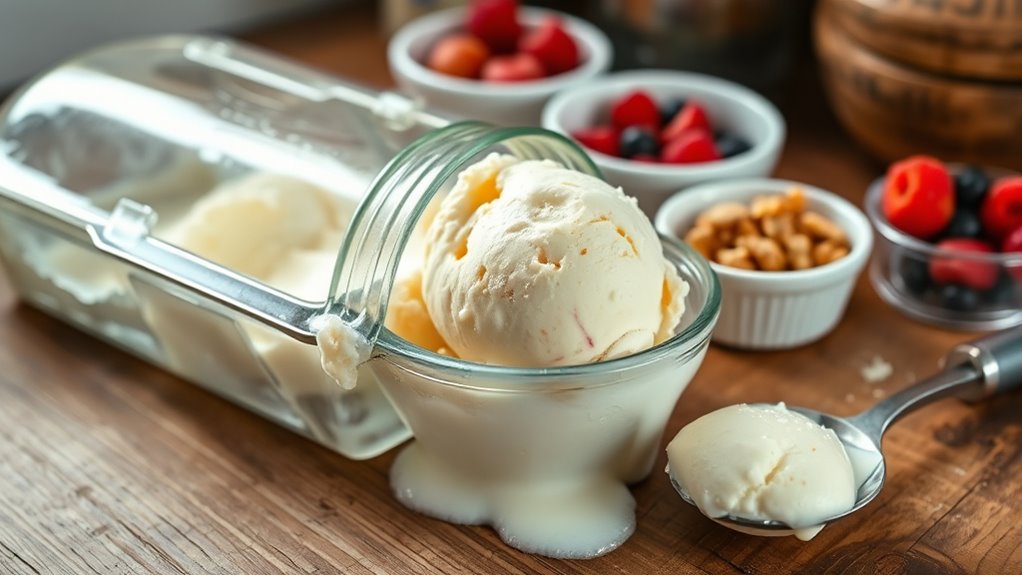
Storing homemade ice cream properly is vital to maintain its flavor and texture. When you put your frozen creation into the freezer, how you handle it can make a big difference in preserving its quality. One of the key factors influencing this is ice cream texture, which can suffer if it’s not stored correctly. To keep your ice cream smooth and creamy, you need to pay attention to freezing techniques and storage methods.
First, guarantee your ice cream is stored in an airtight container. Exposure to air causes ice crystals to form, which results in a grainy, icy texture. Use a container with a tight-fitting lid or wrap the surface with plastic wrap before sealing it. This minimizes air contact and helps prevent freezer burn, which can ruin the texture and flavor. Also, avoid large gaps in the container, as excess air can accelerate quality loss.
Temperature consistency is vital. The freezer should be set at 0°F (-18°C) or colder. Fluctuations in temperature cause ice crystals to grow, negatively impacting the ice cream’s texture. If your freezer tends to cycle on and off, consider placing the ice cream in the coldest part of the freezer, often near the back, to maintain a steady temperature.
Freezing techniques matter, too. When you first make your ice cream, rapid freezing helps create a fine, smooth texture. After churning, transfer it to your storage container immediately, smoothing the top with a spatula before sealing. If you’re freezing multiple batches, space them apart so they freeze quickly and uniformly. Patience is key—allow the ice cream to set fully, ideally for at least four hours or overnight, before scooping.
Another trick to prevent ice crystals from forming is to place a sheet of wax paper or parchment directly on the surface of the ice cream before sealing the container. This creates an additional barrier against freezer burn and helps preserve a consistent texture. If you plan on keeping the ice cream for more than a couple of weeks, consider adding a layer of plastic wrap directly on top of the ice cream before sealing the container.
Frequently Asked Questions
How Long Can Homemade Ice Cream Be Stored Before It Spoils?
You can typically store homemade ice cream for up to two months before flavor deterioration and texture changes become noticeable. Keep it in an airtight container to prevent freezer burn and absorption of other odors. After this period, expect taste and consistency to decline, making it less enjoyable. Always check for ice crystals or a strange smell before consuming, as these are signs your homemade ice cream may no longer be good.
Does Homemade Ice Cream Develop Ice Crystals Over Time?
Imagine a winter wonderland in your freezer—your homemade ice cream may develop ice crystal formation over time. These crystals can make your treat gritty and less enjoyable. As ice crystals grow, they can also cause freezer burn, affecting texture and flavor. To prevent this, store your ice cream in airtight containers and consume it within a few weeks. This keeps your dessert smooth, creamy, and perfect every time.
Can Homemade Ice Cream Be Safely Refrozen After Partial Thawing?
Refreezing homemade ice cream after partial thawing can be safe if you handle it properly. However, keep in mind that refreezing safety depends on how long it’s been out and whether it’s been exposed to bacteria. Be aware of potential texture changes, like ice crystals or a grainy feel, which are common when you refreeze. To maintain quality, refreeze quickly and keep it at a consistent cold temperature.
What Are the Signs of Homemade Ice Cream Going Bad?
You’ll notice signs of spoilage in your homemade ice cream if it develops off odors, noticeable freezer burn, or a change in texture like excessive ice crystals. Proper freezing techniques help prevent spoilage, so make sure it’s stored in an airtight container and kept at a consistent temperature. If it tastes sour or looks strange, it’s best to discard it to avoid health risks. Regularly check your freezer to maintain quality.
How Does Storage Duration Affect Homemade Ice Cream’s Flavor and Texture?
Did you know homemade ice cream is best enjoyed within two weeks? As storage duration extends, you’ll notice a decline in its creamy consistency and flavor degradation. Over time, ice crystals form, making it grainy and less smooth. To preserve its taste and texture, store your ice cream in an airtight container and consume it promptly. This way, you keep that delightful, creamy experience every time!
Conclusion
Remember, homemade ice cream is like a precious treasure—you want to protect it from freezer burn and spoilage. I once left a batch uncovered overnight, only to find it had turned icy and unappetizing the next day. Proper storage keeps your sweet creation fresh and delightful, much like tending a delicate garden. So, follow these secrets, and your homemade ice cream will stay delicious, just like a well-kept secret waiting to be enjoyed.