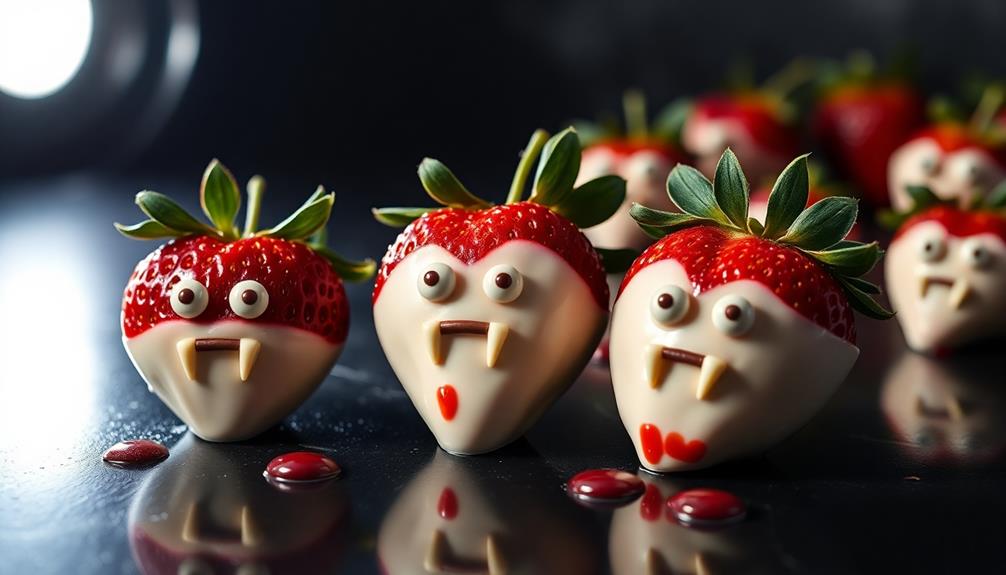
Monster Mouth Apple Slices are a fun, healthy snack that's perfect for Halloween or any time you want to add some whimsy to your plate. You'll need apples, peanut butter (or alternatives), and mini marshmallows. Cut your apples into quarters, spread peanut butter on the inside, and place marshmallows along the edge to create teeth. For extra flair, add googly eyes using frosting or peanut butter as glue. This simple recipe encourages kids to eat fruit while getting creative in the kitchen. It's a great way to make healthy snacking more appealing and engaging. There's plenty more to explore with this versatile treat!
Key Takeaways
- Monster Mouth Apple Slices are fun, healthy snacks made from apple quarters decorated to look like monster mouths.
- They typically use peanut butter as filling, mini marshmallows for teeth, and googly eyes for decoration.
- Preparation is simple, involving cutting apples, spreading filling, and adding decorative elements.
- These snacks are popular for Halloween parties, after-school treats, and encouraging kids to eat healthier.
- The recipe is highly customizable, allowing for different fillings, apple types, and creative monster designs.
History
Monster Mouth Apple Slices don't have a long or complex history. They're a relatively recent creation in the world of fun food presentations.
You'll find that these clever snacks have gained popularity over the past decade or so, especially among parents and teachers looking for creative ways to encourage healthy eating.
The concept likely originated from the broader trend of making food more visually appealing and playful for kids. You've probably seen similar ideas with other fruits and vegetables, like carrot stick fingers or banana dolphins.
Monster Mouth Apple Slices fit right into this category of imaginative food art.
As social media platforms like Pinterest and Instagram grew, you'd notice these apple creations popping up more frequently. They're often featured in back-to-school lunch ideas, Halloween party spreads, and general kid-friendly recipe collections.
You'll find countless variations online, with different fillings and decorations to make the "mouths" even more monstrous or silly.
While they mightn't have centuries of culinary tradition behind them, Monster Mouth Apple Slices have quickly become a modern classic in fun, healthy snacking.
Recipe
Monster Mouth Apple Slices are a fun and creative way to encourage kids to eat more fruit while enjoying a spooky treat. This simple recipe transforms ordinary apples into playful, toothy grins that are perfect for Halloween parties, after-school snacks, or any time you want to add a little whimsy to your plate.
These apple slices aren't only visually appealing but also offer a delightful combination of flavors and textures. The crisp, juicy apple provides a natural sweetness, while the peanut butter adds a creamy, nutty element. The mini marshmallow "teeth" complete the monster mouth look and contribute a soft, pillowy texture to each bite.
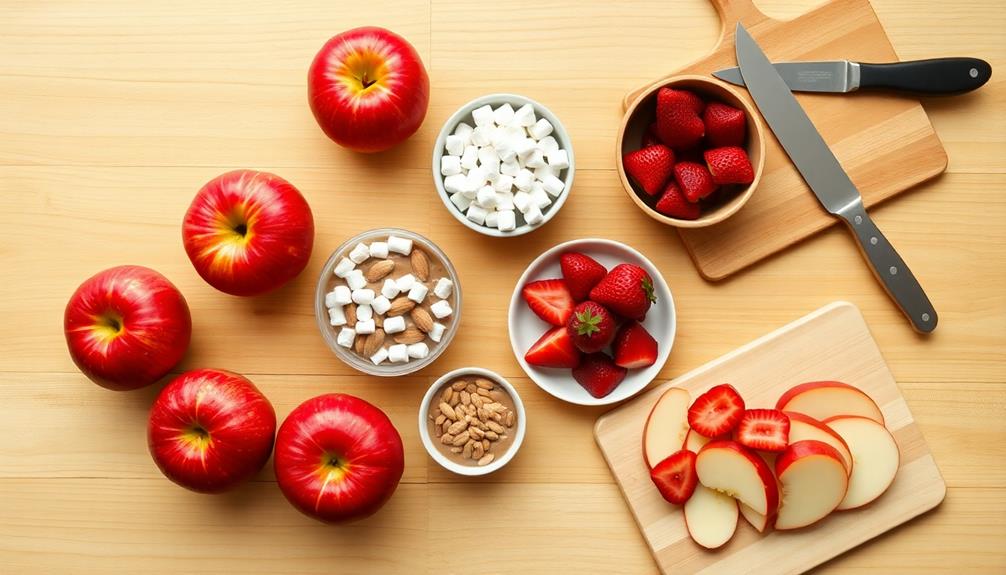
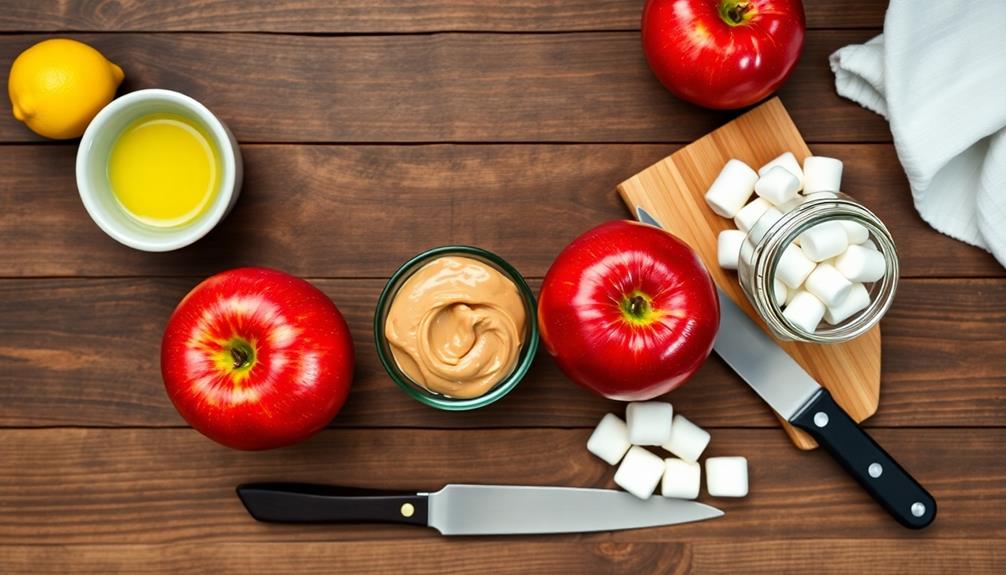
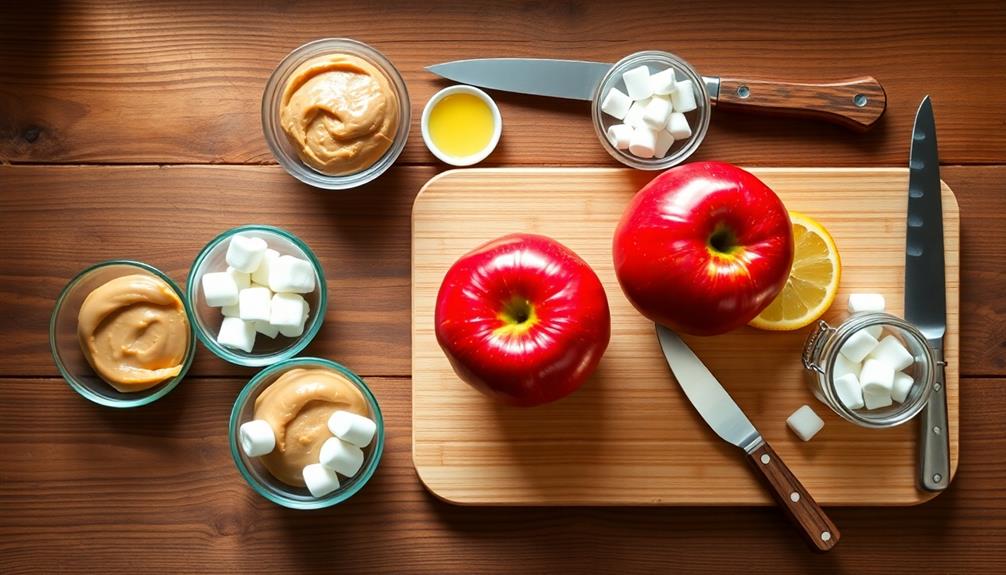
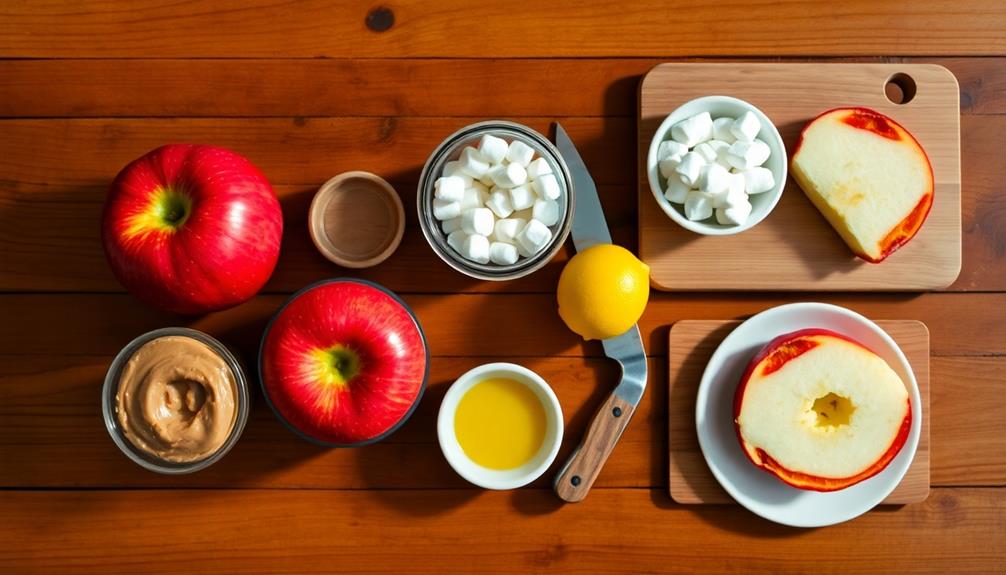
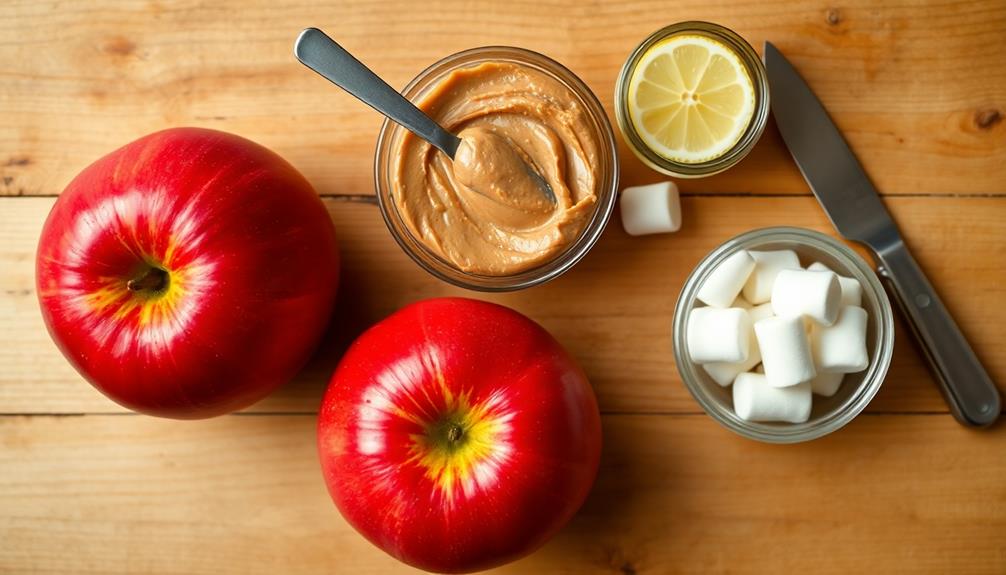
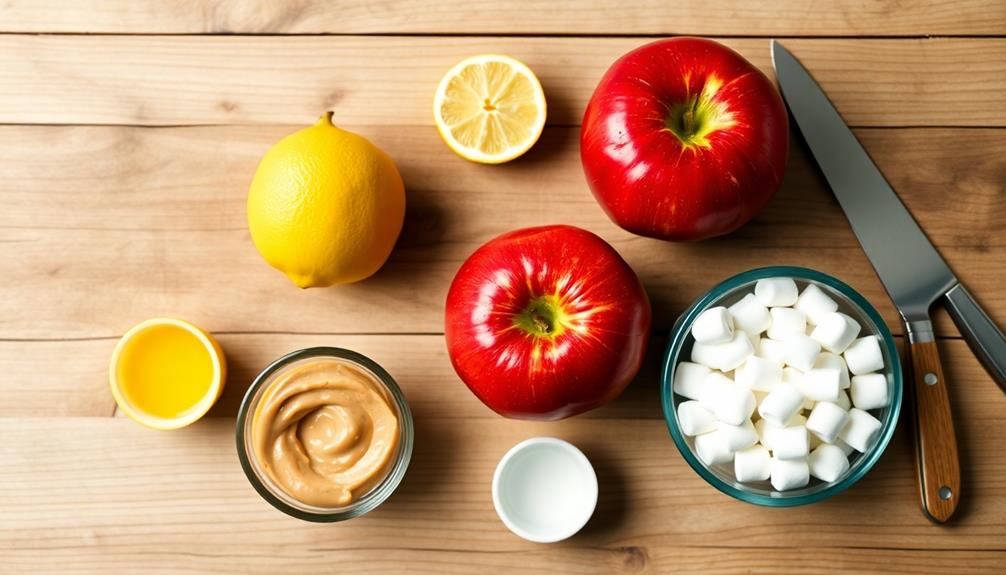
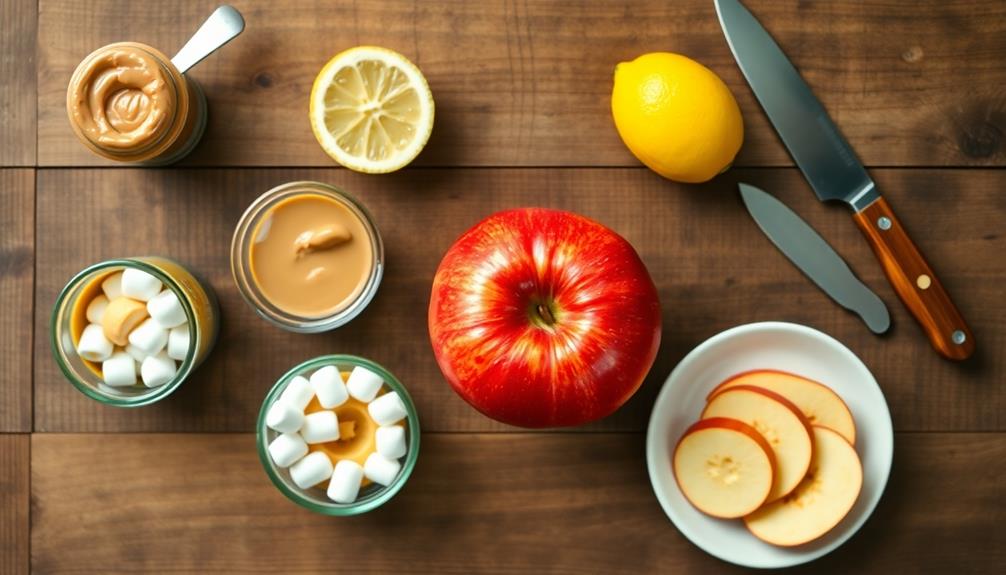
- 2 large apples (any variety)
- 1/4 cup creamy peanut butter
- 1/4 cup mini marshmallows
- 1 tablespoon lemon juice (optional)
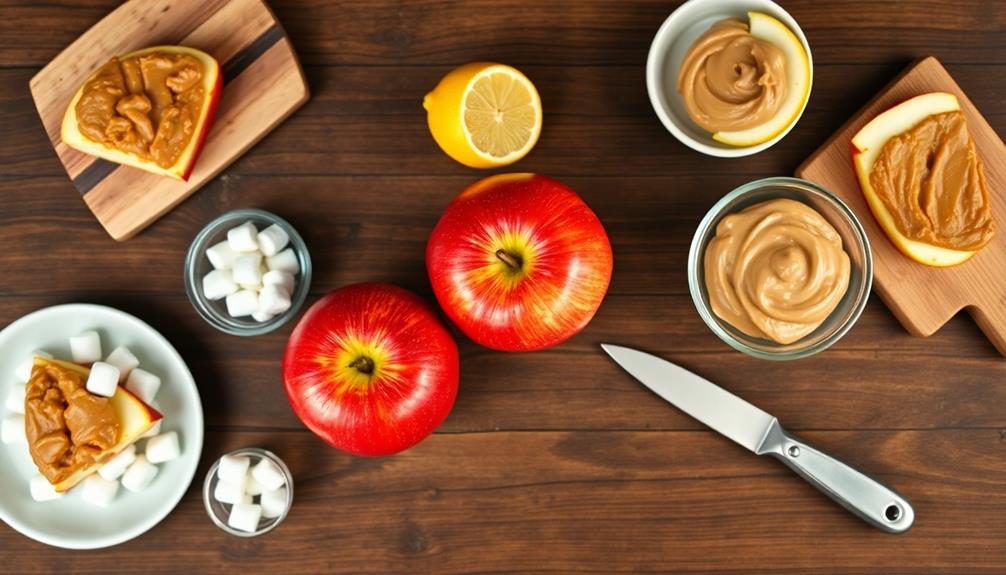
To prepare Monster Mouth Apple Slices, start by washing and quartering the apples. Remove the core from each quarter and cut each piece in half to create eighths. If desired, brush the apple slices with lemon juice to prevent browning.
Spread a thin layer of peanut butter on one side of each apple slice. Arrange mini marshmallows along the curved edge of half of the apple slices, pressing them gently into the peanut butter. Place the remaining apple slices on top, peanut butter side down, to create the monster mouths.
For best results, choose firm, crisp apples that will hold their shape well. Red apples like Gala or Fuji can create a more dramatic look, but green apples like Granny Smith offer a tart contrast to the sweet marshmallows.
If nut allergies are a concern, substitute the peanut butter with sunflower seed butter or cream cheese. These apple slices are best enjoyed immediately after preparation, but can be stored in an airtight container in the refrigerator for up to 24 hours.
Cooking Steps
To create your monster mouth apple slices, you'll need to follow a few simple steps.
Start by washing and coring your apples, then cut them into quarters to form the perfect "mouths" for your creations.
Next, spread peanut butter inside the slices, place marshmallows as teeth, and don't forget to add some googly eyes for a fun, spooky touch!
Step 1. Wash and Core Apples
Preparing apples for your monster mouth slices begins with a thorough wash. You'll want to rinse each apple under cool running water, gently rubbing the skin to remove any dirt or residue. Don't use soap, as it can seep into the apple and affect its taste.
Once clean, dry the apples with a clean towel or paper towel.
Next, it's time to core your apples. You've got a few options here. If you have an apple corer, that's the easiest way to go. Simply place the corer at the stem end of the apple, push down, and twist. The core will come right out!
If you don't have a corer, don't worry. You can use a knife to carefully cut around the core, creating four quarters. Then, slice out the seedy center from each quarter. For younger cooks, it's best to ask an adult for help with this step.
Step 2. Cut Apples Into Quarters
Once you've cored your apples, the next step is to cut them into quarters. Grab your cutting board and a sharp knife, making sure you're using proper knife safety.
Place the cored apple on its side on the cutting board. Carefully slice the apple in half from top to bottom, right through the middle where the core used to be.
Now you've got two halves. Take one half and place it cut-side down on the board. Slice it right down the center again, creating two quarters. Repeat this process with the other half.
You'll end up with four equal apple quarters, perfect for crafting your monster mouths!
If you're dealing with larger apples, you might want to cut each quarter in half again, making eight slices. This can be helpful for smaller hands or mouths.
Remember, consistency is key when cutting your apple slices. Try to make them roughly the same size so your monster mouths look uniform.
Don't worry if they're not perfect, though – monsters come in all shapes and sizes, after all!
Step 3. Spread Peanut Butter Inside Slices
Now that you've got your apple slices ready, it's time to whip out the peanut butter. Grab a butter knife or small spatula and scoop out a generous dollop of creamy peanut butter.
You'll want to spread a thick layer on the inside of each apple quarter, making sure to cover the entire cut surface. As you're spreading, try to create a smooth, even layer. This will help the "teeth" stick better later on.
If the peanut butter is too stiff, you can microwave it for a few seconds to soften it up. Just be careful not to overdo it, or you'll end up with runny peanut butter!
Once you've spread peanut butter on all your apple slices, take a moment to admire your handiwork. The contrast between the white apple flesh and the creamy peanut butter already looks pretty cool.
But don't get too attached – we're not done yet! These peanut butter-covered slices are about to become the foundation for some seriously spooky monster mouths. In the next step, we'll add the finishing touches that'll bring these snacks to life.
Step 4. Place Marshmallows as Teeth
With your peanut butter-covered apple slices ready, it's time to add the teeth. Grab a bag of mini marshmallows and place them along the curved edge of one apple slice. These soft, white treats will serve as the monster's teeth, creating a silly and edible grin.
You'll want to press the marshmallows gently into the peanut butter, ensuring they stick firmly to the apple. For a more realistic look, try varying the sizes of the marshmallows. Use larger ones for the front teeth and smaller ones for the back. If you're feeling extra creative, you can cut some marshmallows in half to make pointy fangs.
Remember, there's no wrong way to do this – let your imagination run wild! Once you've added the marshmallow teeth to one slice, take the other slice and carefully place it on top, creating a monster mouth that's ready to chomp.
The peanut butter will help hold everything together, but be gentle when handling your creation. You've now transformed a simple apple snack into a fun, monster-themed treat that's sure to bring smiles to everyone's faces.
Step 5. Add Googly Eyes for Fun

To bring your monster mouth apple slices to life, it's time to add some personality with googly eyes. You'll need edible candy eyes, which you can find at most craft stores or baking supply shops.
If you can't find edible eyes, you can make your own using small white candies and a dot of black icing.
First, decide where you want to place the eyes on your apple slice. You might want to put them above the "mouth" or on the sides for a silly look.
Once you've chosen the spots, it's time to attach the eyes. If you're using store-bought edible eyes, they'll often have a sticky backing. Simply peel off the protective layer and press them gently onto the apple's skin.
If you're making your own eyes, use a tiny dab of frosting or peanut butter as glue to stick them in place.
Final Thoughts
These Monster Mouth Apple Slices are a fun and easy way to add some spooky flair to your Halloween party or fall gathering.
They're not only festive but also a healthier alternative to traditional candy-based treats. You'll find that kids and adults alike will enjoy these creative snacks, and they're sure to be a hit at any event.
Remember, you can always customize your Monster Mouth Apple Slices to suit your preferences.
Try different types of apples for varying flavors and colors, or experiment with alternative fillings like cream cheese or peanut butter.
Don't forget to adjust the size of your apple slices based on your audience – smaller bites for younger children and larger ones for adults.
Lastly, these apple monsters are a great way to get kids involved in the kitchen.
They can help with assembly, choose their favorite toppings, and even come up with their own monster designs.
It's a perfect opportunity to encourage creativity while promoting healthy eating habits.
Frequently Asked Questions
Can Monster Mouth Apple Slices Be Made With Other Fruits?
Yes, you can create similar "monster mouth" snacks using other fruits. Try oranges, pears, or even melons. You'll need to adjust the technique based on the fruit's shape and texture, but the concept remains the same. Get creative!
How Long Can Monster Mouth Apple Slices Be Stored?
You'll want to eat your apple slices quickly for the best taste and texture. If refrigerated in an airtight container, they'll last 3-5 days. To prevent browning, you can brush them with lemon juice before storing.
Are There Nut-Free Alternatives for the Peanut Butter Filling?
You've got plenty of nut-free options for the filling! Try sunflower seed butter, cream cheese, or hummus. You can also use yogurt, marshmallow fluff, or chocolate spread. These alternatives are tasty and safe for those with nut allergies.
What's the Best Way to Prevent the Apple Slices From Browning?
To prevent apple slices from browning, you'll want to use lemon juice. Simply brush or dip your slices in lemon juice right after cutting. You can also try soaking them in saltwater or using vitamin C powder.
Can Monster Mouth Apple Slices Be Prepared in Advance for Parties?
You can prepare apple slices in advance for parties. To prevent browning, soak them in lemon juice or salt water. Store them in an airtight container in the fridge. They'll stay fresh for up to 24 hours.

Claude oversees the development and publication of all content at One Bored Mommy. With a meticulous eye for detail and a passion for storytelling, Claude ensures that every article, guide, and story meets our high standards for quality and relevance.