Monstrous Mashed Potato Ghosts are a fun Halloween twist on a classic side dish. You'll love creating these spooky spuds for your holiday table. To make them, you'll prepare creamy mashed potatoes, then pipe them into ghost shapes using a pastry bag. Add olive slices or food-safe markers for the eyes, and you've got a hauntingly delicious treat! These ghosts originated in the early 2000s and have become a popular Halloween tradition. They're perfect for parties or family dinners, combining creativity with comfort food. With a few simple steps, you can transform ordinary mashed potatoes into ghostly delights that'll charm both kids and adults. Uncover more secrets to make your ghosts truly monstrous!
Key Takeaways
- Mashed potato ghosts are a Halloween-themed side dish shaped like spooky apparitions.
- The recipe involves piping creamy mashed potatoes into ghost shapes using a bag or plastic bottle.
- Black olives or food-safe markers are used to create ghostly eyes and mouths.
- This festive dish combines creativity with comfort food, perfect for Halloween parties or themed dinners.
- Customization options include adding arms, varying expressions, or using cauliflower mash for a healthier alternative.

Extra Large Piping Tips with Bags for Frosting,Meringue,Churros,Macarons,Eclairs,Pastry Cookie Dough,24 Pcs
Complete Set: Includes 4 extra large piping tips set and 20 pcs disposable 18-inch pastry bags for frosting…
As an affiliate, we earn on qualifying purchases.
As an affiliate, we earn on qualifying purchases.
History

Tracing the origins of monstrous mashed potato ghosts reveals a relatively recent culinary trend. You'll find that these spooky spuds first appeared on Halloween-themed dinner tables in the early 2000s. They quickly gained popularity through food blogs and social media platforms, where creative cooks shared their ghostly creations.
The concept behind these eerie edibles is simple: you shape mashed potatoes into ghost-like forms and use dark food items for eyes. It's a fun way to make vegetables more appealing to kids and add a festive touch to your Halloween spread.
As you explore the history of mashed potato ghosts, you'll discover that they're part of a larger trend of turning ordinary foods into holiday-themed characters. This movement has roots in the mid-20th century when homemakers began crafting cute and spooky treats for parties and family gatherings.
Today, you'll find countless variations of mashed potato ghosts online, ranging from basic designs to elaborate scenes. They've become a beloved Halloween tradition for many families, combining creativity, fun, and delicious comfort food.
food-safe markers for decorating food
As an affiliate, we earn on qualifying purchases.
As an affiliate, we earn on qualifying purchases.
Recipe
Monstrous Mashed Potato Ghosts are a delightful and spooky twist on the classic comfort food. Perfect for Halloween parties or adding a touch of whimsy to your dinner table, these ghostly creations are sure to be a hit with both kids and adults alike. The key to achieving the perfect ghostly shape lies in the consistency of the mashed potatoes and the piping technique.
This recipe combines creamy mashed potatoes with a hint of garlic for flavor, while maintaining a smooth texture that's ideal for piping. The ghosts are then adorned with simple features using black olives or food-safe markers, bringing them to life with eerie expressions. These potato phantoms can be served as a fun side dish or even as the centerpiece of a Halloween-themed meal.
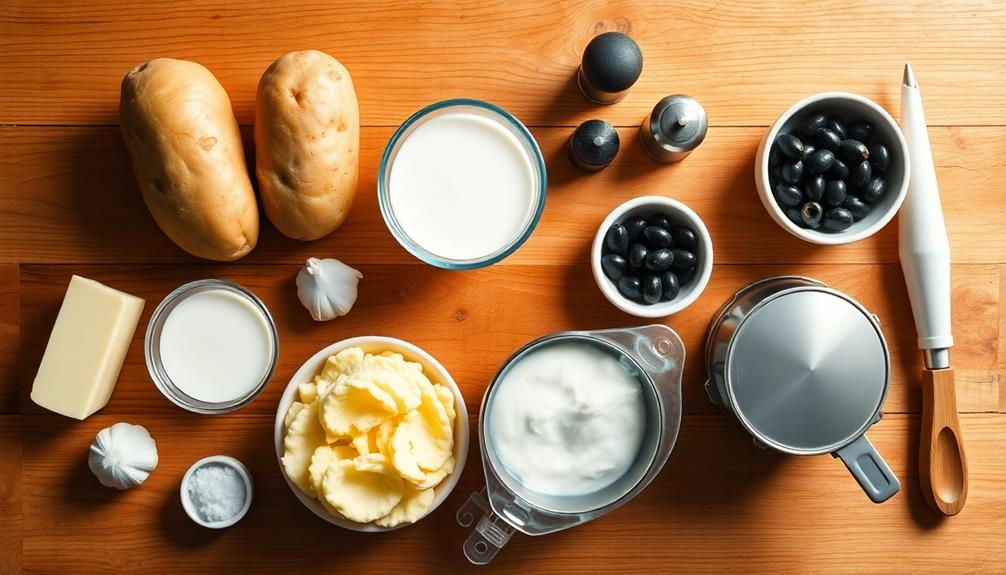
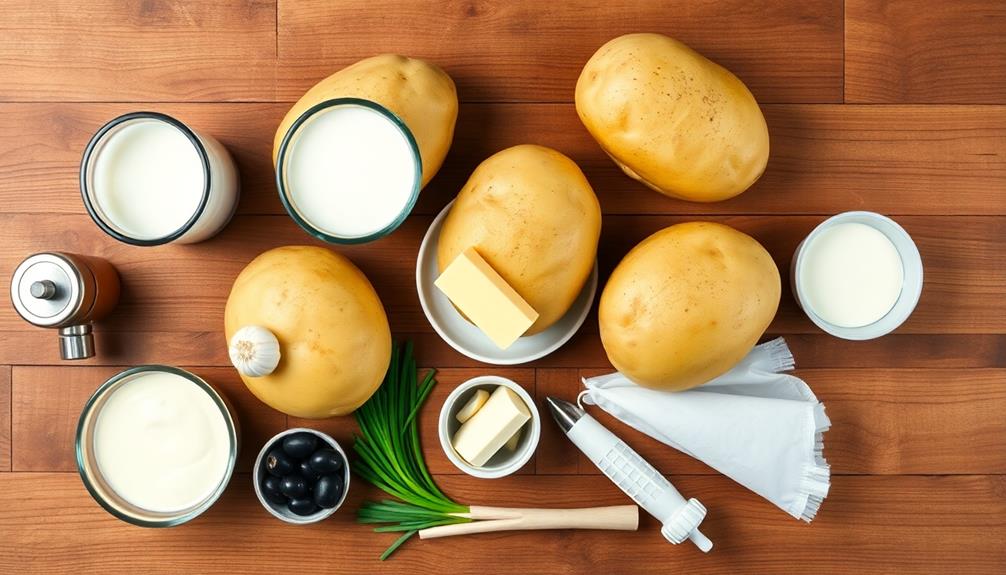
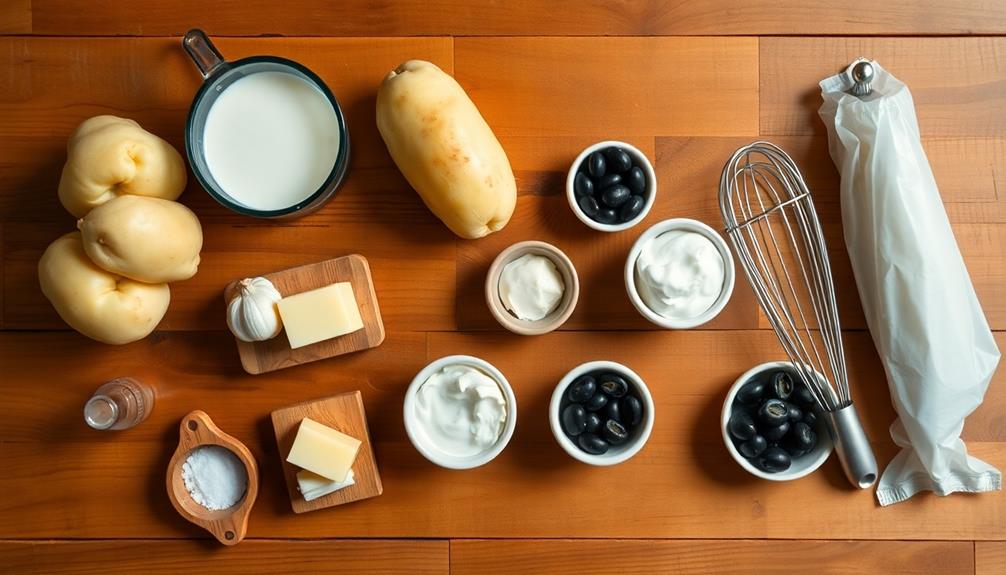
- 4 large russet potatoes, peeled and quartered
- 1/2 cup milk
- 1/4 cup butter
- 2 cloves garlic, minced
- Salt and pepper to taste
- 1/4 cup sour cream
- Sliced black olives or food-safe markers for decorating
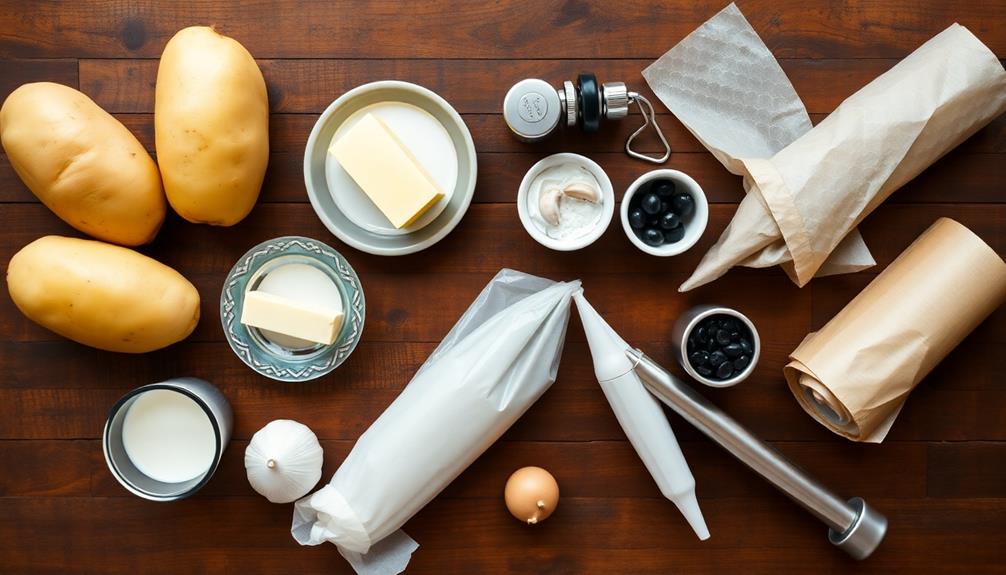
Boil the potatoes in salted water until tender, about 15-20 minutes. Drain and return to the pot. Add milk, butter, garlic, salt, and pepper. Mash until smooth and creamy. Stir in sour cream for extra smoothness.
Allow the mixture to cool slightly, then transfer to a piping bag fitted with a large round tip. Pipe ghost shapes onto a baking sheet lined with parchment paper. Use sliced olives or food-safe markers to create eyes and mouths. Serve immediately or keep warm in a low oven until ready to serve.
For best results, ensure the mashed potatoes aren't too hot when piping, as this can cause the ghosts to lose their shape. If the mixture becomes too stiff, gently reheat and add a splash of warm milk to achieve the right consistency.
Experiment with different piping tips for varied ghost textures, and consider adding a sprinkle of cheese or herbs to the mashed potatoes for extra flavor. These ghosts can be made ahead and reheated, making them a convenient option for busy holiday preparations.

Marmarabirlik Black Olives, Turkish Dry Cured Black Olives, Hand-Picked, Healthy Snacks, Rich Mediterranean Taste, Perfect for Mezze, Bread and Salads, Vegan, Kosher and Halal, Small, 14 Oz (400g)
DEEP MEDITERRANEAN TASTE: Rich and savory Turkish black olives, naturally ripened and preserved in traditional brine for full-bodied…
As an affiliate, we earn on qualifying purchases.
As an affiliate, we earn on qualifying purchases.
Cooking Steps
To create these spooky potato ghosts, you'll follow a series of simple steps. First, you'll peel and chop the potatoes, then boil them until they're nice and tender.
Once they're ready, you'll drain and mash the potatoes, adding butter and milk to make them creamy and delicious.
Step 1. Peel and Chop Potatoes
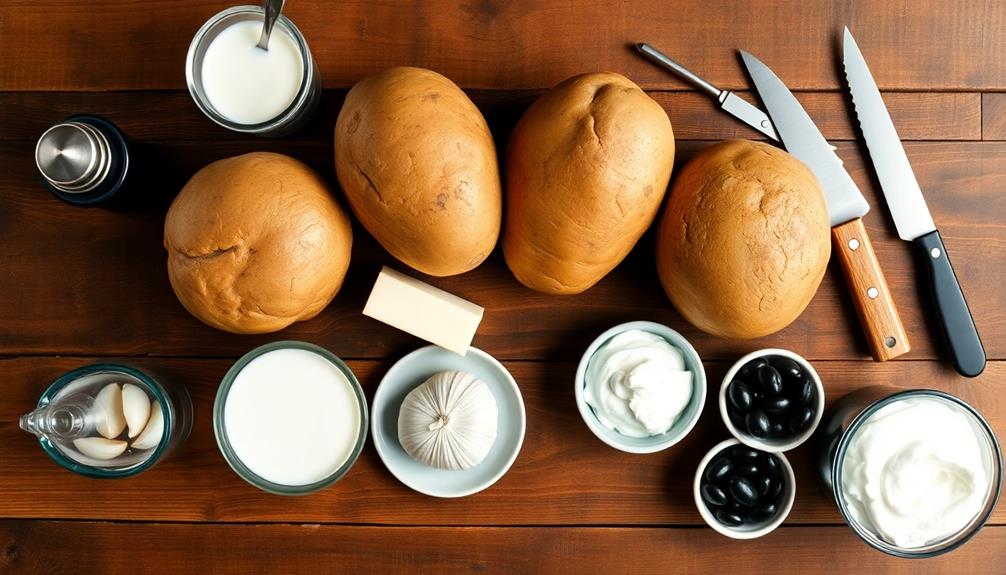
Before diving into the ghostly fun, you'll need to prepare your potatoes. Start by gathering about 2 pounds of russet potatoes, which are perfect for mashing. You'll want to rinse them thoroughly under cool water, using a scrub brush to remove any dirt or debris clinging to the skin.
Next, it's time to peel those spuds. Grab a vegetable peeler or a paring knife, whichever you're more comfortable with. Hold the potato firmly and carefully remove the skin, working your way around the entire potato. Don't worry if you miss a small spot or two; it won't affect the final result.
Once peeled, it's chopping time! Place your potato on a cutting board and slice it into roughly 1-inch cubes. Try to keep the pieces relatively uniform in size so they'll cook evenly.
As you chop, transfer the potato chunks to a large bowl filled with cold water. This prevents them from browning and removes excess starch, which will help achieve fluffier mashed potatoes. When you're done, drain the potatoes and they'll be ready for the next step in your ghostly creation!
Step 2. Boil Potatoes Until Tender

With your potatoes peeled, chopped, and ready to go, it's time to cook them until they're perfectly tender.
Fill a large pot with cold water and add your potato chunks. Make sure there's enough water to cover the potatoes by about an inch. Now, sprinkle in a pinch of salt to enhance the flavor.
Place the pot on your stove and turn the heat to high. Once the water starts to boil, reduce the heat to medium-low. You'll want a gentle simmer, not a rolling boil.
Let the potatoes cook for about 15-20 minutes, but keep an eye on them. The cooking time can vary depending on the size of your potato chunks.
To test if they're done, carefully poke a potato with a fork. If it slides in easily, they're ready! If there's still some resistance, give them a few more minutes.
Once tender, drain the potatoes in a colander. Be careful, as the steam will be hot.
Now you've got perfectly boiled potatoes, ready for the next ghostly step in your monstrous mashed potato creation!
Step 3. Drain and Mash Potatoes
Now that your potatoes are perfectly tender, it's time for the potato-mashing magic. Grab a colander and carefully pour the hot potatoes into it, allowing all the water to drain away. Be sure to use oven mitts or a kitchen towel to protect your hands from the steam.
Once drained, transfer the potatoes back to the warm pot.
Next, you'll need a potato masher or a large fork. Start mashing the potatoes, breaking them down into smaller pieces. As you mash, add a splash of warm milk and a pat of butter to make them creamy.
Don't forget to sprinkle in some salt for flavor. Keep mashing and stirring until you've reached your desired consistency. If you like them super smooth, you can use an electric mixer, but be careful not to overdo it, or you'll end up with gluey potatoes.
For extra flavor, try adding some roasted garlic, chopped herbs, or grated cheese. Taste your mashed potatoes and adjust the seasoning if needed.
Step 4. Add Butter and Milk
After mashing your potatoes, it's time to make them extra creamy and flavorful. You'll need to add butter and milk to achieve that perfect consistency.
Start by cutting about 4 tablespoons of butter into small cubes. This will help it melt more evenly when you add it to the hot potatoes. Gently fold the butter into your mashed potatoes, allowing the heat to melt it naturally.
Next, warm up about 1/4 cup of milk in the microwave or on the stove. You don't want it too hot, just warm enough to blend smoothly with the potatoes. Slowly pour the warm milk into your potato mixture, stirring as you go. Keep adding milk until you reach your desired consistency. Remember, you can always add more, but you can't take it out once it's in!
As you're mixing, don't forget to taste your creation. This is the perfect time to adjust the seasoning. Add a pinch of salt or a dash of pepper if needed.
Keep stirring until everything is well combined and your mashed potatoes are smooth and creamy. You're now ready for the next spooky step in creating your monstrous mashed potato ghosts!
Step 5. Pipe Ghosts Onto Platter
Ghostly shapes emerge as you prepare to pipe your creamy mashed potatoes onto a platter.
First, transfer your warm, buttery mashed potatoes into a large piping bag fitted with a round tip. If you don't have a piping bag, don't worry! You can use a plastic zip-top bag with a corner snipped off.
Hold the bag at a 90-degree angle to the platter, about an inch above the surface. Squeeze gently but firmly to create the ghost's body, starting with a wide base and moving upward. As you reach the top, gradually reduce pressure to form a tapered point. For variety, make some ghosts taller and others shorter.
Once you've piped all your ghosts, it's time to add some personality. Use two small dots of black olive or food-safe black gel for eyes. You can even pipe on wiggly arms or create different facial expressions.
Remember, imperfections add character to your spooky spuds!
Arrange the ghosts on your platter, leaving some space between them. This will make it easier for your guests to scoop up these tasty apparitions later.

Acellegic 12 Pcs Halloween Serving Trays 13 X 9 Inch Large Platters Pumpkin Bat Ghost Food Trays for Movie Night Halloween Birthday Party Supplies
Sufficient Quantity for Festive Gatherings: our Halloween serving dishes come in a generous package of 12 trays (3…
As an affiliate, we earn on qualifying purchases.
As an affiliate, we earn on qualifying purchases.
Final Thoughts

These Monstrous Mashed Potato Ghosts are sure to be a hit at your next Halloween gathering. They're not only delicious but also a fun and creative way to serve up a classic side dish. You'll find that both kids and adults will enjoy the spooky presentation, making mealtime more exciting and memorable.
Remember, you can easily customize these ghosts to fit your preferences. If you want to make them healthier, try using cauliflower mash instead of potatoes. For added flavor, mix in some roasted garlic or herbs before piping.
Don't hesitate to experiment with different facial expressions or even add some food coloring for extra flair.
When serving, consider placing your ghosts on a dark platter to make them stand out even more. You could also surround them with other Halloween-themed foods or decorations to create a festive table setting.
Lastly, don't forget to have fun with the process! Cooking should be enjoyable, and these quirky spuds are a perfect opportunity to let your creativity shine. Happy haunting in the kitchen!
Frequently Asked Questions
Can I Use Instant Mashed Potatoes for This Recipe?
You can use instant mashed potatoes for this recipe. They'll work fine, but homemade potatoes might give a better texture and flavor. If you're short on time, instant potatoes are a convenient alternative that'll still produce good results.
How Long Can Monstrous Mashed Potato Ghosts Be Stored?
You can store them for up to 3-4 days in the refrigerator. Make sure you cover them tightly with plastic wrap or place them in an airtight container. They're best served fresh, but you can reheat them if needed.
Are There Any Alternative Shapes for Halloween-Themed Mashed Potatoes?
You can shape Halloween-themed mashed potatoes into various spooky forms. Try creating pumpkins, witches' hats, tombstones, or even Frankenstein's monster. Don't limit yourself to ghosts; let your imagination run wild with frightful potato designs.
Can I Make These Ghosts Dairy-Free or Vegan?
You can definitely make dairy-free or vegan ghosts! Use plant-based milk and vegan butter alternatives in your mashed potatoes. For a creamier texture, try adding coconut cream. Don't forget to use vegan-friendly food coloring for decorations.
What Other Festive Garnishes Can I Use to Decorate the Ghosts?
You can use olives for eyes, carrot strips for mouths, or pepper flakes for spooky freckles. Try adding herb "hair" with parsley or chives. Don't forget edible glitter or colorful veggie bits for extra flair!