You'll love making this festive pumpkin patch cheese ball, a fun and delicious appetizer that's perfect for fall gatherings and Halloween parties. It's easy to prepare, with a creamy interior filled with savory flavors and a vibrant orange coating. The cheese ball is shaped like a pumpkin, complete with ridges and a broccoli stem. You'll mix cream cheese with tasty ingredients, form it into a pumpkin shape, and roll it in paprika for that signature orange color. Serve it with a variety of crackers and vegetables for a crowd-pleasing snack. Get ready to impress your guests with this charming and tasty creation!
Key Takeaways
- Pumpkin Patch Cheese Ball is a festive appetizer shaped like a pumpkin, perfect for autumn gatherings and Halloween parties.
- The recipe typically includes cream cheese, seasonings, and a paprika coating for the orange pumpkin-like appearance.
- It's easy to prepare, involving mixing ingredients, shaping the ball, and decorating with a broccoli stem as the pumpkin stalk.
- Serve with a variety of crackers, pretzels, and fresh vegetables for a visually appealing and delicious appetizer spread.
- Customizable with different cheeses, herbs, or spices to suit personal taste preferences and dietary needs.

FRUITMOULD Frankenstein Skull Pumpkin Mold for Growing into Shape for Halloween Festivel (Small Frankenstein Pumpkin Mold)
- Size: 14cm x 10cm x 12cm (5.5"x4"x4.8")
- Material: Durable polycarbonate construction
- Assembly: Includes bolts and nuts for connection
As an affiliate, we earn on qualifying purchases.
As an affiliate, we earn on qualifying purchases.
History
The origins of the pumpkin patch cheese ball are rooted in American culinary tradition. You'll find that cheese balls have been a popular party appetizer since the 1940s, with various flavors and designs emerging over the years.
The pumpkin-shaped version likely gained popularity in the 1960s and 70s, as Halloween celebrations became more elaborate.
You might be surprised to learn that the concept of molding cheese into shapes dates back even further. In the 19th century, hostesses would often create decorative cheese displays for their dinner parties.
The pumpkin patch cheese ball combines this love for festive food presentation with the convenience of a modern appetizer.
As autumn festivals and Halloween parties became more common, creative cooks started experimenting with seasonal designs. The pumpkin patch cheese ball was a natural fit, blending the fall harvest theme with a tasty, shareable snack.
Over time, it's evolved to include various cheese blends, coatings, and decorative elements. Today, you'll find countless recipes and variations online, each adding its own twist to this beloved party favorite.
Recipe

This festive Pumpkin Patch Cheese Ball is the perfect appetizer for your autumn gatherings or Halloween parties. Shaped like a pumpkin and coated with vibrant orange cheese, it's both visually appealing and delicious. The creamy interior is packed with savory flavors that complement the season's harvest.
Not only is this cheese ball a crowd-pleaser, but it's also incredibly easy to make. With just a few simple ingredients and some basic shaping techniques, you can create a centerpiece-worthy appetizer that will impress your guests. The combination of cream cheese, cheddar, and seasonings creates a rich and tangy flavor profile that pairs wonderfully with crackers or fresh vegetables.
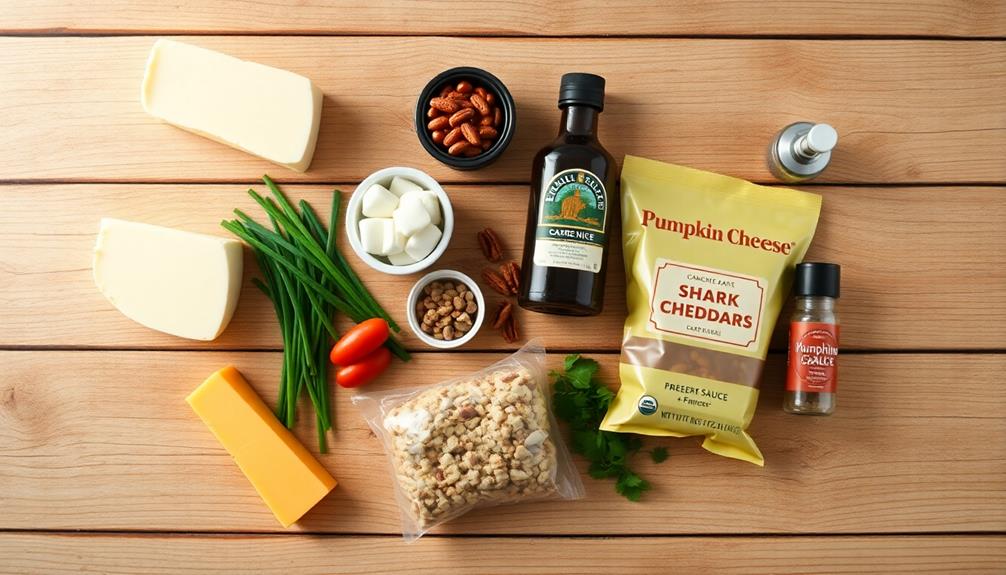
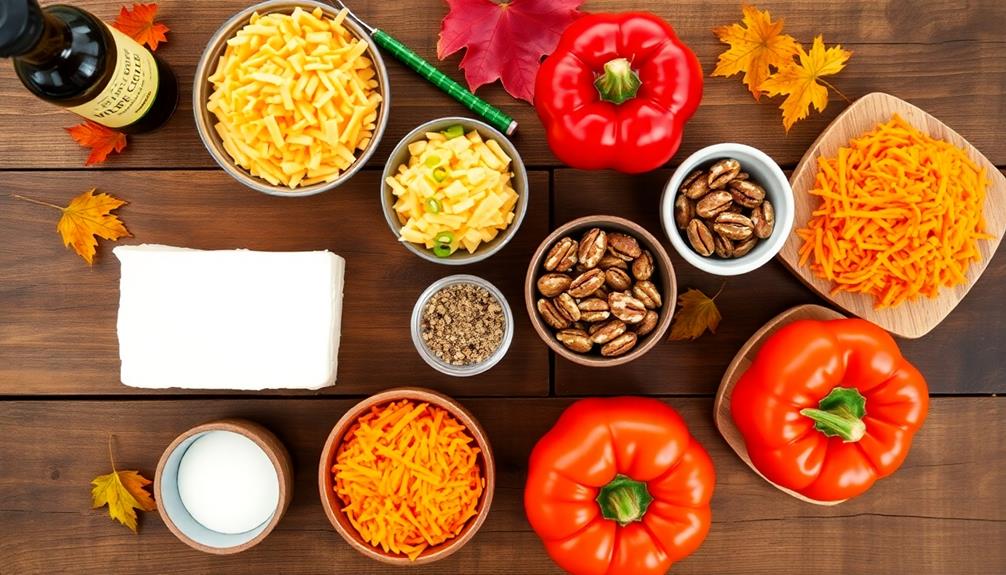
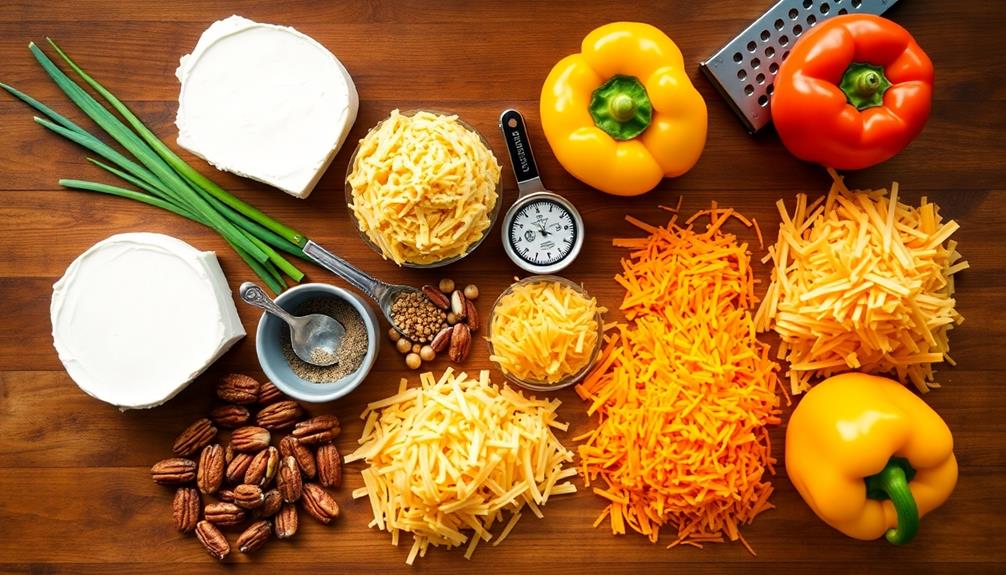
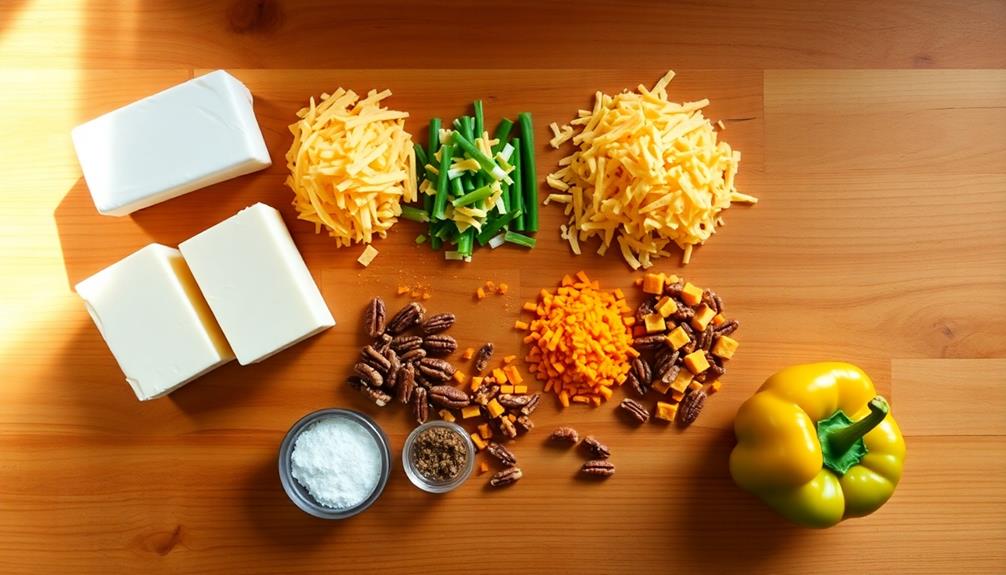
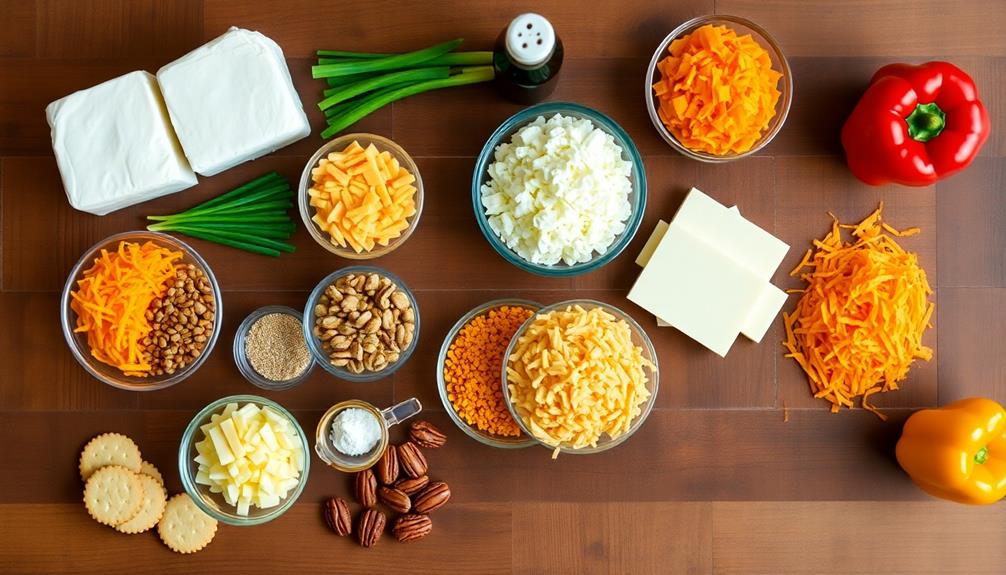
- 16 oz cream cheese, softened
- 2 cups shredded sharp cheddar cheese
- 1/4 cup finely chopped green onions
- 1 tablespoon Worcestershire sauce
- 1 teaspoon garlic powder
- 1/4 teaspoon cayenne pepper
- 1/4 cup finely chopped pecans
- 2 cups finely shredded orange cheddar cheese
- 1 bell pepper stem
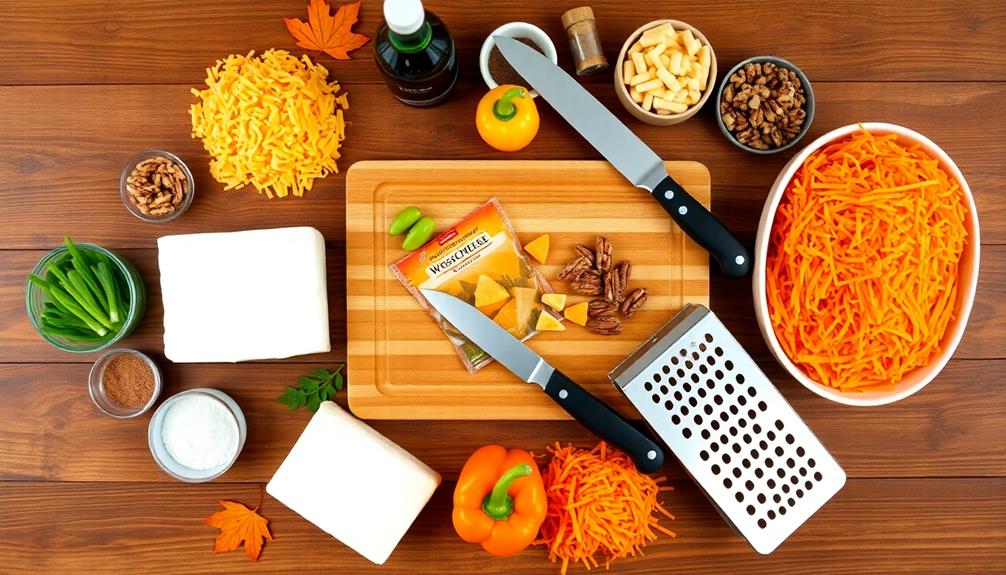
In a large bowl, mix the softened cream cheese, shredded cheddar, green onions, Worcestershire sauce, garlic powder, and cayenne pepper until well combined. Form the mixture into a ball and refrigerate for at least 2 hours.
Once chilled, reshape the ball into a pumpkin shape by creating ridges with the back of a knife. Roll the cheese ball in the finely shredded orange cheddar, pressing gently to adhere. Place the chopped pecans around the base to create a "dirt" effect. Insert the bell pepper stem into the top of the pumpkin to complete the look.
For best results, prepare the cheese ball a day in advance to allow the flavors to meld. If you're short on time, you can freeze the shaped cheese ball for 30 minutes instead of refrigerating for 2 hours.
To serve, surround the pumpkin cheese ball with an assortment of crackers, pretzels, and fresh vegetables. This recipe can be easily customized by adding different herbs or spices to suit your taste preferences.
Cooking Steps
You'll start by mixing the cream cheese with other ingredients to create the base of your cheese ball.
Next, you'll shape this mixture into a pumpkin form and cover it with a paprika coating for that perfect orange hue.
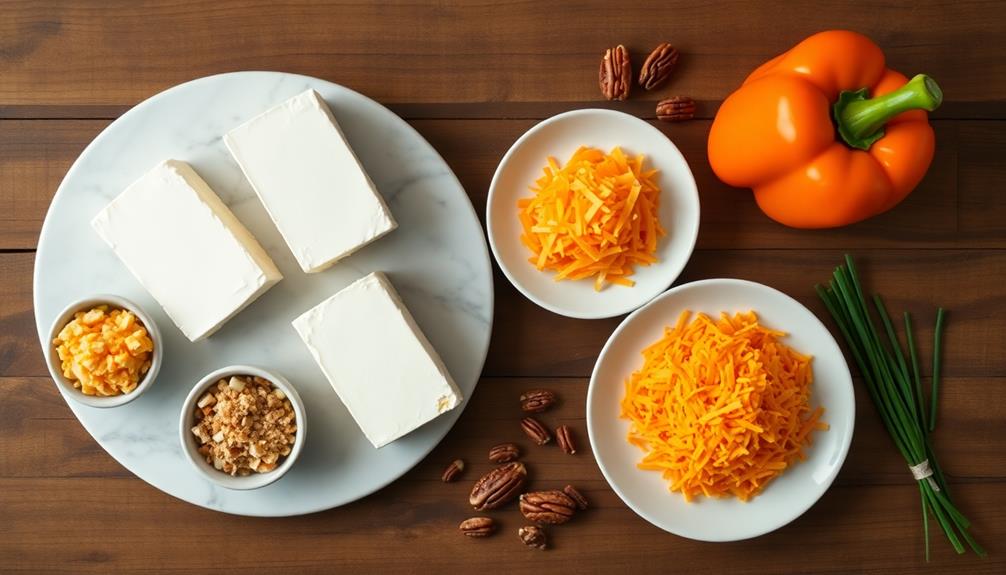
Step 1. Mix Cream Cheese Ingredients
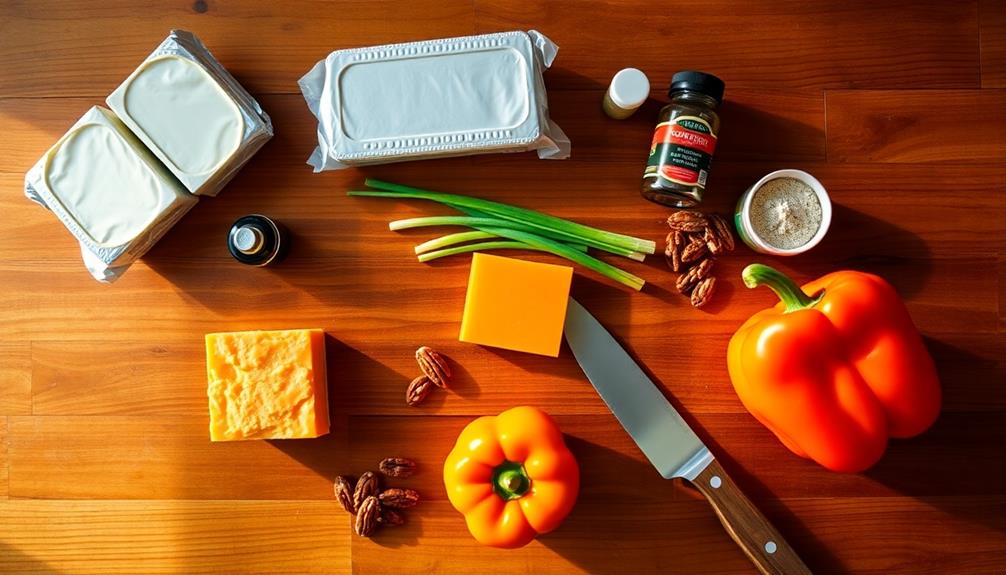
Preparing the cream cheese mixture is the first step in creating your pumpkin patch cheese ball. Start by softening two 8-ounce blocks of cream cheese at room temperature for about an hour.
Once they're soft, place them in a large mixing bowl. Add 1/4 cup of finely chopped green onions, 1 tablespoon of Worcestershire sauce, and 1 teaspoon of garlic powder to the bowl. You'll also want to include 1/4 teaspoon of salt and a pinch of black pepper for seasoning.
Now, it's time to mix! Using an electric mixer or a sturdy spoon, blend all these ingredients together until they're well combined.
You're aiming for a smooth, creamy consistency without any lumps. As you're mixing, make sure to scrape down the sides of the bowl to incorporate all the ingredients evenly.
Don't overmix, though, as this can make the cheese ball too soft. Once everything's well blended, you're ready to move on to the next step in creating your pumpkin patch cheese ball.
Step 2. Shape Into Pumpkin Form
After mixing the cream cheese ingredients, it's time to shape the mixture into a pumpkin form.
Start by scooping all the mixture onto a large piece of plastic wrap. Use your hands to mold it into a round ball shape, making sure it's as smooth as possible.
Once you've got a nice sphere, wrap it tightly in the plastic and place it in the refrigerator for about an hour to firm up.
When the cheese ball is chilled, take it out and remove the plastic wrap. Place it on your serving plate and use your hands or a spatula to gently reshape it into a more pumpkin-like form.
Create subtle ridges along the sides to mimic a real pumpkin's texture. For the stem, you can use a small piece of bell pepper or a pretzel stick. Press it gently into the top of your cheese ball.
To add more pumpkin-like details, you can use a toothpick to draw vertical lines from top to bottom. Your cheese ball is now ready for the next decorative steps!
Step 3. Cover With Paprika Coating
The final touch to transform your cheese ball into a convincing pumpkin is the paprika coating. You'll need ground paprika, which you can find in most grocery stores.
Start by gently rolling your pumpkin-shaped cheese ball in the paprika, ensuring an even coverage. As you do this, you'll notice the cheese ball taking on a beautiful orange hue, just like a real pumpkin!
If you find that the paprika isn't sticking well, you can lightly dampen the surface of the cheese ball with a bit of water or oil. This will help the spice adhere better.
Be careful not to use too much liquid, though, as you don't want to make the cheese ball soggy.
For a more textured look, you can use a small brush to pat additional paprika onto any bare spots. This technique allows you to create subtle variations in color, mimicking the natural appearance of a pumpkin.
Don't forget to add a bit of paprika to the stem area too, blending it with the green coloring you've already applied.
Your pumpkin patch cheese ball is now ready to impress your friends and family!
Step 4. Add Stem Using Broccoli Stalk
To complete your pumpkin patch cheese ball, you'll need to add a realistic stem using a broccoli stalk. Start by selecting a thick, sturdy broccoli stalk that's about 2-3 inches long. Wash it thoroughly and pat it dry with a paper towel. You'll want to trim off any small leaves or branches, leaving just the main stem.
Next, carefully cut a small hole in the top center of your cheese ball. Make sure it's deep enough to hold the broccoli stalk securely. Gently insert the stalk into the hole, twisting it slightly to ensure it's snug. If needed, you can use a toothpick to help anchor the stem in place.
For an extra touch of authenticity, you can lightly brush the broccoli stem with a bit of olive oil. This will give it a subtle sheen, making it look more like a real pumpkin stem.
Don't forget to remove the toothpick before serving if you used one! Your pumpkin patch cheese ball is now complete and ready to impress your friends and family at your next gathering.
Step 5. Serve With Assorted Crackers
Once you've perfected your pumpkin patch cheese ball, it's time to consider the accompaniments. The star of your appetizer spread deserves a supporting cast of crackers that'll complement its flavors and textures.
Start by selecting a variety of shapes and sizes to add visual interest to your platter. Choose some classic butter crackers for their mild taste and crisp texture, which won't overpower the cheese ball's flavors.
Next, add some whole grain or seeded crackers for a nutty contrast and extra crunch. Don't forget to include some gluten-free options, like rice crackers or corn chips, to accommodate all your guests' dietary needs.
For a fun twist, try some flavored crackers like herb or garlic, but be careful not to choose anything too strong that might clash with your cheese ball.
Arrange your assorted crackers around the pumpkin patch cheese ball in a fan pattern or in small groupings. This not only looks appealing but also makes it easy for guests to grab their favorites.
Remember to provide a cheese knife or spreader so everyone can easily enjoy your delicious creation!
Final Thoughts
Wrapping up, this Pumpkin Patch Cheese Ball isn't just a recipe; it's a conversation starter and a centerpiece rolled into one.
You'll find that it's perfect for fall gatherings, Halloween parties, or even Thanksgiving celebrations. As you serve this festive creation, you'll notice how it brings people together, encouraging them to mingle and chat while they enjoy the delicious flavors.
Remember, you can always adjust the recipe to suit your taste preferences or dietary needs. If you're feeling creative, try experimenting with different cheeses or add-ins to make it your own.
Don't forget to take a photo of your masterpiece before it's devoured – it's sure to be Instagram-worthy!
Lastly, keep in mind that making this cheese ball can be a fun activity to do with friends or family. It's a great way to get everyone involved in the kitchen and create lasting memories.
Frequently Asked Questions
Can I Use a Different Type of Cheese for This Recipe?
You can absolutely use a different type of cheese for this recipe. It's your creation, so feel free to experiment! Try cheddar, gouda, or even blue cheese for a unique flavor profile. Just ensure it's a spreadable consistency.
How Long Can I Store the Cheese Ball in the Refrigerator?
You can store your cheese ball in the refrigerator for up to 5 days. Make sure it's tightly wrapped in plastic wrap to prevent drying out. For the best flavor and texture, you'll want to serve it within 3 days.
Is It Possible to Make a Vegan Version of This Cheese Ball?
Yes, you can create a vegan cheese ball. You'll need to use plant-based alternatives like cashew cheese, vegan cream cheese, and nutritional yeast. Don't forget to add seasonings and herbs for flavor. It's easier than you might think!
Can I Prepare the Cheese Ball in Advance for a Party?
You can definitely prepare the cheese ball in advance for your party. It's actually better to make it ahead of time. You'll want to refrigerate it for at least a few hours, allowing the flavors to meld together nicely.
What Are Some Good Accompaniments to Serve With the Pumpkin Patch Cheese Ball?
You'll want to serve crackers, sliced baguette, or veggie sticks alongside your cheese ball. Consider apple slices, grapes, or dried fruit for sweetness. Don't forget nuts like pecans or almonds for added crunch and flavor.