Spiderweb pancakes are a fun twist on classic breakfast fare, perfect for Halloween or any spooky occasion. You'll make a basic pancake batter, then create a contrasting web design using chocolate or tinted batter. Pour the web pattern onto a heated griddle, then cover it with regular batter. A quick swirl with a toothpick completes the eerie effect. These pancakes originated from creative home cooking and gained popularity through social media. They're not just tasty; they're also a great way to showcase your culinary skills and impress friends and family. With a bit of practice, you'll be serving up some hauntingly delicious breakfasts in no time. Discover how easy it is to transform your morning meal into a spooky spectacle.
Key Takeaways
- Spiderweb pancakes are decorative breakfast treats inspired by intricate cake frosting techniques.
- They require regular pancake batter and contrasting batter for creating the web design.
- The web pattern is made by piping a spiral and drawing lines with a toothpick before cooking.
- These pancakes are popular for Halloween breakfasts and themed parties, especially in autumn.
- Practice and experimentation are key to mastering the web design technique for impressive results.

4 Pcs Plastic Squeeze Bottles for Cookie Icing Bottles with Stainless Steel Piping Tips Icing Squeeze Bottle for Food Coloring Frosting Pancake Arts and Baking Supplies(4 oz)
- Set Includes Four 4oz Bottles: Reusable bottles with stainless steel tips
- Durable Food-Safe Materials: Plastic bodies and stainless steel tips
- Precise and Controlled Flow: Resistant to clogging for detailed decorating
As an affiliate, we earn on qualifying purchases.
As an affiliate, we earn on qualifying purchases.
History

Spiderweb pancakes, a whimsical breakfast treat, have their roots in creative home cooking rather than traditional culinary history. You'll find that these fun designs started popping up in cookbooks and food blogs in the early 2000s, as parents looked for ways to make meals more exciting for their kids.
The idea likely came from the decorative techniques used in cake frosting, where bakers would create intricate patterns with contrasting colors.
As social media grew in popularity, spiderweb pancakes gained traction online. You'd see photos of these eye-catching breakfasts shared on platforms like Pinterest and Instagram, inspiring more people to try their hand at the technique.
Food bloggers and recipe developers began creating step-by-step guides, making it easier for home cooks to replicate the design.
Over time, you'd notice variations popping up, with people using different batters, food colorings, and even adding extra decorations like plastic spiders.
The trend has continued to evolve, with spiderweb pancakes now being a popular choice for Halloween breakfasts and themed parties throughout the year.
Recipe
Spiderweb Pancakes are a fun and spooky twist on traditional breakfast fare, perfect for Halloween or any time you want to add a touch of whimsy to your morning meal.
These eye-catching pancakes feature a classic buttermilk base with an intricate web design created using melted chocolate or tinted batter.
To achieve the spiderweb effect, you'll need to prepare two batters: a regular pancake batter and a contrasting batter for the web design. The web pattern is created by piping concentric circles onto the cooking surface, then quickly dragging a toothpick or skewer through the circles to create the characteristic radial lines of a spiderweb.
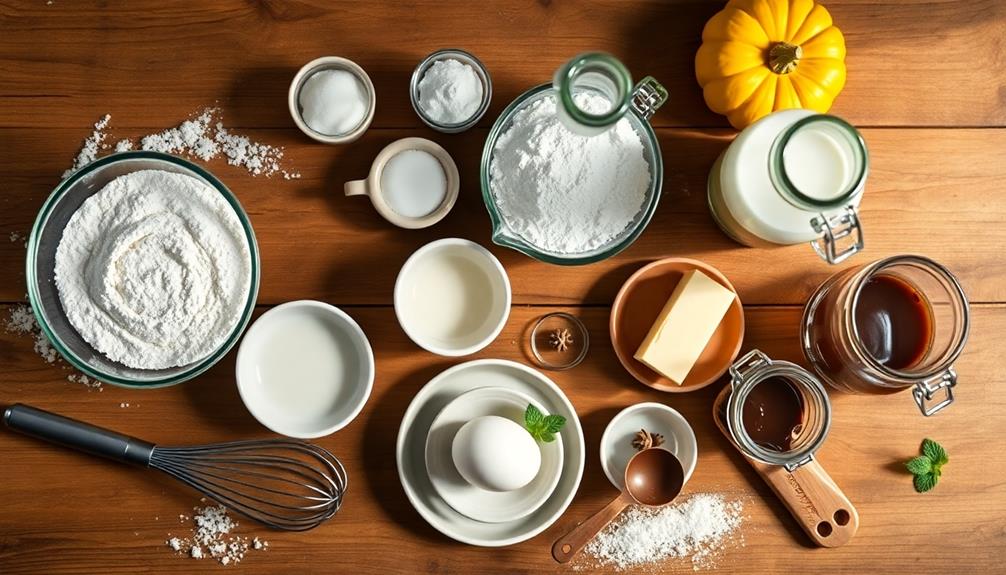
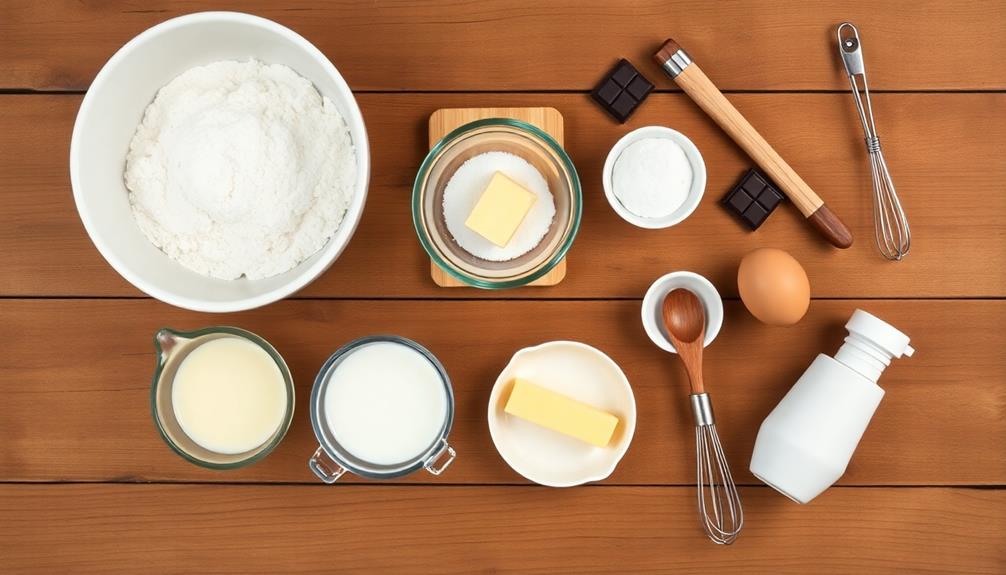
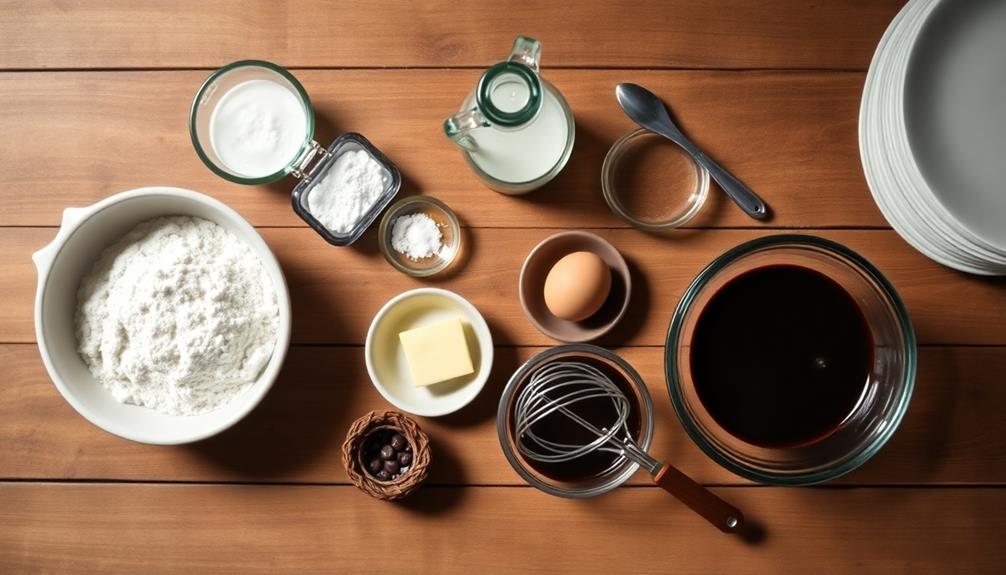
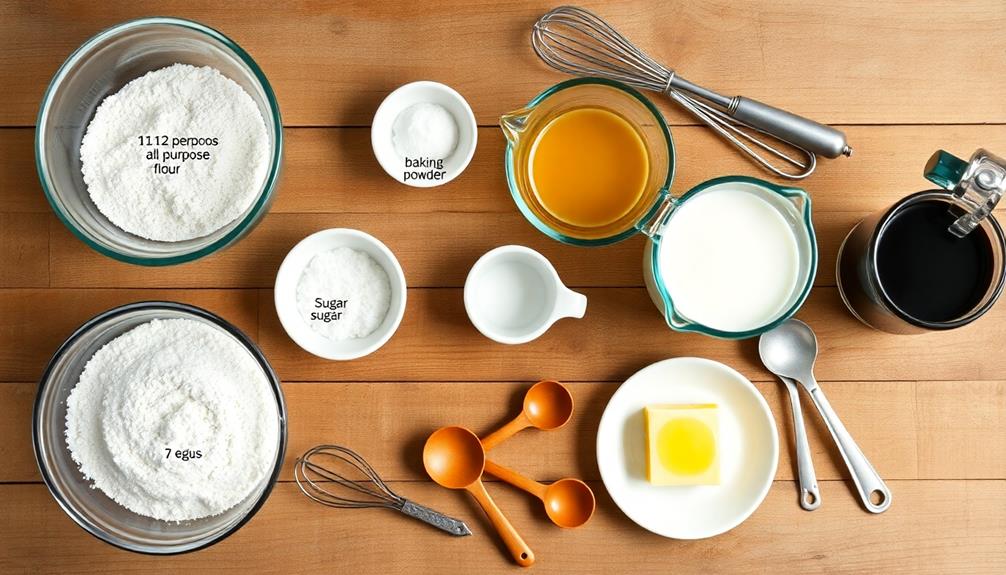
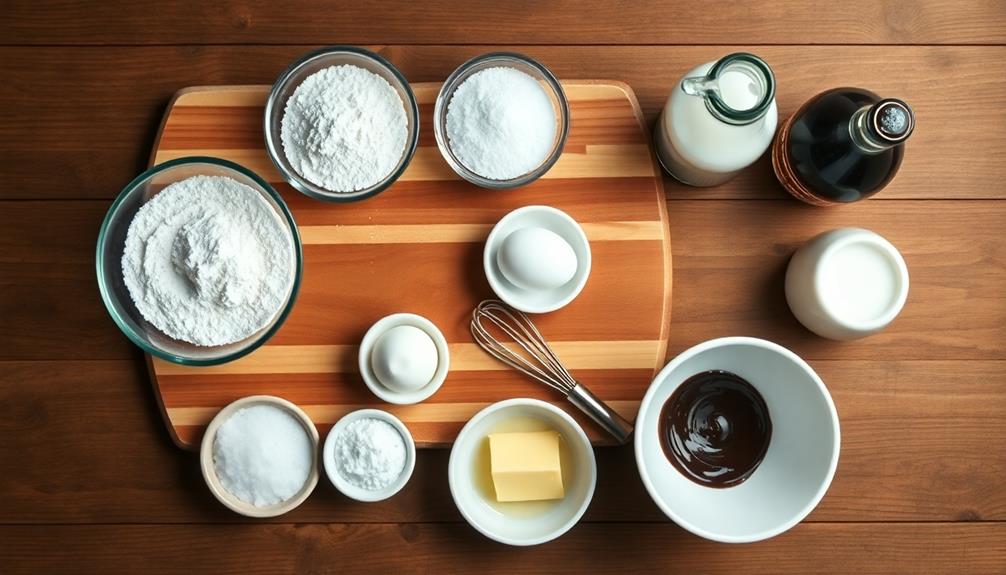
Ingredients:
- 1 1/2 cups all-purpose flour
- 3 1/2 teaspoons baking powder
- 1/4 teaspoon salt
- 1 tablespoon sugar
- 1 1/4 cups milk
- 1 egg
- 3 tablespoons melted butter
- 1/2 cup melted chocolate or tinted batter (for web design)
To make Spiderweb Pancakes, start by mixing the dry ingredients in a large bowl.
In a separate bowl, whisk together the milk, egg, and melted butter.
Combine the wet and dry ingredients, stirring until just mixed (small lumps are okay).
Heat a non-stick skillet or griddle over medium heat.
Pour a small amount of the contrasting batter into a squeeze bottle or piping bag.
For each pancake, pipe a spiral of the contrasting batter onto the cooking surface, then immediately pour regular batter over it.
Quickly use a toothpick to draw lines from the center to the edge, creating the web effect.
Cook until bubbles form on the surface, then flip and cook the other side until golden brown.
For best results, practice the web design on a plate before attempting it on the hot cooking surface.
If using melted chocolate for the web design, be sure it's not too hot when you add it to the pan, as it may burn.
You can also add food coloring to a portion of the regular batter to create colorful webs.
Serve these playful pancakes with maple syrup, whipped cream, or your favorite toppings for a memorable breakfast experience.
Cooking Steps

You're ready to start cooking your spiderweb pancakes!
First, you'll mix your dry ingredients in one bowl and your wet ingredients in another.
Then, you'll combine the two mixtures, heat up your griddle or skillet, and pour the batter in a web pattern to create your spooky breakfast treat.
Step 1. Mix Dry Ingredients Together
To kick off the pancake-making process, gather your dry ingredients in a large mixing bowl. You'll need all-purpose flour, sugar, baking powder, and a pinch of salt. These form the foundation of your pancake batter, so it's important to measure them accurately. Use measuring cups and spoons to ensure you're adding the right amounts.
Once you've got all your dry ingredients in the bowl, it's time to mix them together. Grab a whisk or a fork and start stirring. Make sure you're combining everything thoroughly, breaking up any clumps of flour or baking powder.
As you mix, you'll notice the ingredients blending into a uniform, pale mixture. This step is crucial for evenly distributed flavors and a smooth texture in your finished pancakes.
Don't forget to run your whisk along the bottom and sides of the bowl. Sometimes dry ingredients can hide in these areas, and you want to make sure everything's well incorporated.
Once your dry mix looks uniform and lump-free, you're ready to move on to the next step in creating your spiderweb pancakes!
Step 2. Mix Wet Ingredients Separately
In a separate bowl, gather your wet ingredients for the spiderweb pancakes. You'll need milk, eggs, melted butter, and vanilla extract. These will give your pancakes their fluffy texture and rich flavor.
Start by cracking two large eggs into the bowl, making sure no shell pieces sneak in. Next, pour in 1 1/2 cups of milk – whole milk works best, but you can use any type you prefer.
Now, it's time to add 3 tablespoons of melted butter. Be sure it's not too hot, or you might end up with scrambled eggs! For extra flavor, measure out 1 teaspoon of vanilla extract and add it to the mix. This will give your pancakes a subtle sweetness that complements the spiderweb design.
Using a whisk or fork, beat the wet ingredients together until they're well combined. You're aiming for a smooth, uniform mixture without any egg streaks.
Don't worry if you see small bubbles forming – that's normal and will help make your pancakes light and airy. Once everything's mixed, you're ready to combine the wet and dry ingredients!
Step 3. Combine Wet and Dry Mixtures
The mixing bowl moment has arrived. It's time to bring your wet and dry ingredients together to create the perfect spiderweb pancake batter. Start by making a well in the center of your dry mixture. This little crater will help you gradually incorporate the wet ingredients without creating lumps.
Now, pour your wet mixture into the well you've created. Using a whisk or spatula, gently stir from the center outward, slowly incorporating the dry ingredients.
Don't worry if you see some small lumps; they'll cook out in the pan. The key is to mix until the batter is just combined. Overmixing can lead to tough, chewy pancakes, so resist the urge to stir too much!
Once your batter looks smooth (with maybe a few small lumps), it's ready to go. If you're planning to create intricate spiderweb designs, you might want to transfer some of the batter to a squeeze bottle. This will give you more control when you're drawing your webs.
Step 4. Heat Griddle or Skillet

Now that your batter's ready, it's time to fire up the stove. You'll want to use a flat griddle or a large skillet for these spooky pancakes. Set your burner to medium heat and let the cooking surface warm up for a few minutes. To test if it's hot enough, sprinkle a few drops of water on the surface. If they sizzle and dance, you're good to go!
Next, lightly grease your griddle or skillet. You can use a small pat of butter, a light coating of cooking spray, or a brush of vegetable oil. This will help prevent your pancakes from sticking and give them a nice, golden-brown color.
Don't overdo it with the grease, though – you don't want greasy pancakes!
Once your cooking surface is hot and greased, you're all set to start creating your spiderweb designs. Remember, patience is key when cooking pancakes. You'll need a steady hand and a cool head to make these creepy-crawly breakfast treats.
Get ready to impress your friends and family with your pancake artistry!
Step 5. Pour Batter in Web Pattern
With your griddle hot and ready, it's time to create your spooky spiderweb design. Start by pouring a small circle of batter in the center of your cooking surface. This will be the hub of your web.
Next, grab a squeeze bottle filled with the remaining batter. Beginning at the center circle, squeeze out thin lines of batter, moving outward like spokes on a wheel. Aim for about 8 to 10 lines radiating from the center.
Now comes the tricky part! To create the web's concentric circles, start near the center and squeeze out a spiral of batter, moving outward. Don't worry if it's not perfect; spiderwebs in nature aren't either!
As you reach the outer edges, your circles might get a bit wobbly, but that's okay. It'll add to the spooky effect. Remember, you're not aiming for perfection, just a recognizable web pattern.
If you make a mistake, you can always start over or embrace the unique design. The key is to work quickly while the batter's still fluid, allowing the lines to connect smoothly.
Once you've finished your web, let it cook until bubbles form on the surface.
Final Thoughts

Countless spooky breakfast options exist, but these spiderweb pancakes stand out as a fun and festive choice. They're not only delicious but also a great way to show off your creativity in the kitchen.
You'll love how impressive they look, and your friends and family will be amazed by your culinary skills. Remember, practice makes perfect. Don't worry if your first attempts aren't flawless – it takes a bit of time to get the hang of creating the web design.
You can always eat your mistakes, and they'll still taste great! As you become more confident, try experimenting with different colors for the web design or adding spooky toppings like plastic spiders or candy eyes.
These pancakes are perfect for Halloween breakfasts, autumn-themed parties, or any time you want to add a touch of whimsy to your meal. They're sure to become a favorite tradition in your household.
Frequently Asked Questions
Can I Use Regular Pancake Mix for Spiderweb Pancakes?
Yes, you can use regular pancake mix for spiderweb pancakes. You'll just need to add chocolate syrup or melted chocolate to create the web design. It's a simple way to make your breakfast more festive and fun.
How Long Do Spiderweb Pancakes Stay Fresh?
You'll find that pancakes generally stay fresh for about 1-2 days when stored properly. It's best to keep them in an airtight container in the fridge. For longer storage, you can freeze them for up to 2 months.
Are Spiderweb Pancakes Suitable for People With Gluten Intolerance?
If you're gluten intolerant, traditional spiderweb pancakes aren't suitable for you. However, you can easily adapt the recipe using gluten-free flour alternatives. This way, you'll still enjoy the fun, spooky design without compromising your dietary needs.
What Are Some Creative Toppings for Spiderweb Pancakes?
You'll love getting creative with toppings! Try drizzling caramel sauce, sprinkling crushed Oreos, or adding gummy spiders. For a healthier twist, use berry compote or sliced bananas. Don't forget whipped cream for extra flair!
Can I Make Spiderweb Pancakes in Advance and Reheat Them?
You can make pancakes in advance and reheat them. It's best to store them in the fridge for up to 3 days or freeze for longer. Reheat in the microwave or oven, but they may lose some crispiness.