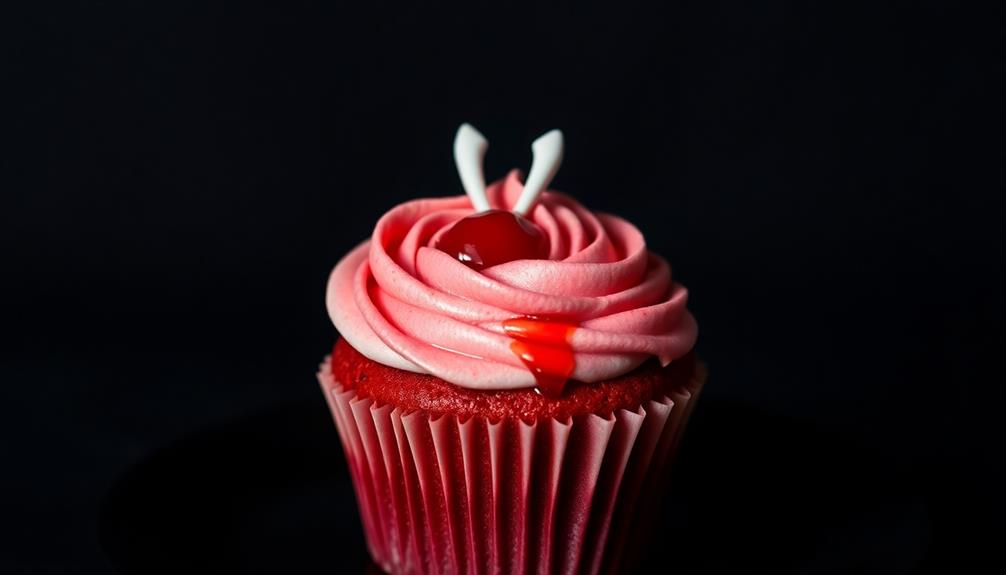

Vampire Bite Red Velvet Cupcakes are a spooky twist on the classic dessert, perfect for Halloween parties. You'll love the rich, chocolatey flavor of these blood-red treats, topped with creamy cream cheese frosting. To create the "bite" effect, you'll use strawberry jam or syrup for a gory touch. Don't forget to add plastic vampire fangs as a fun decoration! The recipe is simple to follow, using common ingredients like flour, cocoa powder, and buttermilk. You'll mix the batter, bake for about 20 minutes, and then let your creativity shine with the decorating. Get ready to sink your teeth into the fascinating history and detailed steps of this hauntingly delicious dessert.
Key Takeaways
- Red velvet cupcakes with cream cheese frosting are themed to resemble vampire bites for Halloween or gothic events.
- Strawberry jam or syrup creates a "bloody bite" effect on the cupcakes.
- Plastic vampire fangs are used as decorative elements to enhance the vampire theme.
- The recipe combines traditional red velvet ingredients with creative decorating techniques for a spooky appearance.
- These cupcakes are ideal for Halloween parties and can be adapted with different shades of red or frosting styles.

DELIGHTBOX 12 Vampire Fangs Plastic Teeth, Werewolf Masquerade Teeth Dress Up Costume Fangs Halloween Cosplay Party Favors for Supplies Masquerade Christmas
Country of origin : China
As an affiliate, we earn on qualifying purchases.
As an affiliate, we earn on qualifying purchases.
History
Red velvet's origins can be traced back to the 1800s when bakers used beet juice to enhance the color of their cakes. This natural coloring technique gave the desserts a unique reddish-brown hue.
As time went on, the recipe evolved, and cocoa powder became a key ingredient, contributing to both flavor and color.
You might be surprised to learn that red velvet cake gained popularity during the Great Depression. The Waldorf-Astoria Hotel in New York City claimed to have invented it, but similar recipes were already circulating in the South.
During World War II, bakers used boiled beets to enhance the cake's color due to food rationing.
In the 1960s, a significant change occurred when Adams Extract Company began promoting their red food coloring as a key ingredient in red velvet cake. This marketing push helped popularize the vibrant red version you're familiar with today.
The cake's popularity has only grown since then, with variations like cupcakes becoming trendy in the early 2000s. Now, you can find creative twists on this classic, including the spooky "Vampire Bite" version!

Chef Craft Classic Cupcake Liners, 50 count, Bright Red
Each pack contains 50 cupcake liners
As an affiliate, we earn on qualifying purchases.
As an affiliate, we earn on qualifying purchases.
Recipe

These Vampire Bite Red Velvet Cupcakes are a deliciously spooky treat perfect for Halloween parties or any gothic-themed gatherings. The rich, velvety texture of the red cupcakes paired with the creamy cream cheese frosting creates a tantalizing contrast that's sure to impress your guests.
The "vampire bite" effect is achieved by adding a dollop of strawberry jam or syrup to the center of each cupcake, giving the illusion of a bloody bite when you cut into them. The final touch of plastic vampire fangs as a garnish adds a playful and eerie element to these already eye-catching desserts.
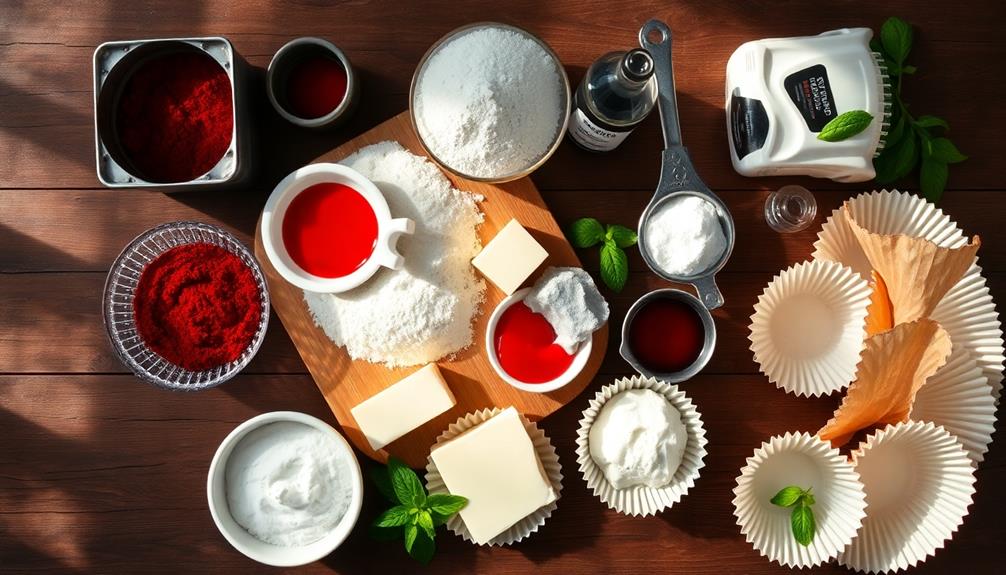
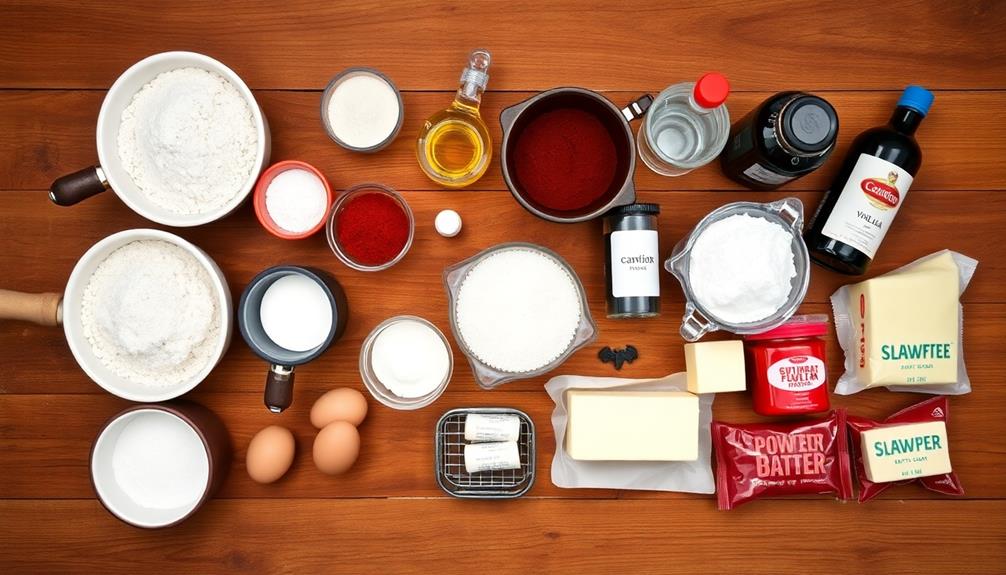
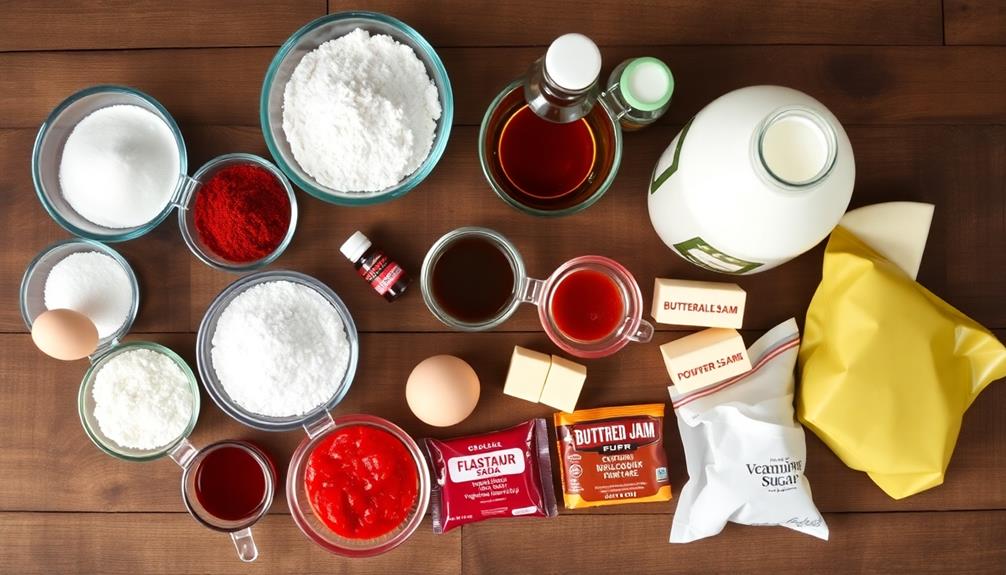
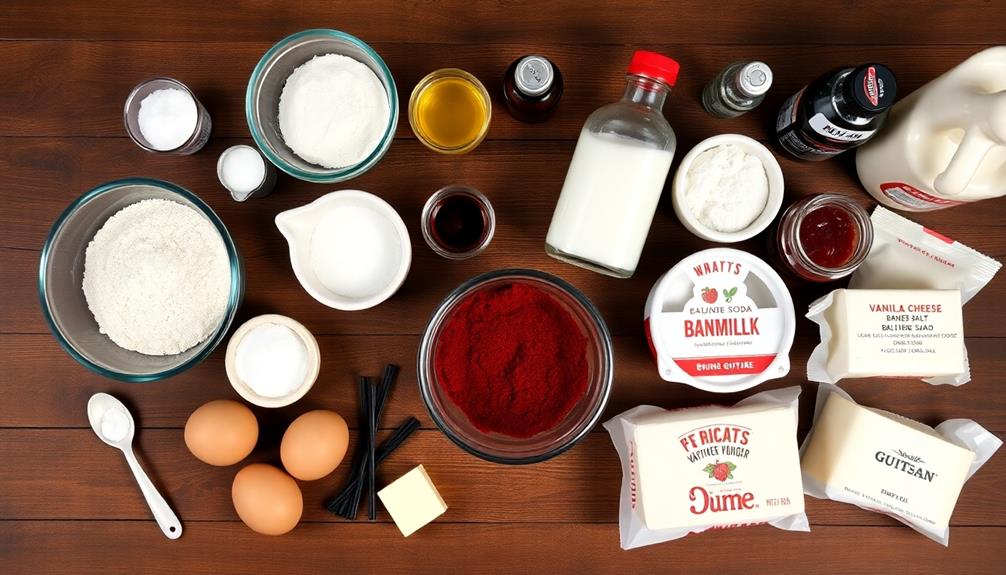
- 2 1/2 cups all-purpose flour
- 1 1/2 cups granulated sugar
- 1 teaspoon baking soda
- 1 teaspoon salt
- 2 tablespoons cocoa powder
- 1 1/2 cups vegetable oil
- 1 cup buttermilk
- 2 large eggs
- 2 tablespoons red food coloring
- 1 teaspoon white vinegar
- 1 teaspoon vanilla extract
- 1/2 cup strawberry jam or syrup
- 16 oz cream cheese, softened
- 1/2 cup unsalted butter, softened
- 4 cups powdered sugar
- 1 teaspoon vanilla extract
- Plastic vampire fangs for decoration
Preheat the oven to 350°F (175°C) and line a muffin tin with cupcake liners. In a large bowl, mix the dry ingredients. In another bowl, whisk together the wet ingredients. Combine the wet and dry mixtures until smooth. Fill each cupcake liner about 2/3 full and bake for 18-20 minutes.
Once cooled, core the center of each cupcake and fill with strawberry jam. For the frosting, beat cream cheese and butter until smooth, then gradually add powdered sugar and vanilla. Frost the cupcakes, and add vampire fangs as a finishing touch.
For best results, store these cupcakes in the refrigerator due to the cream cheese frosting. Allow them to come to room temperature before serving for optimal flavor and texture.
If you want to intensify the "bloody" effect, you can drizzle additional strawberry syrup over the frosting or around the cupcake liners. Remember, the key to a perfect red velvet isn't to overmix the batter, as this can lead to tough, dense cupcakes.

Strawberry-Flavored Cake Drizzle by Chefmaster, Edible Cake Drip Frosting for Decorating, Drip for Cakes, Cupcakes, Cookies, Donuts, 10 oz
DELICIOUS CAKE DRIZZLE: This mouthwatering strawberry-flavored drizzle wonderfully complements the taste of cakes, cookies, donuts, strawberries, and pastries
As an affiliate, we earn on qualifying purchases.
As an affiliate, we earn on qualifying purchases.
Cooking Steps
You're ready to start baking your spooky cupcakes!
First, preheat your oven to 350°F and mix all the dry ingredients together in a large bowl.
Gradually add the wet ingredients, stirring until you've got a smooth batter, then fill your cupcake liners about two-thirds full with the mixture.
Pop them in the oven and bake for 18-20 minutes, or until a toothpick inserted in the center comes out clean.
Step 1. Preheat Oven to 350°F
Before sinking your teeth into these delectable treats, it's crucial to set the stage for baking success. Preheating your oven to 350°F (175°C) is the first step in creating your Vampire Bite Red Velvet Cupcakes. This temperature ensures that your cupcakes will bake evenly and develop the perfect texture.
To preheat your oven, simply turn it on and set the temperature dial or digital display to 350°F. Most ovens will signal when they've reached the desired temperature, usually with a beep or by turning off a light. If your oven doesn't have this feature, give it about 10-15 minutes to heat up fully.
While you're waiting for the oven to reach the right temperature, you can start gathering your ingredients and preparing your baking tools. This is a great time to line your cupcake tin with paper liners or grease the cups if you're not using liners.
Step 2. Mix Dry Ingredients Together

For the next step in creating your Vampire Bite Red Velvet Cupcakes, you'll need to mix the dry ingredients together.
Grab a medium-sized bowl and add 2 1/4 cups of all-purpose flour. Next, measure out 1/4 cup of unsweetened cocoa powder and sift it into the bowl to remove any lumps. This will ensure your cupcakes have a smooth texture.
Now, it's time to add some flavor and lift to your cupcakes. Sprinkle in 1 teaspoon of baking soda and 1/2 teaspoon of salt. These ingredients will help your cupcakes rise and enhance their taste.
For a touch of warmth, add 1/4 teaspoon of ground cinnamon. This secret ingredient will give your cupcakes a subtle, spicy note that complements the chocolate flavor.
Using a whisk or a fork, gently mix all the dry ingredients together. Make sure to break up any clumps and distribute everything evenly.
This step is crucial for consistent flavor and texture in your cupcakes. Once everything is well combined, set the bowl aside. You'll be ready to add these dry ingredients to your wet mixture later on in the recipe.
Step 3. Add Wet Ingredients Gradually

The next crucial step in creating your Vampire Bite Red Velvet Cupcakes is adding the wet ingredients gradually.
You'll want to take your time with this part, as it's key to achieving the perfect texture. Start by adding the vegetable oil to your dry mixture, stirring it in slowly.
Next, pour in the buttermilk little by little, making sure to mix well after each addition. This helps prevent lumps and ensures everything blends smoothly.
Now, it's time for the eggs. Crack them one at a time into a separate bowl, then add them to your batter, mixing thoroughly after each one.
Don't forget the vanilla extract – it adds a lovely flavor that complements the cocoa.
Finally, add the red food coloring. This is what gives your cupcakes their signature "vampire" look, so don't skimp!
Mix until the color is evenly distributed throughout the batter.
Step 4. Fill Cupcake Liners
With your vibrant red batter ready, it's time to fill those cupcake liners. First, grab your muffin tin and line it with paper cupcake liners. If you don't have liners, you can lightly grease the tin instead.
Now, take a spoon or an ice cream scoop to portion out the batter. You'll want to fill each liner about 2/3 full. This gives the cupcakes room to rise without spilling over.
Be careful not to overfill, as this can lead to messy, lopsided cupcakes. If you're using different sizes of liners, adjust the amount of batter accordingly. For mini cupcakes, fill about 3/4 full. For jumbo cupcakes, stick to just over half full.
As you fill each liner, give the tin a gentle tap on the counter to settle the batter and remove any air bubbles. This helps ensure even baking.
If you have leftover batter, resist the urge to top off already-filled liners. Instead, bake a second batch or make a few extra in a separate tin. Remember, consistency is key for perfectly baked vampire bite cupcakes!
Step 5. Bake for 18-20 Minutes

Now that your cupcake liners are filled, it's time to bake these devilishly delicious treats. Preheat your oven to 350°F (175°C) and make sure the rack is in the center position. This ensures even heat distribution for perfectly baked cupcakes.
Once the oven's ready, carefully place your filled cupcake tray inside. Set a timer for 18 minutes, but keep an eye on them as they bake. Different ovens may require slight adjustments to the cooking time.
You'll know they're done when the tops spring back lightly when touched, and a toothpick inserted into the center comes out clean. If they're not quite ready at 18 minutes, give them an extra minute or two.
Be careful not to overbake, as this can lead to dry cupcakes. Remember, they'll continue to cook slightly as they cool. When the timer dings, use oven mitts to remove the tray and place it on a wire rack.
Let the cupcakes cool in the pan for about 5 minutes before transferring them directly to the rack. This cooling process is crucial for achieving the perfect texture in your vampire bite cupcakes.
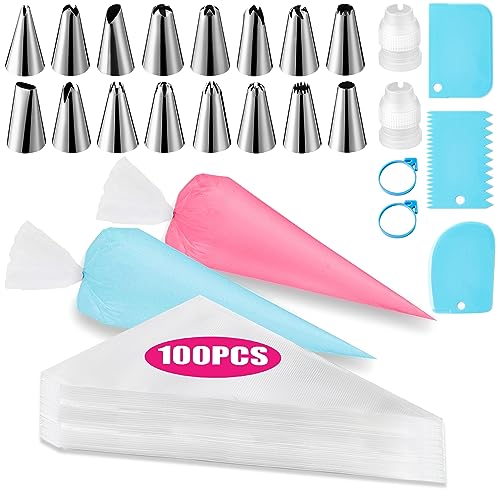
Piping Bags and Tips Set, Cakes Decorating Supplies Kit with 100pcs 12 Inch Pastry Bags, 16 Piping Tips, 3 Cake Scraper, 2 Couplers, 2 Bag Ties, Simple and Convenient Baking Supplies Set
Cake Decorating Kit: Package include 100 x piping bags disposable, 16 x stainless steel frosting tips, 2 x…
As an affiliate, we earn on qualifying purchases.
As an affiliate, we earn on qualifying purchases.
Final Thoughts

These Vampire Bite Red Velvet Cupcakes offer a spooky and delicious twist on a classic dessert. They're perfect for Halloween parties, themed events, or any time you want to add a bit of fun to your baking.
You'll love how the rich, red color of the cupcakes contrasts with the creamy white frosting, creating a visually striking treat that's sure to impress your friends and family.
Remember, the key to success with these cupcakes is in the details. Take your time when adding the "bite marks" and "blood," as these elements really bring the vampire theme to life.
Don't worry if they're not perfect – each cupcake can be unique, just like real vampire bites! You can also experiment with different shades of red food coloring to achieve your desired look.
As you enjoy your Vampire Bite Red Velvet Cupcakes, think about other ways you could adapt this recipe. Maybe you'll try different flavors or create other spooky designs.
The possibilities are endless, and that's what makes baking so much fun. So go ahead, let your imagination run wild, and happy baking!
Frequently Asked Questions
Can I Substitute the Red Food Coloring With Natural Alternatives?
Yes, you can use natural alternatives for red food coloring. Try beet juice, pomegranate juice, or red berry purees. They'll give your dessert a natural reddish hue, though it may be less vibrant than artificial coloring.
How Long Do These Cupcakes Stay Fresh?
You'll find these cupcakes stay fresh for 2-3 days at room temperature. If you refrigerate them, they'll last up to a week. For longer storage, freeze them for up to three months. Always store them in an airtight container.
Are There Any Vegan Options for This Recipe?
You can easily adapt this recipe for vegans. Replace eggs with flax eggs, use plant-based milk, and swap dairy butter for vegan butter. For the frosting, opt for vegan cream cheese. These substitutions won't compromise the taste or texture.
Can I Make These Cupcakes in Advance and Freeze Them?
Yes, you can make these cupcakes in advance and freeze them. It's best to freeze them unfrosted. Wrap them individually in plastic wrap, then place in a freezer bag. They'll keep for up to 3 months.
What Other Flavors Pair Well With These Vampire-Themed Cupcakes?
You'll find that dark chocolate, cherry, and blackberry flavors pair wonderfully with these spooky treats. Don't forget to try blood orange for a citrusy kick or black licorice for an extra Gothic touch to your dessert spread.