You'll create a wildly entertaining centerpiece for your Halloween party with a Zombie Brain Cheese Ball, a savory and creepy appetizer that's sure to delight and frighten your guests in equal measure. This spooky creation combines cream cheese, sharp cheddar, and seasonings, shaped into a realistic brain and decorated with prosciutto and red food coloring for a bloody effect. It's best prepared a day in advance to allow flavors to meld. Serve it with crackers or vegetables, and watch as your guests hesitate before digging in. With a little creativity, you'll have a memorable dish that's both tasty and visually striking. Prepare to uncover the secrets of this ghoulish culinary masterpiece.
Key Takeaways
- A creamy appetizer shaped like a brain, perfect for Halloween parties and spooky gatherings.
- Made with cream cheese, sharp cheddar, and seasonings, decorated to resemble a zombie brain.
- Requires chilling for at least 2 hours to maintain shape and enhance spreadability.
- Typically served with crackers or bread and can be paired with themed drinks or decorations.
- Preparation involves molding cheese, creating wrinkles, and using food coloring for a realistic bloody effect.

Yomvzake Donut Hole Baking Pan Set of 2, Mini Cake Pop Round Sphere Baking Mold Semi Sphere Tray Non-stick 1-3/4" Bite Size Half Ball Eyeball Cakes For Halloween Christmas Baking
- Material: Premium-grade carbon steel for durability
- Design: Rounded bottom for traditional pies
- Size: 1.75-inch diameter cavities
As an affiliate, we earn on qualifying purchases.
As an affiliate, we earn on qualifying purchases.
History

The origins of the Zombie Brain Cheese Ball remain shrouded in mystery, but it's likely a recent culinary creation.
You'll find that this spooky appetizer has gained popularity in the last decade, especially during Halloween parties and themed events. It's a fun twist on the classic cheese ball, designed to look like a gory brain while still being delicious.
You might wonder where the idea came from. Well, it's probably a combination of horror movie inspiration and creative home cooks looking to add some shock value to their party spreads.
The concept has spread quickly through social media and food blogs, with various recipes and designs popping up online.
While there's no official inventor of the Zombie Brain Cheese Ball, you'll see that it's become a staple of Halloween gatherings.
It's a testament to how food can be both tasty and visually striking. As you explore its history, you'll notice that it's part of a larger trend of turning ordinary dishes into spooky masterpieces for Halloween festivities.
Recipe
This ghoulishly delightful Zombie Brain Cheese Ball is the perfect centerpiece for your Halloween party or spooky gathering. Not only does it look impressively gruesome, but it also tastes deliciously creamy and savory, making it a hit with both kids and adults alike.
The key to creating this eerie appetizer lies in the clever shaping and decorating techniques that transform a simple cheese ball into a realistic-looking brain. The combination of cream cheese, cheddar, and seasonings creates a flavorful base, while the strategic use of food coloring and prosciutto gives it that spine-chilling, brain-like appearance.
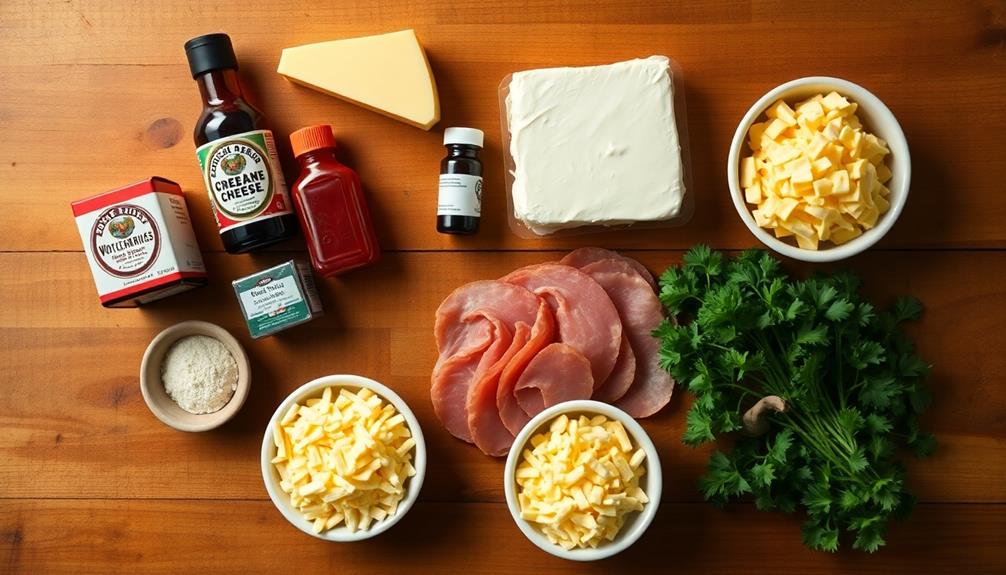
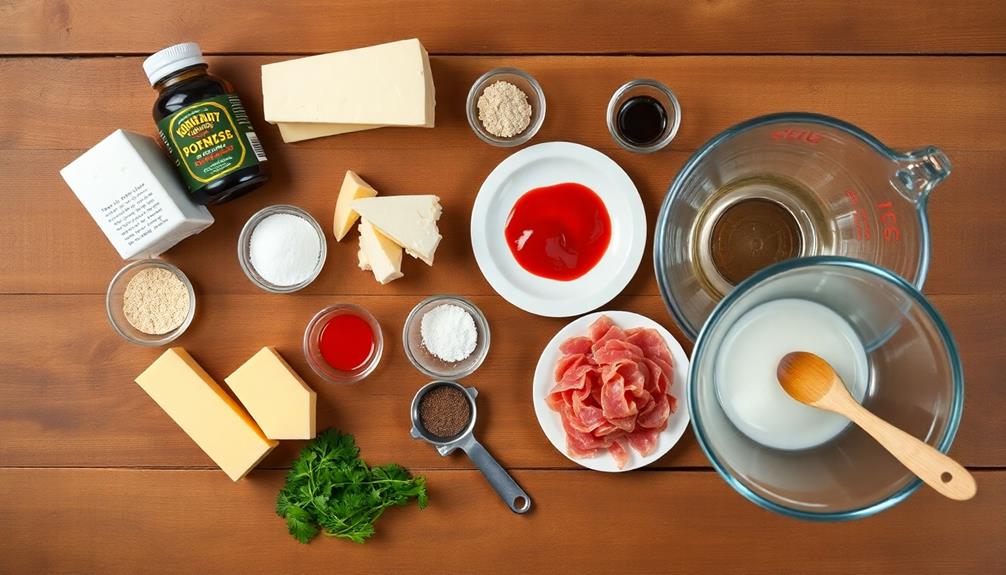
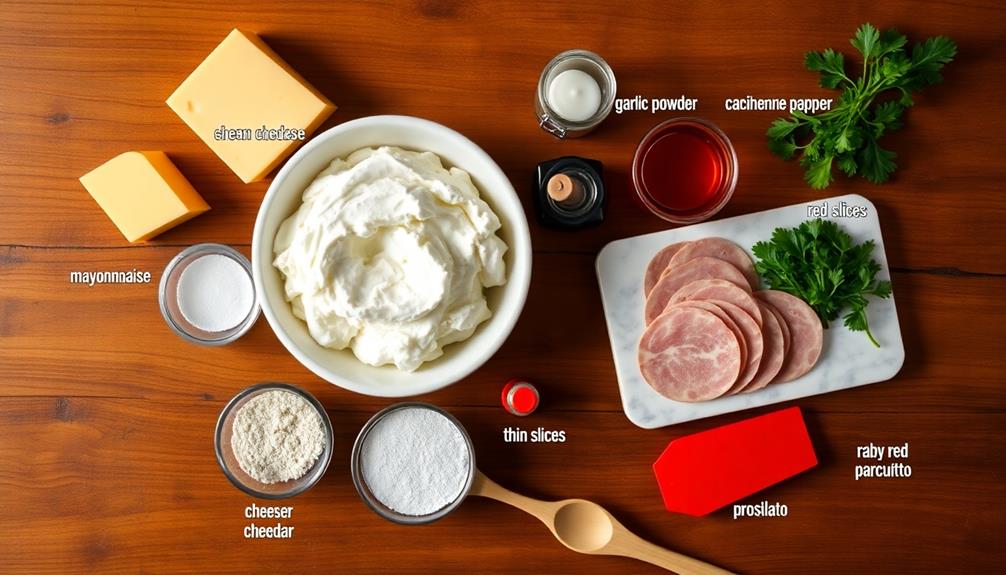
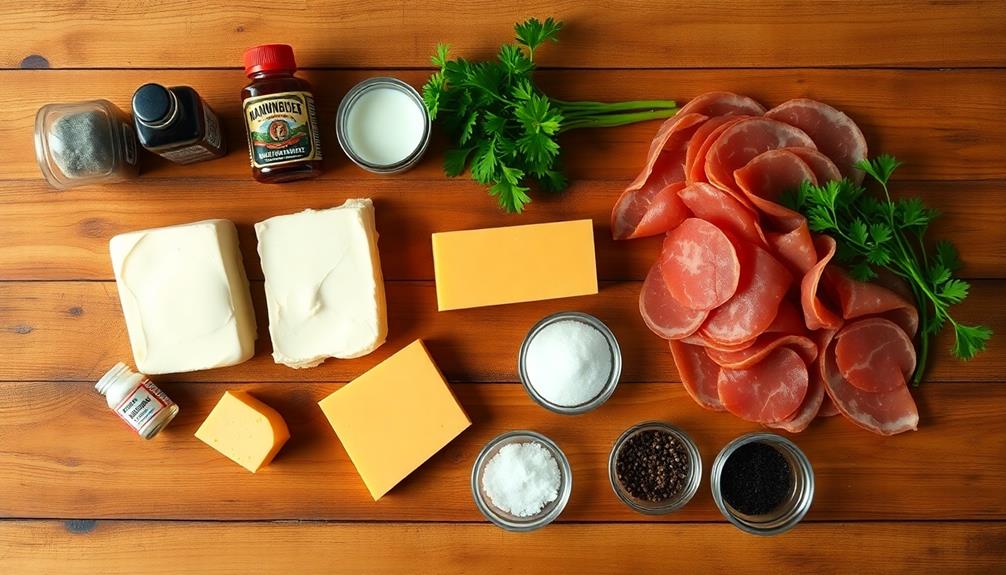
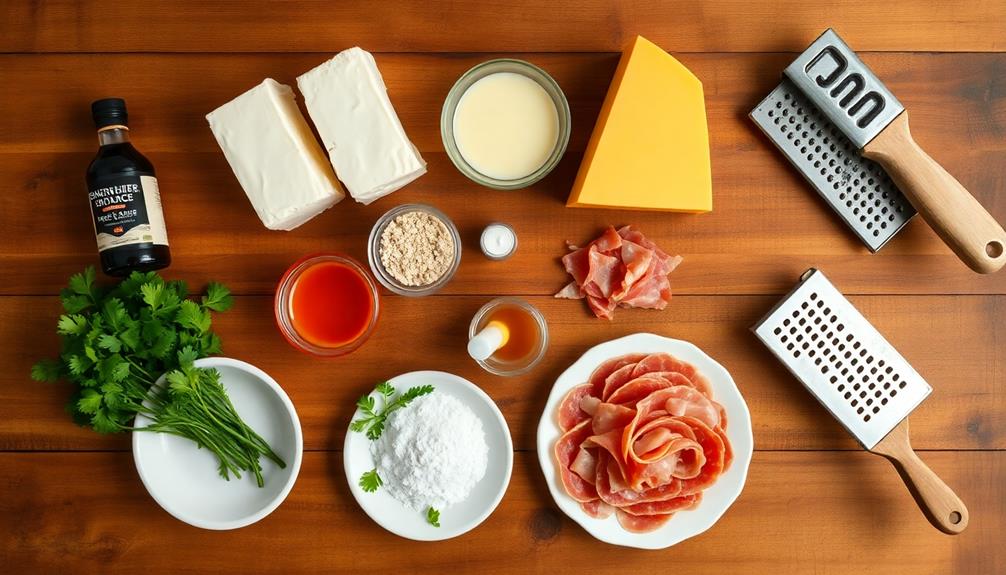
Ingredients:
- 16 oz cream cheese, softened
- 8 oz sharp cheddar cheese, shredded
- 2 tablespoons mayonnaise
- 1 tablespoon Worcestershire sauce
- 1 teaspoon garlic powder
- 1/2 teaspoon onion powder
- 1/4 teaspoon cayenne pepper
- 1/4 cup chopped fresh parsley
- Red food coloring
- 4-6 slices prosciutto
To prepare the Zombie Brain Cheese Ball, start by mixing the softened cream cheese, shredded cheddar, mayonnaise, Worcestershire sauce, garlic powder, onion powder, and cayenne pepper in a large bowl until well combined.
Fold in the chopped parsley. Shape the mixture into a ball and refrigerate for at least 2 hours or overnight.
Once chilled, use your hands to mold the cheese ball into a brain shape, creating a deep crease down the center and smaller creases on each side to resemble brain folds.
Mix a few drops of red food coloring with a small amount of water and brush it over the surface of the cheese ball to create a pinkish hue. Arrange thin strips of prosciutto over the surface to mimic blood vessels.
For best results, prepare the cheese ball a day in advance to allow the flavors to meld and the shape to set firmly.
When serving, surround the brain with an assortment of crackers, sliced baguette, or vegetable crudités. To enhance the Halloween theme, consider placing the cheese ball on a platter decorated with plastic spiders, fake cobwebs, or other spooky accessories.
Remember to keep the cheese ball refrigerated until ready to serve, and don't let it sit out at room temperature for more than 2 hours to ensure food safety.
Cooking Steps

Now that you've got your ingredients ready, it's time to shape your spooky Zombie Brain Cheese Ball.
You'll start by molding the cheese mixture into a brain shape, incorporating your chosen spices and herbs for flavor.
Next, you'll create a veiny surface texture and add red food coloring for that realistic, creepy look, before chilling your creation to ensure it holds its shape when served.
Step 1. Mold Cheese Into Brain Shape
Four key steps will transform your cheese mixture into a creepy brain shape.
First, you'll need to chill the mixture in the refrigerator for about an hour. This will make it easier to mold and help it hold its shape.
Once it's firm enough, take it out and place it on a clean surface.
Next, use your hands to shape the cheese into a rough oval, resembling the general shape of a brain. Don't worry about making it perfect; brains aren't perfectly symmetrical!
Now, it's time to create the brain's distinctive wrinkles and folds. Use a butter knife or the back of a spoon to gently press long, wavy lines into the surface of the cheese. Start from the center and work your way outward, creating a pattern that looks like the brain's lobes.
Step 2. Mix in Spices and Herbs

To elevate your zombie brain cheese ball's flavor profile, carefully select and incorporate a blend of spices and herbs. Start by adding a teaspoon of garlic powder and a half teaspoon of onion powder to enhance the savory notes.
For a subtle kick, sprinkle in a quarter teaspoon of cayenne pepper or paprika. Don't forget to include some dried herbs like thyme, rosemary, or parsley – about a teaspoon total will do the trick.
As you're mixing these spices into your cheese mixture, make sure they're evenly distributed. You don't want any surprise pockets of intense flavor!
If you're feeling adventurous, try adding a pinch of smoked paprika for a smoky undertone, or some dried dill for a tangy twist. Remember, you can always adjust the amounts to suit your taste buds.
Once you've added your chosen spices and herbs, give the mixture a good stir. Use a spatula or your hands (clean ones, of course!) to work everything together thoroughly.
This step is crucial for ensuring that every bite of your zombie brain cheese ball is packed with delicious flavor. Your cheese mixture is now ready for the next step in creating your spooky masterpiece!
Step 3. Create Veiny Surface Texture

Your zombie brain's realistic appearance hinges on creating a convincing veiny texture. To achieve this, you'll need to work with the cheese ball's surface while it's still pliable.
Start by gently pressing thin strands of red bell pepper or roasted red pepper strips onto the surface. These will serve as your main veins. Next, use a toothpick or the back of a small spoon to create shallow grooves radiating outward from these veins. This will mimic smaller blood vessels and add depth to the overall texture.
For added realism, mix a small amount of red food coloring with water and carefully brush it along the grooves and around the pepper strips. This will give the appearance of blood-filled vessels.
You can also use finely chopped herbs like parsley or cilantro to create a speckled effect, mimicking brain tissue. Remember, the key is to build up layers of texture gradually.
Don't be afraid to experiment with different techniques to find what works best for your zombie brain. As you work, step back occasionally to assess the overall effect and make adjustments as needed.
Step 4. Add Red Food Coloring
Now that you've created the base texture for your zombie brain, it's time to amp up the gore factor with some strategic use of red food coloring.
Grab a small bowl and mix a few drops of red food coloring with a tablespoon of water. This will create a diluted "blood" mixture that's perfect for our gruesome creation.
Using a clean paintbrush or your fingertip, carefully apply the red mixture to the creases and folds of your cheese ball. Focus on the deeper crevices to create a realistic, bloody appearance.
Don't overdo it – a little goes a long way! If you want a more intense color, you can add a drop or two of undiluted food coloring directly to some areas.
For an extra creepy touch, mix a tiny bit of blue food coloring with the red to create a deeper, more vein-like hue. Apply this sparingly to mimic blood vessels on the brain's surface.
Step 5. Chill Before Serving
After you've completed the gory decorations, it's crucial to chill your zombie brain cheese ball before serving. This step isn't just about temperature; it's essential for maintaining the shape and texture of your creepy creation.
Place the cheese ball in the refrigerator for at least two hours, or overnight if you've got the time. This chilling period allows the cheese mixture to firm up, making it easier to handle and serve.
While your zombie brain is cooling down, you can prepare the serving platter. Choose a dark-colored plate or board to create a spooky contrast with the pale "brain" cheese. You might even want to add some fake cobwebs or plastic spiders around the edges for extra Halloween flair.
When you're ready to serve, take the cheese ball out of the fridge about 15 minutes before your guests arrive. This short time at room temperature will make it easier to spread on crackers or bread.
Final Thoughts
This creepy yet delicious Zombie Brain Cheese Ball is sure to be the star of your Halloween party spread. You've now learned how to create a spooky centerpiece that's both visually striking and tasty.
Remember, the key to success is in the details. Take your time shaping the "brain" and applying the food coloring for the most realistic effect. Don't be afraid to get creative with your presentation, perhaps adding some plastic spiders or fake blood around the plate for extra impact.
While this recipe is perfect for Halloween, you can easily adapt it for other occasions. Try using different food colorings or shaping the cheese ball into other forms for year-round entertaining.
It's a versatile dish that's sure to impress your guests, no matter the season. As you serve your Zombie Brain Cheese Ball, be prepared for some initial hesitation followed by lots of compliments. You might even start a new Halloween tradition!
Frequently Asked Questions
Can I Use Different Types of Cheese for This Recipe?
You can absolutely use different types of cheese for this recipe. Mix and match to create your preferred flavor profile. Experiment with cheddar, gouda, blue cheese, or cream cheese. Just ensure they blend well together for the best results.
How Long Can the Zombie Brain Cheese Ball Be Stored?
You can store your cheese ball in the refrigerator for up to 5 days. Wrap it tightly in plastic wrap to maintain freshness. For longer storage, you can freeze it for up to 1 month.
Are There Any Vegetarian Alternatives for the Bacon Bits?
You've got options for vegetarian bacon bits! Try using crushed nuts, crispy fried onions, or vegan bacon substitutes. You can also make your own with seasoned, roasted coconut flakes or crumbled tempeh. Get creative with textures and flavors!
Can I Prepare This Cheese Ball in Advance for a Party?
You can definitely prepare your cheese ball in advance for a party. It's best to make it 1-2 days ahead and refrigerate. Just remember to take it out 30 minutes before serving to soften slightly for easier spreading.
What Are Some Creative Serving Suggestions for This Halloween-Themed Appetizer?
For a Halloween-themed appetizer, you'll wow guests by serving it on a faux autopsy tray. Surround it with "bloody" crackers, add plastic spiders, or create a spooky graveyard scene. Don't forget eerie lighting for extra ambiance!