Bloodshot deviled eggs are a spooky twist on the classic appetizer, perfect for Halloween parties or horror-themed gatherings. You'll hard-boil eggs, halve them, and mix the yolks with mayonnaise, mustard, and spices. The fun part? Creating "bloodshot" veins on the egg whites using red food coloring. Pipe the yolk mixture back into the whites, and top each egg with a sliced olive or caper to mimic an eye. These creepy-looking treats are not only visually striking but also delicious. You can prepare them up to 24 hours in advance, making party prep a breeze. Ready to learn the tricks for making these eerie eggs?
Key Takeaways
- Bloodshot Deviled Eggs are a Halloween-inspired twist on traditional deviled eggs with a spooky, eye-like appearance.
- They feature hard-boiled egg whites with red veins created using food coloring for a bloodshot effect.
- The filling typically includes egg yolks, mayonnaise, mustard, and spices, often mixed with Bloody Mary mix for flavor.
- Black olive slices or capers are placed on top to mimic pupils, completing the eye-like appearance.
- These eggs are popular at Halloween parties, horror-themed events, and can be prepared up to 24 hours in advance.

Egg Buddy Deviled Egg Piping Tool – Reusable Piping Bag and Tips Set, 9 Piece Silicone Piping Bag Decorator & Filler Kit for Perfect Party Appetizers (Yolk Yellow)
All-in-One Piping Tips Set – Includes a reusable piping bag, 6 large piping tips, coupling, cleaning brush and…
As an affiliate, we earn on qualifying purchases.
As an affiliate, we earn on qualifying purchases.
History
Deviled eggs have long been a popular appetizer, but the bloodshot variation is a relatively recent twist on the classic recipe. You might be surprised to learn that traditional deviled eggs date back to ancient Rome, where they were served as a first course.
However, it wasn't until the 1940s that the term "deviled" became widely used for this dish in the United States.
The bloodshot version of deviled eggs is a much newer creation, likely originating in the late 20th or early 21st century. It's believed that creative home cooks and party planners came up with the idea to make these spooky-looking eggs for Halloween gatherings.
The addition of red food coloring or ketchup to create the bloodshot effect gives these eggs their distinctive appearance.
You'll find that bloodshot deviled eggs have quickly gained popularity at Halloween parties, horror-themed events, and even medical-themed gatherings.
They're a fun and slightly creepy twist on a classic appetizer that's sure to grab attention and spark conversation among your guests.
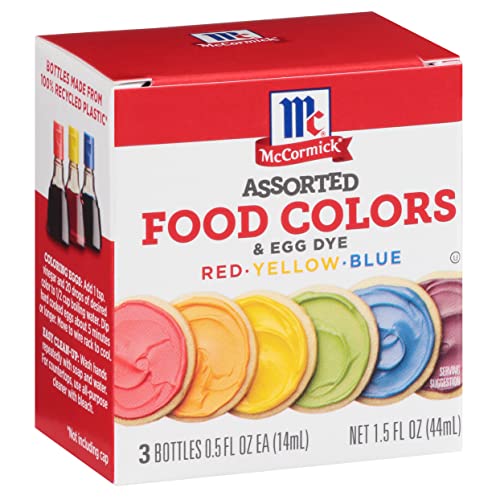
McCormick Assorted Food Colors & Egg Dye, 1.5 fl oz
Contains 0.5 fl oz bottles of red food color, yellow food color and blue food color
As an affiliate, we earn on qualifying purchases.
As an affiliate, we earn on qualifying purchases.
Recipe
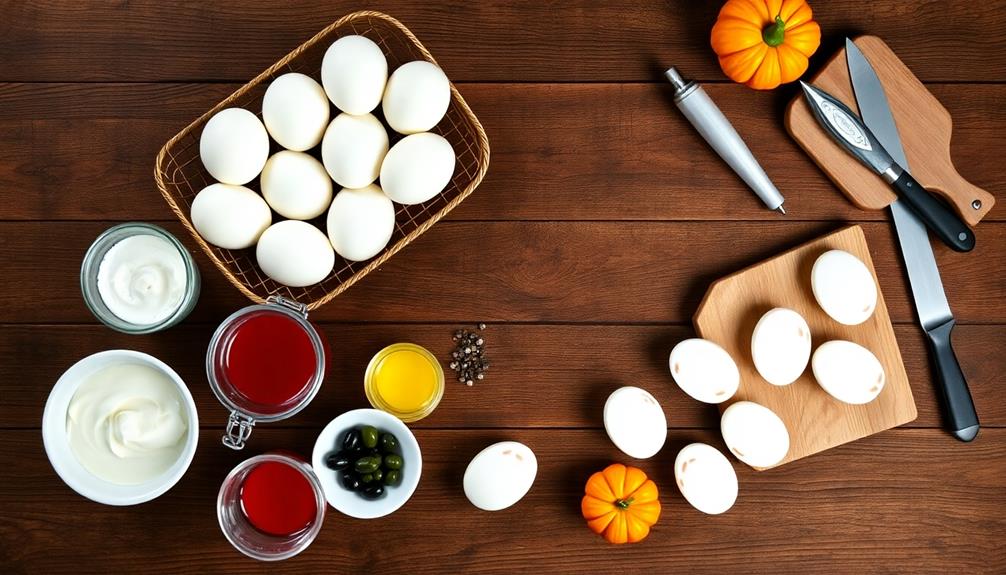
Bloodshot Deviled Eggs are a spooky twist on the classic appetizer, perfect for Halloween parties or any ghoulish gathering. These creepy-looking treats feature hard-boiled egg whites with red veins created by cracking the shells before dyeing, giving them a gruesome, bloodshot appearance.
The filling is a devilishly delicious mixture of egg yolks, mayonnaise, mustard, and spices, piped into the egg white halves to resemble eyeballs. The final touch is a slice of olive or a caper placed in the center to create an eerie pupil effect, making these deviled eggs a true showstopper on your Halloween buffet table.
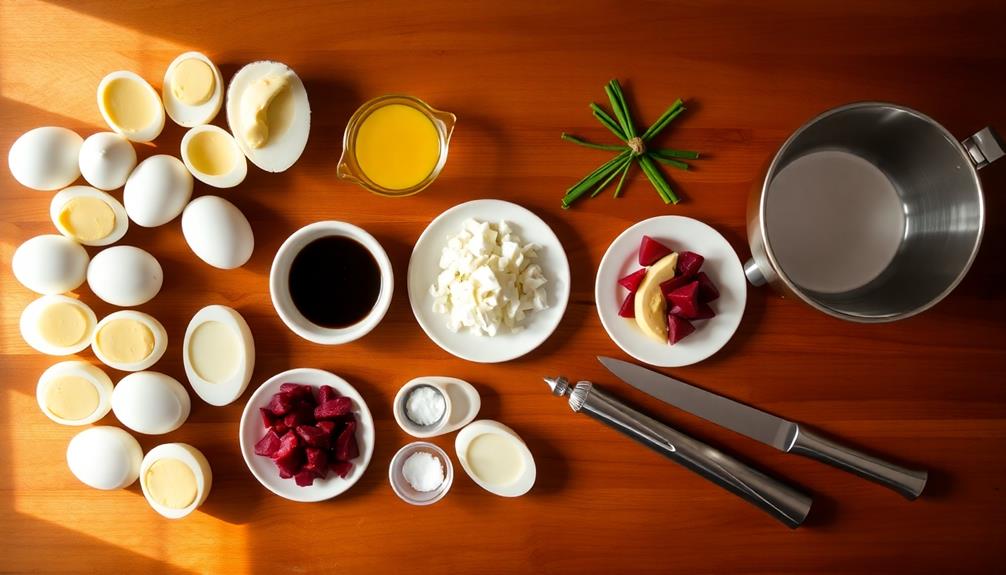
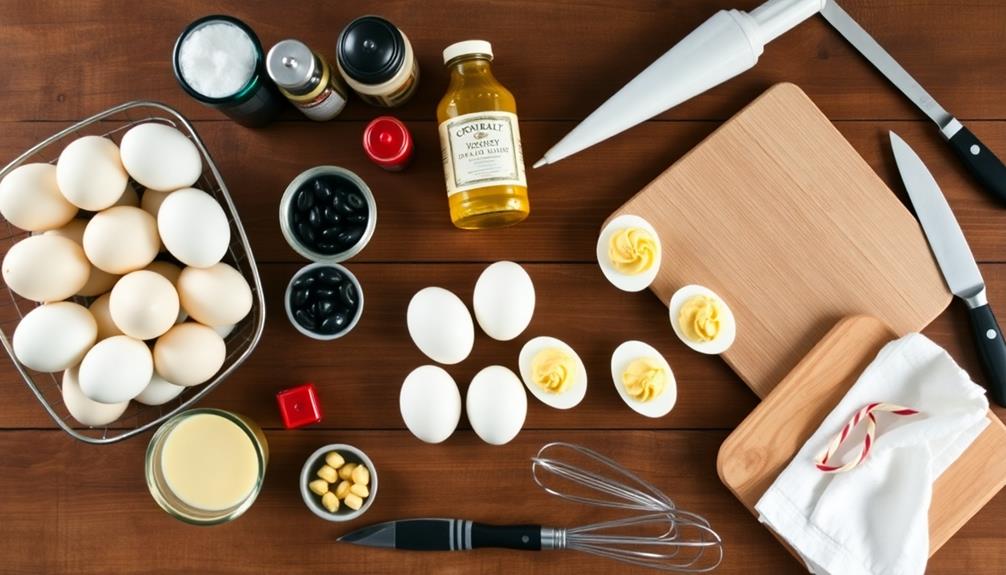
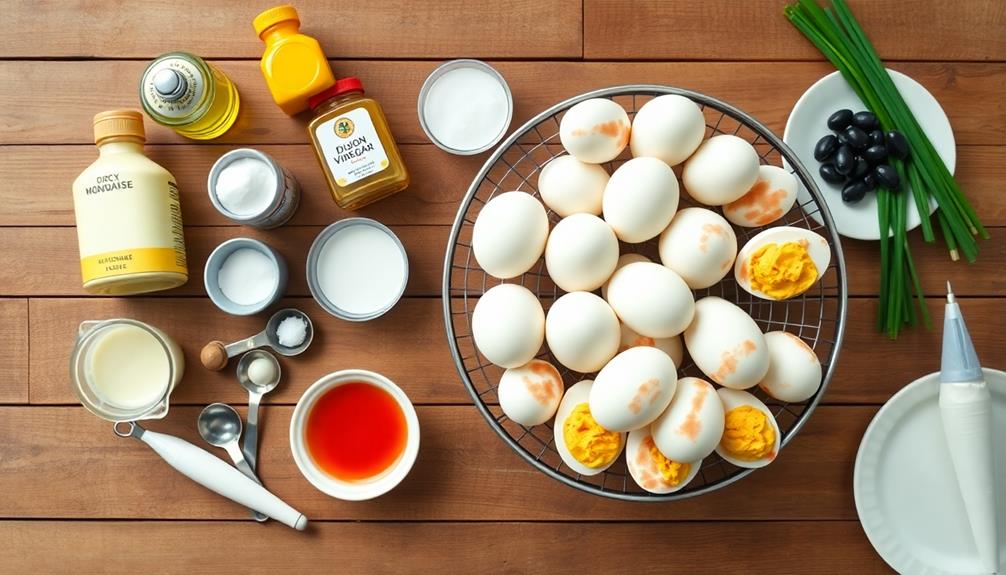
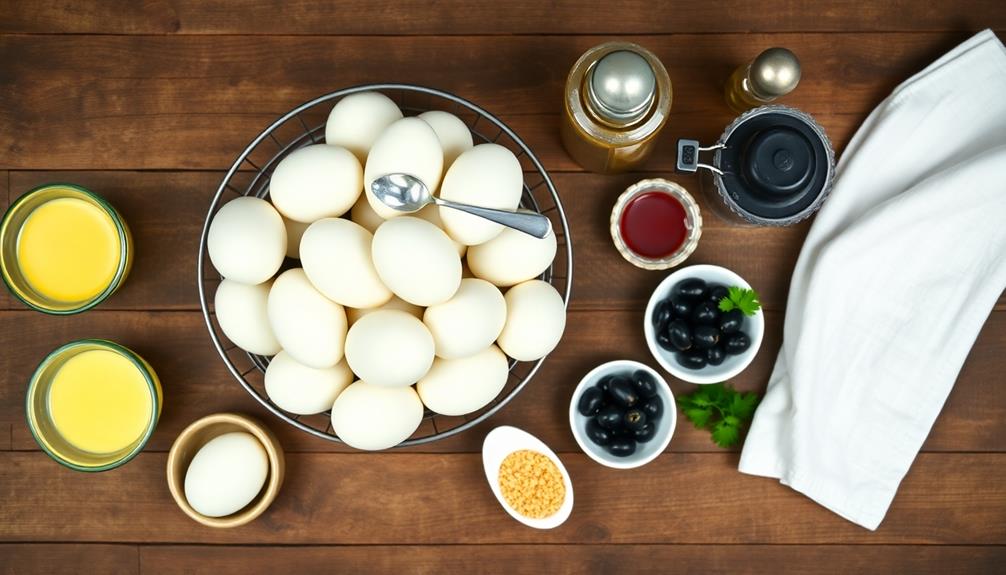
- 12 large eggs
- 1/4 cup mayonnaise
- 1 tablespoon Dijon mustard
- 1 teaspoon white vinegar
- 1/4 teaspoon salt
- 1/4 teaspoon black pepper
- Red food coloring
- 12 sliced black olives or capers
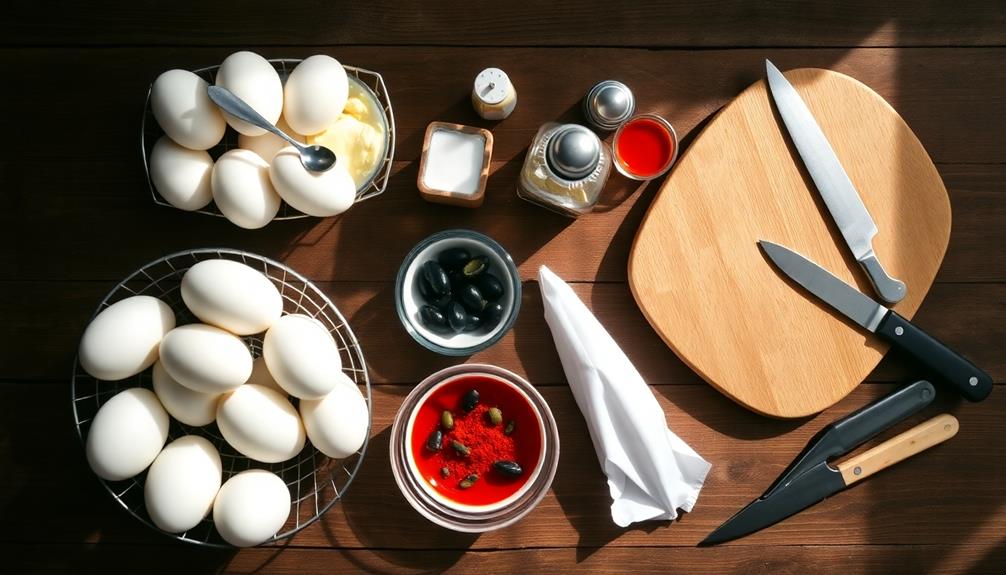
To prepare the Bloodshot Deviled Eggs, start by hard-boiling the eggs. Once cooled, gently crack the shells all over without peeling them.
Place the cracked eggs in a bowl of water mixed with red food coloring and refrigerate for 2-4 hours. Peel the eggs, slice them in half lengthwise, and remove the yolks.
Mix the yolks with mayonnaise, mustard, vinegar, salt, and pepper until smooth. Pipe the mixture into the egg white halves and top each with an olive slice or caper.
For best results, use older eggs as they tend to peel more easily after boiling. To achieve the most realistic bloodshot effect, vary the pressure when cracking the shells to create different patterns of red veins.
If you prefer a spicier filling, add a dash of hot sauce or cayenne pepper to the yolk mixture. These eggs can be prepared up to 24 hours in advance and stored covered in the refrigerator until ready to serve.
Egg Buddy Deviled Egg Piping Tool – Reusable Piping Bag and Tips Set, 9 Piece Silicone Piping Bag Decorator & Filler Kit for Perfect Party Appetizers (Yolk Yellow)
All-in-One Piping Tips Set – Includes a reusable piping bag, 6 large piping tips, coupling, cleaning brush and…
As an affiliate, we earn on qualifying purchases.
As an affiliate, we earn on qualifying purchases.
Cooking Steps
You'll start by boiling your eggs until they're firm, then peeling and carefully halving them.
Next, you'll remove the yolks and mash them up, mixing in the Bloody Mary mix for that signature "bloodshot" look.
Step 1. Boil Eggs Until Firm
To start, place your eggs in a single layer at the bottom of a large pot. Fill the pot with cold water, making sure the eggs are covered by about an inch. Add a pinch of salt to the water, which can help prevent the eggs from cracking and make them easier to peel later.
Now, it's time to heat things up! Put the pot on the stove and turn the heat to high. Once the water starts to boil, reduce the heat to medium-low and let the eggs simmer. For perfectly firm-boiled eggs, you'll want to keep them simmering for about 12 minutes.
While they're cooking, prepare a bowl of ice water.
When the time's up, carefully remove the eggs from the hot water using a slotted spoon and immediately place them in the ice water. This quick cooling process, called shocking, stops the cooking and helps prevent that grayish ring from forming around the yolk.
Let the eggs chill in the ice bath for about 5 minutes. After that, they're ready to be peeled and used in your bloodshot deviled egg recipe!
Step 2. Peel and Halve Eggs

Now that your eggs are perfectly boiled and cooled, it's time to peel and halve them. Start by gently tapping each egg on a hard surface to crack the shell. Roll the egg between your hands to loosen the shell further.
Begin peeling from the larger end, where there's usually an air pocket, making it easier to get under the shell. If you're having trouble, try peeling the eggs under cool running water, which can help separate the shell from the egg white.
Once all your eggs are peeled, it's time to halve them. Using a sharp knife, carefully cut each egg in half lengthwise. Wipe the knife clean between cuts to ensure neat edges.
If you want perfectly smooth halves, you can use dental floss instead of a knife. Simply wrap the floss around the egg's center and pull it through.
After halving, gently remove the yolks by pressing your thumb against the back of each half. Place the yolks in a separate bowl for the filling, and arrange the egg white halves on a plate or platter.
Step 3. Remove Yolks and Mash
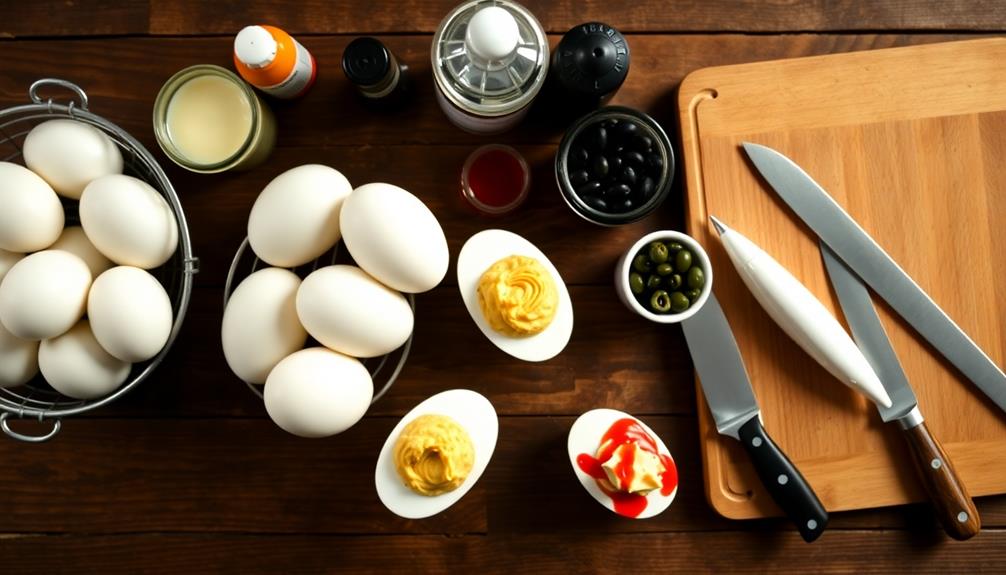
With the egg whites neatly arranged, it's time to prepare the filling. Gently squeeze each egg white half to pop out the yolks into a medium-sized bowl. Don't worry if some of the whites break a little; they'll still look great in the end.
Once you've removed all the yolks, set the empty egg white halves aside.
Now, let's mash those yolks! You can use a fork to break them up, but for a smoother texture, try pressing them through a fine-mesh strainer. This extra step will give you the creamiest filling possible. If you don't have a strainer, no worries – just mash them really well with your fork.
As you're working, you might notice the yolks are a bit dry. That's normal! We'll be adding other ingredients soon to make them nice and creamy.
Make sure you've broken up all the lumps, so your filling will be smooth and easy to pipe back into the egg whites later. Once your yolks are thoroughly mashed, you're ready for the next exciting step in creating your bloodshot deviled eggs!
Step 4. Mix in Bloody Mary Mix
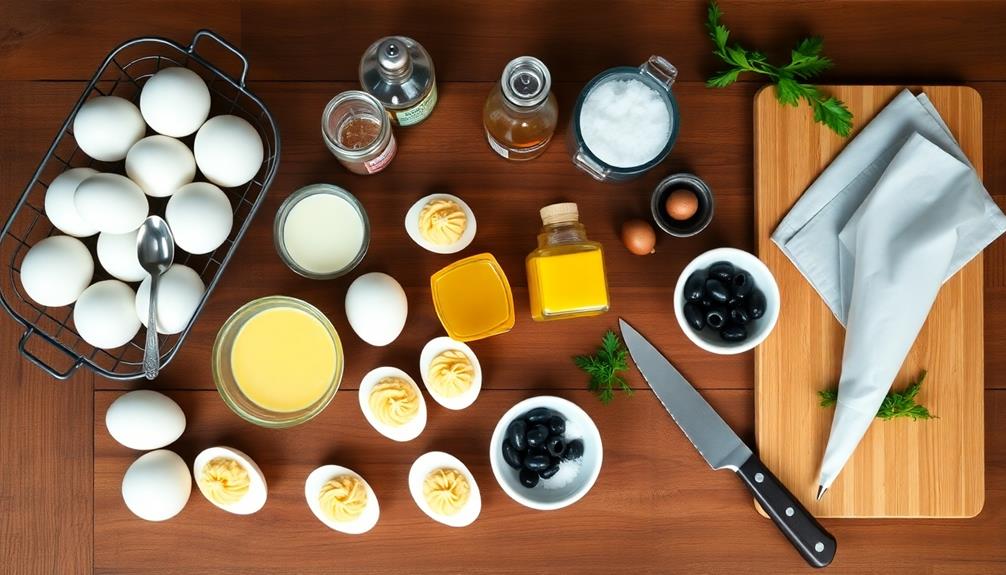
The next crucial step in creating your bloodshot deviled eggs is mixing in the Bloody Mary mix. This key ingredient will give your deviled eggs their signature taste and appearance. Start by adding about 2 tablespoons of Bloody Mary mix to your mashed egg yolks.
You'll want to adjust this amount based on how many eggs you're preparing and your personal taste preferences.
Use a fork or small whisk to blend the mix thoroughly with the yolks. You're aiming for a smooth, creamy consistency without any lumps. As you stir, you'll notice the mixture taking on a pinkish hue – that's exactly what you want!
If the filling seems too thick, add a little more Bloody Mary mix, about a teaspoon at a time. On the other hand, if it's too runny, mix in some extra mashed yolk or a pinch of breadcrumbs to thicken it up.
Don't forget to taste as you go, adjusting the seasoning if needed. Remember, the Bloody Mary mix already contains spices, so be careful not to overdo it with additional seasonings.
Step 5. Pipe Filling Into Whites
Once your filling is perfectly seasoned and mixed, it's time to pipe it into the egg whites. You'll want to use a piping bag for this step, as it'll give you more control and a neater appearance.
If you don't have a piping bag, don't worry! You can make one by snipping off a corner of a zip-top plastic bag.
Start by spooning your deviled egg mixture into the bag. Twist the top of the bag to push the filling toward the tip, squeezing out any air bubbles.
Hold the bag at a 45-degree angle over an egg white half and gently squeeze, starting from the outer edge and working your way to the center in a spiral motion. Fill each egg white generously, creating a small mound on top.
For a fancier look, you can use a star-shaped piping tip to create a swirled pattern. If you're feeling extra creative, try using different piping tips for varied designs.

Amazon Grocery, Black Ripe Sliced Olives, 2.25 Oz
Product Type:Grocery
As an affiliate, we earn on qualifying purchases.
As an affiliate, we earn on qualifying purchases.
Final Thoughts
After mastering these bloodshot deviled eggs, you'll have a spooky yet delicious treat perfect for Halloween parties or horror-themed gatherings.
These eggs aren't just visually striking; they're also a tasty appetizer that'll impress your guests. Remember, presentation is key, so take your time when creating the bloodshot effect and piping the filling.
Don't be afraid to get creative with your garnishes. You could add small plastic spiders or sprinkle paprika for extra flair.
If you're serving these at a party, consider making a double batch, as they tend to disappear quickly! Store any leftovers in an airtight container in the fridge for up to two days.
For a vegetarian-friendly version, you can substitute the Worcester sauce with soy sauce or balsamic vinegar. If you're looking to spice things up, add a dash of hot sauce to the filling.
With practice, you'll find your own preferred variations. Remember, cooking should be fun, so enjoy the process of creating these eerie deviled eggs!
Frequently Asked Questions
Can I Make Bloodshot Deviled Eggs Ahead of Time?
Yes, you can prepare deviled eggs ahead of time. Make them up to 24 hours in advance, but don't add the "bloodshot" effect until just before serving. Store them covered in the refrigerator to maintain freshness and flavor.
Are There Vegetarian Alternatives for the "Bloodshot" Effect?
Yes, you can create a vegetarian "bloodshot" effect. Try using beet juice or red food coloring mixed with vegetable-based ingredients like tomato paste or red pepper puree. You'll achieve a similar look without using animal products.
How Long Do Bloodshot Deviled Eggs Last in the Refrigerator?
You'll want to eat your deviled eggs within 3-4 days for best quality. Store them in an airtight container in the fridge. Don't leave them out at room temperature for more than 2 hours to prevent spoilage.
Can I Use Food Coloring Instead of Beet Juice?
You can definitely use food coloring instead of beet juice. It's a quick and easy alternative that'll give you vibrant colors. Just be careful not to add too much, as it might affect the taste slightly.
What Other Garnishes Can I Use for a Spooky Effect?
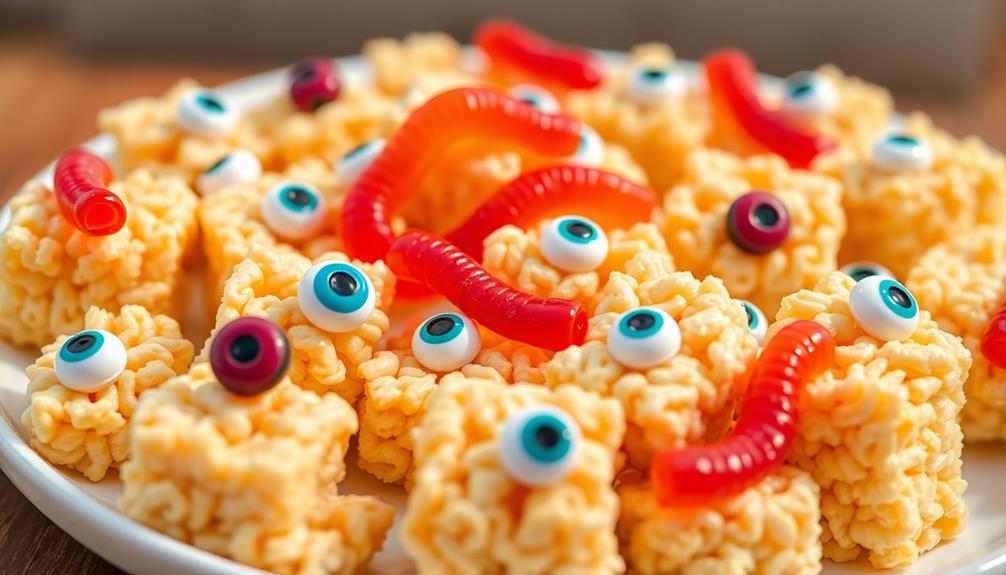
You can create spooky garnishes using black olive slices for "eyeballs," sprinkle paprika for a "bloody" effect, or add plastic spiders. Try using chives as "tentacles" or create "worms" with thin strips of red bell pepper.