Ghostly Gouda cheese balls are a fun and spooky Halloween appetizer you'll love to make. They're a creative twist on traditional cheese balls, combining creamy Gouda, cream cheese, and herbs. You'll shape the mixture into small balls, coat them with white cracker crumbs for a ghostly appearance, and add mini chocolate chips as eerie eyes. These tasty treats are perfect for Halloween parties and can be prepared in advance. Kids and adults alike will enjoy these creamy, flavorful snacks that are as delightful to look at as they are to eat. Discover how easy it is to create these spectral delights for your next Halloween gathering.
Key Takeaways
- Ghostly Gouda Cheese Balls combine Gouda cheese, cream cheese, and herbs, coated in white cracker crumbs for a spooky appearance.
- The recipe originated in the early 2000s as a Halloween-themed twist on traditional cheese balls.
- Mini chocolate chips or candy eyes are used to create eerie facial features on the cheese balls.
- These appetizers can be prepared up to two days in advance and stored in the refrigerator.
- Ghostly Gouda Cheese Balls are suitable for both kids and adults, enhancing Halloween party spreads.
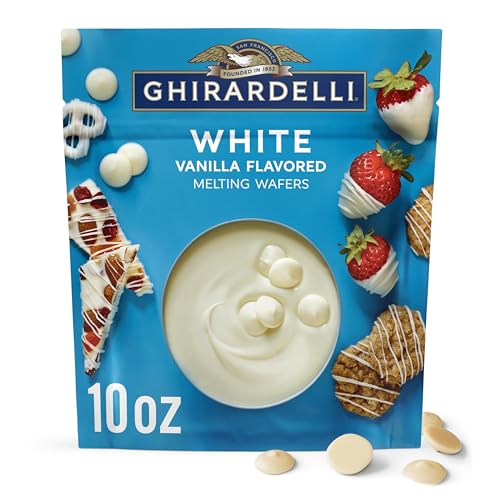
GHIRARDELLI White Vanilla Flavored Melting Wafers, 10 OZ Bag
One (1) 10 oz bag of GHIRARDELLI White Vanilla Flavored Melting Wafers
As an affiliate, we earn on qualifying purchases.
As an affiliate, we earn on qualifying purchases.
History
Tracing back the origins of Ghostly Gouda Cheese Balls reveals a surprisingly recent culinary invention. You might be surprised to learn that these spooky snacks first appeared in the early 2000s, when Halloween-themed parties started gaining popularity.
They're a creative twist on traditional cheese balls, which have been around since the 1940s. The idea for Ghostly Gouda Cheese Balls came from a home cook in Wisconsin, who wanted to add a fun, Halloween touch to her party spread.
She experimented with different cheeses and settled on Gouda for its creamy texture and mild flavor. To achieve the ghostly appearance, she used white cream cheese as a base and shaped the mixture into small, ghost-like forms.
The recipe quickly spread through online forums and food blogs, becoming a hit at Halloween gatherings across the country.
Over time, people have added their own variations, like using black olive slices for eyes or adding herbs for a speckled effect.
Today, you'll find these eerie appetizers at many Halloween parties, bringing a touch of whimsy to the snack table.

365 by Whole Foods Market, Mini Semi-Sweet Chocolate Baking Chips, 12 Ounce
12 ounces of mini chocolate chips
As an affiliate, we earn on qualifying purchases.
As an affiliate, we earn on qualifying purchases.
Recipe
Ghostly Gouda Cheese Balls are a spooky and delicious treat perfect for Halloween parties or autumn gatherings. These creamy, cheesy appetizers are shaped to resemble small ghosts, adding a whimsical touch to your festive spread.
The combination of sharp Gouda cheese, cream cheese, and a blend of herbs creates a rich and flavorful base for these ghostly bites. The addition of white chocolate coating gives them their spectral appearance, while cleverly placed chocolate chips form eerie eyes. These cheese balls aren't only visually striking but also incredibly tasty, making them a hit with both kids and adults alike.
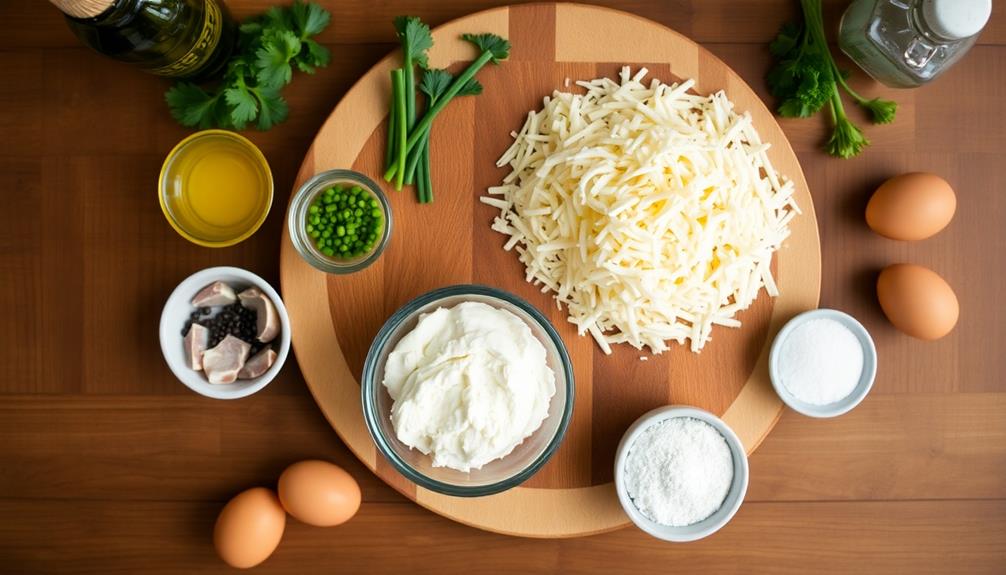
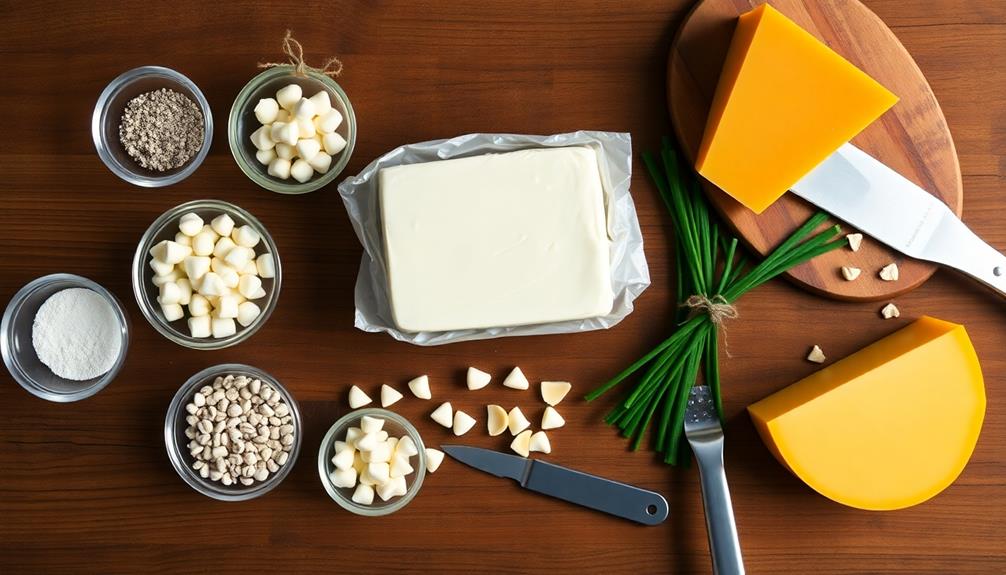
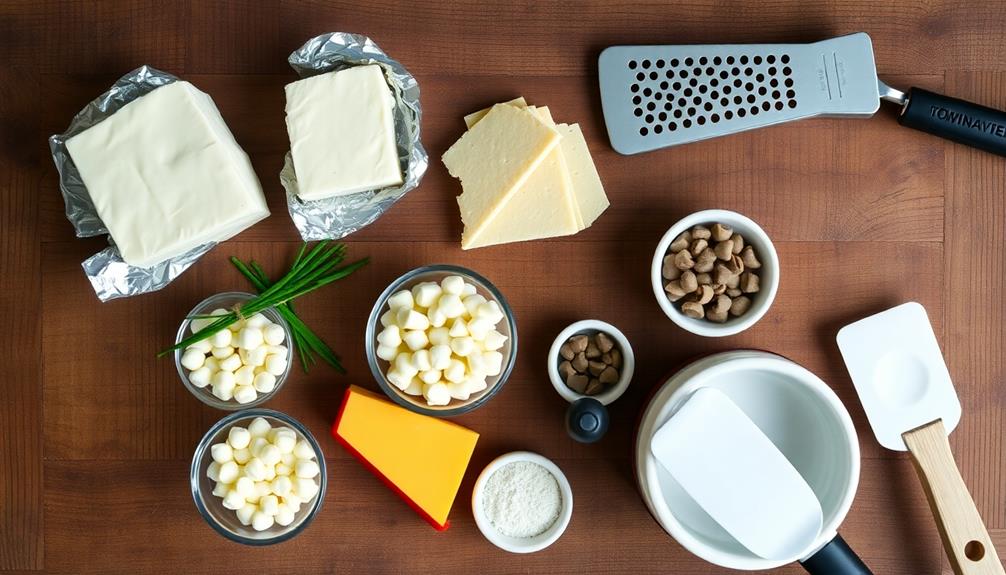
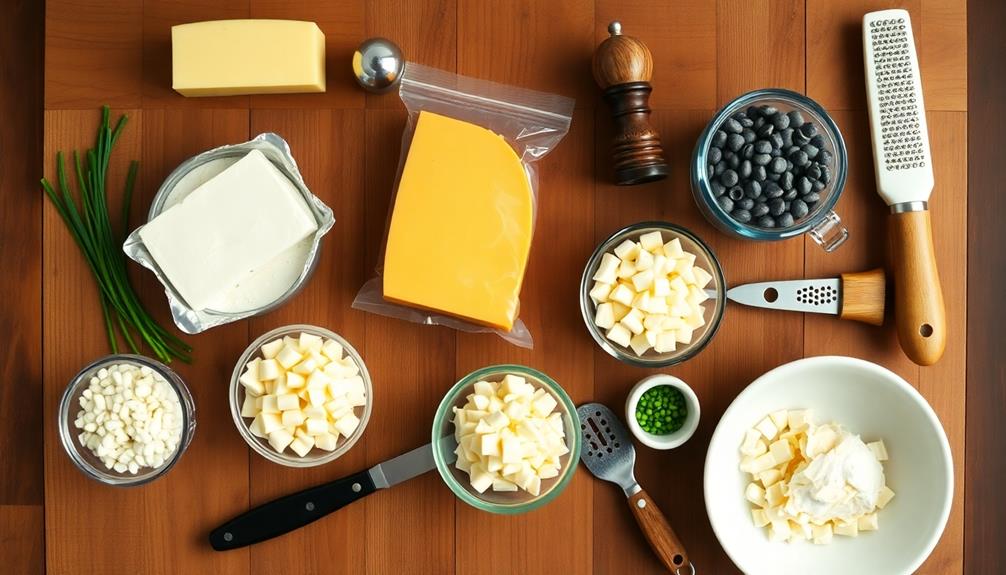
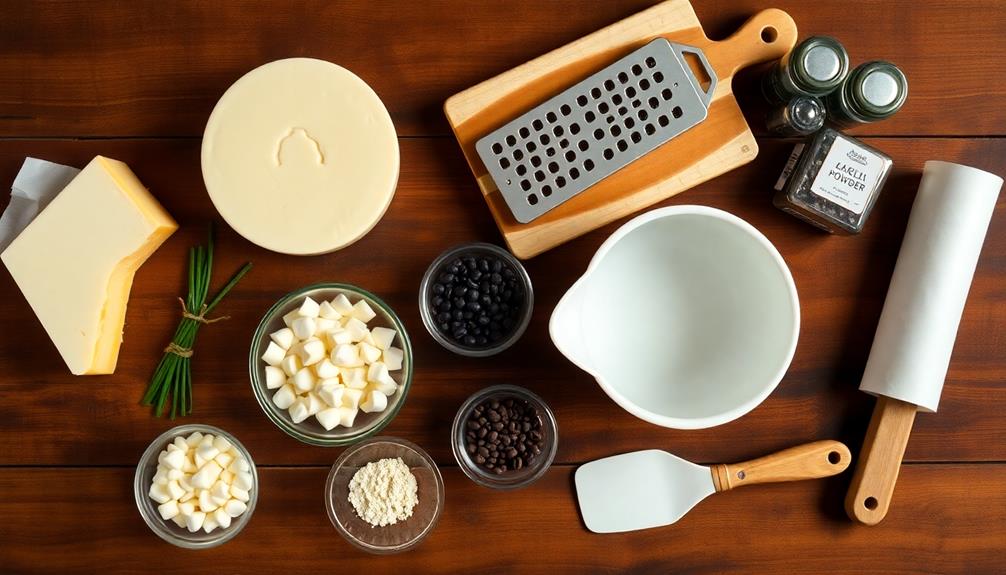
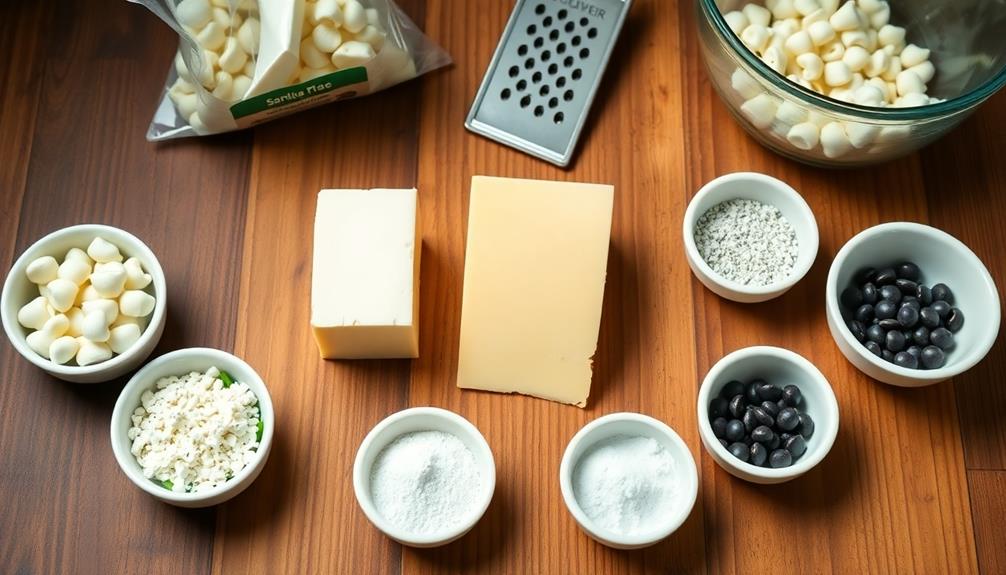
- 8 oz cream cheese, softened
- 2 cups shredded Gouda cheese
- 1/4 cup finely chopped fresh chives
- 1 tsp garlic powder
- 1/2 tsp onion powder
- 1/4 tsp black pepper
- 12 oz white chocolate chips
- Mini chocolate chips for eyes
In a large bowl, mix cream cheese, Gouda, chives, garlic powder, onion powder, and black pepper until well combined. Form the mixture into small ghost shapes, about 2 inches tall and 1 inch wide at the base. Place the ghosts on a parchment-lined baking sheet and freeze for 30 minutes.
Melt the white chocolate in a microwave-safe bowl, stirring every 30 seconds until smooth. Dip each frozen ghost into the melted white chocolate, allowing excess to drip off. Return to the baking sheet and quickly add two mini chocolate chips for eyes before the coating sets. Refrigerate until firm, about 15 minutes.
For best results, use a high-quality Gouda cheese and grate it yourself for optimal flavor and texture. If the cheese mixture becomes too soft while shaping, return it to the refrigerator for a few minutes to firm up. To achieve a smoother white chocolate coating, add a teaspoon of coconut oil to the melted chocolate.
These Ghostly Gouda Cheese Balls can be made up to two days in advance and stored in an airtight container in the refrigerator until ready to serve.

Cayanmydery 4 Inch Dome Cake Pan, 2 PCS Football, Hemisphere Cake Mold, 3D Soccer, Aluminum Cake Decorating Mold Nonstick Baking Tool
Package Included 2 PCS Cake Pan, Size of the Cake Pan, height is 2 inches and the width…
As an affiliate, we earn on qualifying purchases.
As an affiliate, we earn on qualifying purchases.
Cooking Steps
You'll start by mixing the Gouda and cream cheese until they're well combined.
Then shape this mixture into small, ghostly balls.
Next, you'll roll these cheese balls in crushed crackers for a spooky, textured exterior.
After chilling the balls in the refrigerator to firm them up, you'll bring your ghosts to life by adding candy eyes for a fun, Halloween-themed appetizer.
Step 1. Mix Cheese and Cream Cheese
To create the perfect ghostly cheese ball, start by combining shredded Gouda and softened cream cheese in a large mixing bowl. You'll want to use about 2 cups of Gouda and 8 ounces of cream cheese for a standard-sized cheese ball.
Make sure your cream cheese is at room temperature, as this will make mixing much easier.
Use a sturdy spatula or wooden spoon to blend the cheeses together. Don't be afraid to put some muscle into it! As you mix, you'll notice the two cheeses starting to combine into a creamy, slightly orange mixture.
Keep working until you can't see any more distinct cream cheese lumps.
For extra flavor, you can add a pinch of garlic powder or some finely chopped fresh chives. These additions will give your ghostly cheese ball a little extra zing.
Once everything's well mixed, use your hands to form the mixture into a ball shape. It might feel a bit sticky, but that's normal.
If it's too soft to hold its shape, pop it in the fridge for about 15 minutes before moving on to the next step.
Step 2. Shape Mixture Into Balls

Now that your cheese mixture is well-combined, how do you transform it into those spooky ghostly shapes? It's easier than you might think!
Start by scooping out portions of the mixture using a tablespoon or small ice cream scoop. You'll want each ball to be about 1 to 1.5 inches in diameter, which is perfect for a ghostly bite-size treat.
Roll each scoop between your palms to create smooth, round balls. If the mixture sticks to your hands, try wetting them slightly with cold water. This trick will help you shape the balls more easily.
Once you've formed a ball, place it on a parchment-lined baking sheet. Repeat this process until you've used up all the mixture.
For extra spooky flair, you can gently pinch the top of each ball to create a slight peak, giving your ghosts a more ethereal appearance.
Once you've shaped all your cheese balls, pop the baking sheet into the refrigerator for about 30 minutes. This chilling time will help the balls firm up, making them easier to decorate in the next step.
Step 3. Roll in Crushed Crackers

The cracker coating is what transforms your cheese balls into ghostly apparitions. To achieve this spooky effect, you'll need to crush about 2 cups of white crackers into fine crumbs. Place the crumbs in a shallow bowl or on a plate for easy rolling.
Now, take each of your chilled cheese balls and gently roll them in the cracker crumbs, pressing lightly to ensure the coating sticks evenly. As you roll, you'll notice the crackers giving your cheese balls a pale, ghostly appearance. Make sure to cover the entire surface, leaving no spots bare.
If you find some areas aren't sticking well, you can pat additional crumbs onto those spots. For extra ghostliness, you might consider using different types of white crackers to create varying textures.
Once you've coated all your cheese balls, place them back in the refrigerator for about 30 minutes. This will help the cracker coating set and adhere better to the cheese mixture.
When you're ready to serve, your Ghostly Gouda Cheese Balls will be hauntingly delicious and perfectly spooky for any Halloween gathering!
Step 4. Chill Balls in Refrigerator

After you've rolled your cheese balls in the cracker crumbs, it's crucial to chill them in the refrigerator. This step isn't just about making them cold; it's essential for helping your ghostly Gouda creations hold their shape.
Place the cheese balls on a plate or baking sheet lined with parchment paper, making sure they're not touching each other. You'll want to give them plenty of space to firm up without sticking together.
Pop the plate into the fridge for at least two hours, though overnight is even better if you've got the time. During this chilling period, the cheese mixture will solidify, making your ghosts easier to handle and decorate later.
It's like they're taking a little nap to prepare for their spooky debut! While you're waiting, you can gather your decorating supplies or work on other Halloween party preparations.
Step 5. Decorate With Candy Eyes
Once your cheese balls have chilled and firmed up, it's time to bring your ghostly creations to life with candy eyes. You'll need small candy eyes, which you can find at most craft stores or in the baking aisle of your grocery store.
Take each cheese ball out of the refrigerator one at a time to prevent them from softening too much. To attach the eyes, you've got a couple of options. You can gently press them into the surface of the cheese ball, or use a dab of cream cheese as "glue" to hold them in place.
Carefully position two eyes on each ghost, placing them slightly off-center for a quirky look. If you're feeling creative, try different eye sizes or arrangements to give each ghost its own personality.
Don't forget to work quickly, as the cheese balls will start to soften at room temperature. Once you've added eyes to all your ghosts, return them to the refrigerator to set.
This final touch transforms your Gouda cheese balls into spooky, edible apparitions that are sure to delight your friends and family.

Generic Snak Man Baked Cheese Balls Bulk pack of 10
Cheese Balls
As an affiliate, we earn on qualifying purchases.
As an affiliate, we earn on qualifying purchases.
Final Thoughts
These Ghostly Gouda Cheese Balls are sure to be a hit at your next Halloween gathering. They're not only delicious but also a fun and spooky addition to your party spread. You'll love how easy they're to make, and your guests will be impressed by their creativity.
Remember, you can customize these cheese balls to suit your taste preferences. If you're not a fan of Gouda, try using cheddar or a mix of your favorite cheeses. Don't be afraid to experiment with different herbs and spices, too. You might even want to create a variety of flavors to offer your guests more options.
When serving, consider placing your Ghostly Gouda Cheese Balls on a Halloween-themed platter or surrounded by other spooky snacks. They'll fit right in with your festive decor.
If you have any leftovers, store them in an airtight container in the refrigerator for up to three days. You can enjoy them cold or let them come to room temperature before serving again.
Happy haunting and happy snacking!
Frequently Asked Questions
Can Ghostly Gouda Cheese Balls Be Made Ahead and Frozen?
You can definitely make cheese balls ahead and freeze them. They'll keep well for up to a month. Just be sure to wrap them tightly in plastic wrap and aluminum foil before freezing. Thaw overnight in the fridge before serving.
Are There Any Vegetarian Alternatives for the Gelatin in the Recipe?
Yes, you can replace gelatin with vegetarian alternatives. Try using agar-agar powder, carrageenan, or pectin. They'll provide similar binding properties. You'll need to adjust the quantities and follow specific instructions for each substitute to achieve the desired consistency.
How Long Do Ghostly Gouda Cheese Balls Last in the Refrigerator?
You'll want to eat your cheese balls within 3-5 days for best quality. They'll last up to a week if stored properly in an airtight container. Don't let them sit out at room temperature for too long.
What Drinks Pair Well With Ghostly Gouda Cheese Balls?
You'll find that crisp white wines like Sauvignon Blanc or Chardonnay complement cheese balls nicely. If you prefer red, try a light Pinot Noir. For non-alcoholic options, sparkling water or apple cider work well too.
Can I Use a Different Type of Cheese Instead of Gouda?
You can definitely use a different cheese! Try cheddar, fontina, or gruyere for similar melting qualities. Don't hesitate to experiment with your favorites. Just ensure it's a good melting cheese for the best results.