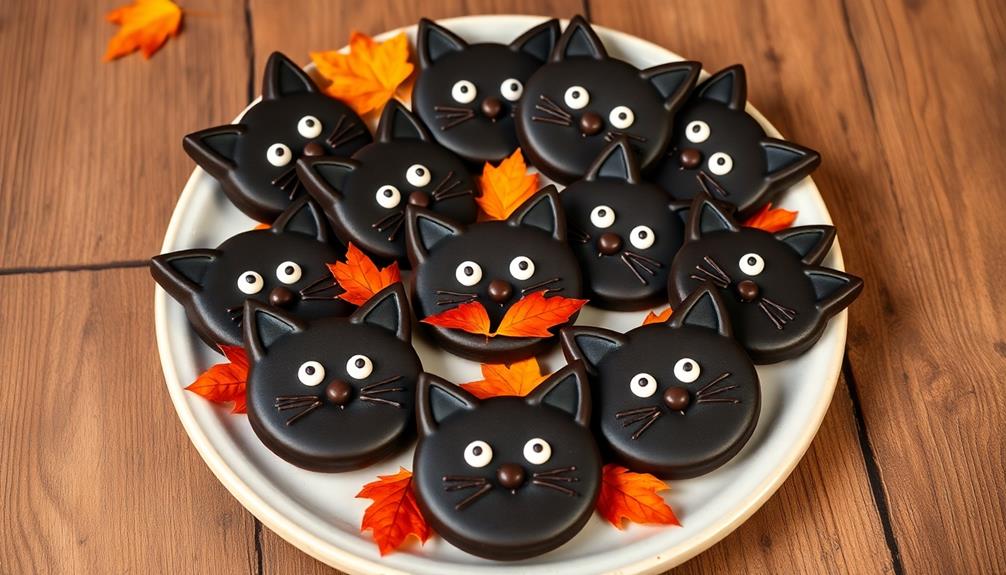
Skeleton Bone Breadsticks are a spooky and tasty Halloween treat you can make at home. They're crispy, savory breadsticks shaped to look like eerie bones, perfect for Halloween parties or fun snacks. You'll mix flour, yeast, and herbs, then shape the dough into bone-like forms with knobby ends. After baking until golden brown, they're ready to serve with dips or alongside soups and salads. These breadsticks are versatile and appeal to both kids and adults. While they might seem tricky at first, with practice, you'll be creating bone-chilling masterpieces in no time. There's more to uncover about this ghoulishly good snack!
Key Takeaways
- Skeleton Bone Breadsticks are spooky-themed baked goods resembling bones, popular for Halloween parties and year-round events.
- The recipe combines traditional breadstick ingredients with herbs and Parmesan cheese for a savory, crispy texture.
- Shaping the dough involves creating rope-like forms with widened ends to mimic bone joints.
- These breadsticks pair well with soups, salads, or various dips like marinara sauce.
- Originating in the Victorian era, they gained popularity at séances and have since become a festive Halloween staple.
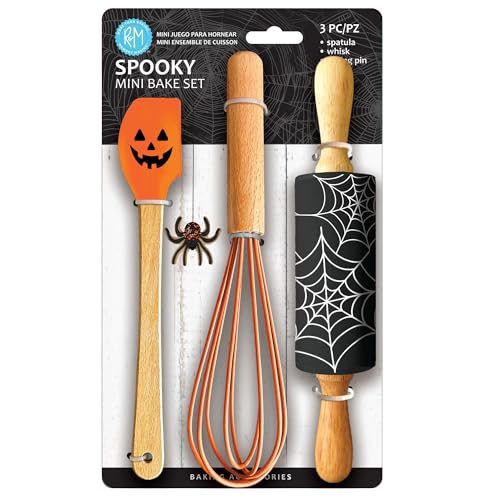
Spooky Halloween Mini Bake Set. Includes mini-Spatula, Whisk and Rolling Pin. Fall Fun Baking Set.
- Set Includes: Mini Spatula, Whisk, Rolling Pin
- Material: Food-safe, heat-resistant silicone
- Handle Design: Smooth wood handles for comfort
As an affiliate, we earn on qualifying purchases.
As an affiliate, we earn on qualifying purchases.
History

Although the origins of skeleton bone breadsticks are shrouded in mystery, they're believed to have emerged during the Victorian era's fascination with the macabre.
You'll find that this period was known for its peculiar blend of death-related customs and culinary experimentation. As you explore the history of these spooky treats, you'll discover that they likely began as a playful twist on traditional breadsticks, designed to add a touch of whimsy to dinner parties and Halloween gatherings.
During the late 19th century, you'd have seen skeleton bone breadsticks gaining popularity at séances and spiritualist events, where they were served as conversation starters.
They quickly became a hit among both children and adults, spreading from upper-class parlors to middle-class homes. You might be surprised to learn that some bakeries began specializing in these eerie creations, offering them year-round to meet growing demand.
Recipe

Skeleton Bone Breadsticks are a spooky and delicious addition to any Halloween party or themed dinner. These crispy, savory treats are designed to look like eerie bones, complete with knobby joints at each end. While they may appear creepy, they're actually quite tasty and fun to make.
This recipe combines classic breadstick dough with clever shaping techniques to create a bone-like appearance. The dough is flavored with herbs and Parmesan cheese, giving these breadsticks a robust flavor that pairs well with soups, salads, or as a standalone snack. The key to achieving the realistic bone look lies in the careful shaping and strategic placement of knots in the dough.
- 3 cups all-purpose flour
- 1 tablespoon active dry yeast
- 1 teaspoon sugar
- 1 teaspoon salt
- 1 tablespoon dried herbs (such as rosemary or thyme)
- 1/4 cup grated Parmesan cheese
- 2 tablespoons olive oil
- 1 cup warm water
- 1 egg white (for brushing)
- Coarse salt (for sprinkling)
To prepare the Skeleton Bone Breadsticks, start by mixing the flour, yeast, sugar, salt, herbs, and Parmesan cheese in a large bowl. Add the olive oil and warm water, stirring until a dough forms. Knead the dough for about 10 minutes until smooth and elastic. Let it rise in a warm place for an hour.
Divide the dough into 12 pieces and roll each piece into a rope about 10 inches long. To create the bone shape, slightly thicken both ends of each rope and tie a loose knot at each end. Place the shaped breadsticks on a baking sheet, brush with egg white, sprinkle with coarse salt, and bake at 375°F (190°C) for 15-20 minutes until golden brown.
For best results, make sure your yeast is fresh and active. The warm water used should be around 110°F (43°C) to properly activate the yeast without killing it. If you want even more flavor, consider adding garlic powder or onion powder to the dough.
For a more realistic bone appearance, you can use kitchen shears to make small cuts along the length of the breadsticks before baking. Remember, these breadsticks are best served warm, so time your baking accordingly if serving at a party.
Cooking Steps

You're about to embark on a spooky baking adventure with these skeleton bone breadsticks!
First, you'll preheat your oven and mix the dry ingredients, then add the wet ingredients and knead the dough until it's smooth.
Once your dough is ready, you'll shape it into bone-like forms and bake them until they're golden brown and crispy.
Step 1. Preheat Oven to 375°F

Before diving into the dough preparation, it's crucial to preheat your oven to 375°F (190°C). This step ensures your oven reaches the perfect temperature for baking those spooky skeleton bone breadsticks. Don't skip this part, as it's key to achieving the right texture and appearance.
While your oven's heating up, you'll have time to gather your ingredients and tools. It usually takes about 10-15 minutes for most ovens to reach 375°F, but it's always a good idea to give it a few extra minutes to ensure even heating.
If you have an oven thermometer, now's the time to use it to double-check the temperature accuracy.
Step 2. Mix Dry Ingredients

The foundation of your spooky skeleton bone breadsticks begins with combining the dry ingredients. You'll need to gather all-purpose flour, active dry yeast, sugar, and salt.
In a large mixing bowl, measure out 3 cups of flour and create a small well in the center. This is where you'll add the yeast later. Next, sprinkle 1 tablespoon of sugar and 1 teaspoon of salt around the edges of the flour.
Now, it's time to activate the yeast. In a separate small bowl, combine 1 packet of active dry yeast with 1/4 cup of warm water (about 110°F). Let it sit for about 5 minutes until it becomes foamy. This means the yeast is alive and ready to work its magic!
Once activated, pour the yeast mixture into the well you created in the flour. Using a wooden spoon or your hands, start mixing the ingredients together.
Don't worry if it's a bit lumpy at first – that's normal! As you mix, the dough will start to come together. Keep mixing until all the dry ingredients are incorporated and you have a shaggy dough. This is the perfect starting point for your bone-chilling breadsticks!
Step 3. Add Wet Ingredients, Knead Dough

With the dry ingredients mixed, it's time to add the wet components. You'll need warm water, olive oil, and an egg.
First, create a well in the center of your flour mixture. Pour the warm water and olive oil into this well, then crack the egg in there too. Using a fork or your hands, start mixing the wet ingredients into the dry ones. As you do this, you'll see the dough beginning to form.
Once everything's roughly combined, it's time to get your hands dirty! Turn the dough out onto a lightly floured surface.
Now, start kneading. Push the dough away with the heels of your hands, fold it back over itself, give it a quarter turn, and repeat. You'll do this for about 5-7 minutes. The dough will become smoother and more elastic as you work it.
Don't worry if it's a bit sticky at first; it'll come together. You'll know you're done when the dough springs back when you poke it. If it's still too sticky, add a little more flour. Too dry? A splash of water will do the trick.
Step 4. Shape Dough Into Bones

Now that you've kneaded your dough to perfection, it's time to transform it into spooky skeleton bones. Divide your dough into equal portions, about the size of golf balls. Roll each portion into a rope shape, making them about 6-8 inches long.
To create the bone ends, gently flatten and widen both tips of each rope. Use your fingers to press and shape these ends into knobby bone joints.
For added realism, you can create small indentations along the length of the "bones" using a butter knife or the back of a fork. This will give them a more textured, bony appearance. If you want to make different types of bones, try varying the lengths and thicknesses of your dough ropes. You can even attempt to shape some into ribcages or skull shapes for extra creativity.
Once you've shaped all your dough into bones, place them on a lined baking sheet. Make sure to leave some space between each bone, as they'll expand slightly during baking.
Now your skeleton bone breadsticks are ready for the next step in their spooky transformation!
Step 5. Bake Until Golden Brown

Having shaped your dough into eerie skeleton bones, it's time to bake them to perfection. Preheat your oven to 375°F (190°C) and line a baking sheet with parchment paper.
Carefully transfer your bone-shaped breadsticks onto the prepared sheet, leaving about an inch of space between each one. They'll need room to expand as they bake!
Before popping them in the oven, brush the breadsticks lightly with beaten egg white. This will give them a nice, golden sheen when they're done. If you want, you can sprinkle a bit of coarse salt on top for extra flavor.
Slide the baking sheet into the preheated oven and set your timer for 12-15 minutes.
Keep an eye on your skeletal creations as they bake. You'll know they're done when they've puffed up slightly and turned a lovely golden-brown color. The ends might get a bit darker, which is perfect for that old-bone look!
Once they're ready, take them out and let them cool for a few minutes. Your spooky skeleton bone breadsticks are now ready to serve at your Halloween party or as a fun snack!
Final Thoughts

These skeleton bone breadsticks frequently become the talk of the party. They're not only delicious but also add a spooky, fun element to your Halloween spread.
You'll find that both kids and adults love the creative design, making them a perfect addition to any fall gathering.
Remember, practice makes perfect. Don't worry if your first batch doesn't look exactly like bones; with each attempt, you'll improve your shaping technique. You can experiment with different seasonings too, like garlic powder or Italian herbs, to customize the flavor.
These breadsticks are versatile and can be served with various dips. Try marinara sauce for a classic pairing, or get creative with a pumpkin-shaped cheese ball. They're also great for packing in lunchboxes or as an after-school snack.
Lastly, don't forget to store any leftovers in an airtight container. They'll stay fresh for a couple of days and can be quickly reheated in the oven.
With these skeleton bone breadsticks, you're sure to impress your friends and family while embracing the Halloween spirit!
Frequently Asked Questions
Are Skeleton Bone Breadsticks Suitable for People With Gluten Sensitivities?
You'll need to be cautious with these breadsticks if you're gluten-sensitive. They're typically made with wheat flour, which contains gluten. However, you might find gluten-free versions available. Always check the ingredients or ask the manufacturer to be sure.
Can You Make Skeleton Bone Breadsticks in Advance and Freeze Them?
You can definitely make breadsticks in advance and freeze them. They'll keep well for up to 3 months. Just bake them as usual, let them cool completely, and store in an airtight container or freezer bag before freezing.
What Are Some Creative Ways to Serve Skeleton Bone Breadsticks?
You'll impress guests with creative serving ideas. Arrange them in a "bone pile" on a platter, use as edible stirrers in Halloween drinks, or stand them upright in a skull-shaped bowl. They're perfect for dipping sauces too!
How Long Do Skeleton Bone Breadsticks Stay Fresh After Baking?
You'll find that freshly baked breadsticks stay crisp for about 2-3 days when stored properly. Keep them in an airtight container at room temperature. If you want them to last longer, you can freeze them for up to 3 months.
Can You Use Whole Wheat Flour Instead of All-Purpose Flour?
You can substitute whole wheat flour for all-purpose flour in your recipe. It'll create a denser, nuttier texture and flavor. Keep in mind that you might need to adjust the liquid content slightly to maintain the right consistency.