
To create ice cream so good your friends won’t believe it’s homemade, start by thoroughly chilling your mixture and using warm tools for smooth scoops. Incorporate vibrant mix-ins and aim for a creamy, smooth texture by preventing ice crystals. Experiment with flavors and add-ins during or after churning. Choose the right base—custard or simple cream—based on your ingredients. Focus on proper storage and technique, and you’ll master impressive, store-worthy ice cream that’ll leave everyone impressed.
Key Takeaways
- Chill your mixture thoroughly and soften slightly before scooping for smooth, store-bought-like texture.
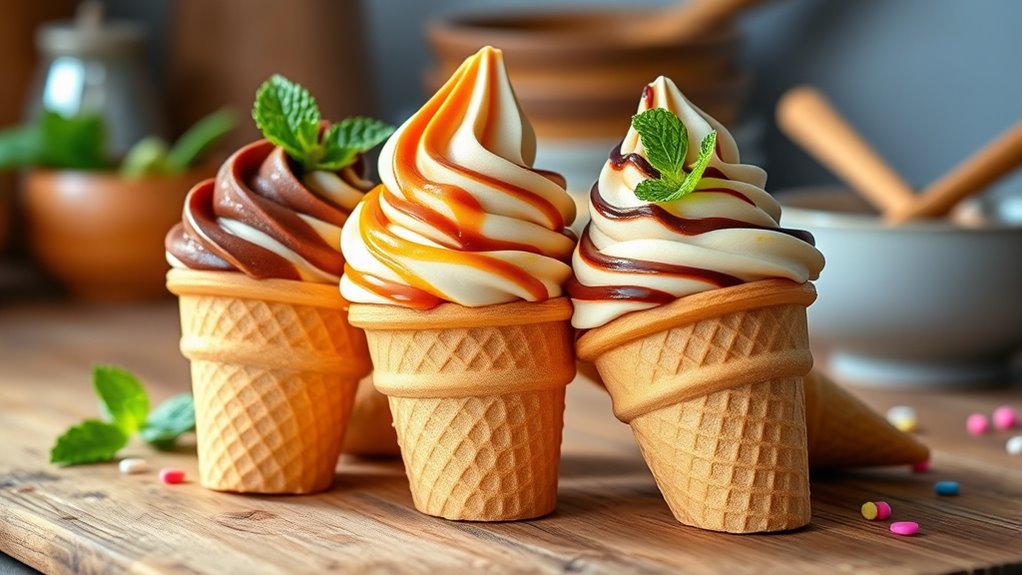
- Incorporate colorful mix-ins or swirls to enhance visual appeal and flavor complexity.
- Use a custard base with eggs for a rich, stable, and creamy texture.
- Add mix-ins during the last minutes of churning or fold in after for maximum flavor impact.
- Maintain proper storage and use warmed scoops for pristine, professional-looking servings.

Making homemade ice cream can be a rewarding experience, especially when you know some key tips to improve the process. One of the most noticeable aspects of good ice cream is its scoop consistency. Achieving the perfect scoop isn’t just about freezing time; it’s about balancing texture and temperature. To get scoop consistency that rivals store-bought varieties, you should chill your mixture thoroughly before churning. Once it’s ready, let your ice cream sit at room temperature for a few minutes to soften slightly before scooping. This prevents the ice cream from cracking or becoming too hard, ensuring clean, smooth scoops every time. Using a warmed scoop or dipping it in hot water before each scoop can make this process even easier, giving you perfectly rounded servings that look as good as they taste. Additionally, understanding the role of contrast ratio in your ice cream’s appearance can help you achieve a more appealing, vibrant look, especially if you include colorful mix-ins or swirls. Incorporating a proper storage environment can also preserve your ice cream’s texture and prevent ice crystals from forming, maintaining its creamy consistency over time.
Chill your mixture thoroughly and soften slightly before scooping for perfect, smooth servings.
Flavor variations are another way to elevate your homemade ice cream. You’re not limited to vanilla or chocolate; you can experiment with endless combinations. Adding mix-ins like fresh fruit, nuts, or swirls of caramel or fudge creates exciting textures and flavors. If you’re feeling adventurous, try infusing your base with herbs, spices, or liquors to develop complex profiles. The key is to incorporate these flavor variations at the right time—usually during the last few minutes of churning or gently folding them in afterward. This keeps the mix-ins evenly distributed without compromising the creaminess or consistency of your ice cream.
To make your flavor variations stand out, consider creating a base that’s flexible enough to accommodate different ingredients. For example, a custard-style base with egg yolks provides a rich, smooth texture that holds up well to mix-ins and flavor infusions. Alternatively, a simple cream and sugar mixture can work with more delicate additions like fruit purees or delicate herbs. Remember, balancing sweetness and flavor intensity is essential. Taste your base before freezing and adjust accordingly—adding more sugar or flavor extracts as needed. These small tweaks ensure your ice cream isn’t bland or overpowering, but just right.
Incorporating these tips — focusing on scoop consistency and experimenting with flavor variations — will help you craft ice cream that’s both visually appealing and irresistibly delicious. With some patience and practice, you’ll impress friends and family with homemade ice cream that’s so good, they won’t believe it’s made in your own kitchen. The effort you put into perfecting your technique will be evident in every scoop, making your dessert the highlight of any gathering.
SEAINGO Heated Ice Cream Scoop – Rechargeable, ON/OFF Safety Lock Switch, Two Warming Modes, Ergonomic Handle, Electric Kitchen Tool Nonstick Scooper for Gelato, Frozen Yogurt, Sorbet & More
Independent On/Off Switch for Safe Control: Equipped with a dedicated on/off switch, effectively solves the issues of having…
As an affiliate, we earn on qualifying purchases.
As an affiliate, we earn on qualifying purchases.
Frequently Asked Questions
Can I Use Non-Dairy Milk for Homemade Ice Cream?
Yes, you can use non-dairy milk for homemade ice cream. Non-dairy options like almond, coconut, or cashew milk work well as milk substitutions, giving your ice cream a creamy texture and unique flavor. Just keep in mind that some non-dairy milks may affect the consistency, so you might need to adjust the sugar or add thickeners. Experimenting with different milk substitutions can lead to delicious, dairy-free frozen treats.
How Do I Prevent Ice Crystals From Forming?
To prevent ice crystals from forming in your homemade ice cream, you should add stabilizers like gelatin or cornstarch to improve texture. Using sugar alternatives can help maintain smoothness, but make sure to adjust the sugar content accordingly. Also, cover the ice cream tightly and freeze it quickly. Stirring the mixture during freezing or using an ice cream maker helps keep crystals at bay, ensuring a creamy, scoopable treat every time.
What’s the Best Way to Store Homemade Ice Cream?
To store your homemade ice cream properly, focus on using the right storage containers, ideally airtight ones that prevent freezer burn. Before freezing, guarantee your ice cream is in a shallow, flat container for quicker freezing. Use proper freezing techniques by pressing plastic wrap directly onto the surface to reduce ice crystals. Label your containers with dates so you consume it at its best, maintaining freshness and creamy texture.
Can I Add Alcohol to My Ice Cream Recipe?
You can definitely add alcohol to your ice cream for alcohol infusion and flavor enhancement. It not only boosts the taste but also affects texture, making it creamier and softer. Just remember, too much alcohol can prevent proper freezing, so add small amounts, like a tablespoon or two. Experiment with flavors like bourbon, rum, or liqueurs to create unique, grown-up treats that delight everyone.
How Long Does Homemade Ice Cream Stay Fresh?
Homemade ice cream stays fresh for about 2 to 4 weeks with proper storage. To maximize freezing duration, store it in an airtight container and press a piece of plastic wrap directly on the surface to prevent ice crystals. Keep your freezer at or below 0°F. Regularly check for any ice build-up or freezer burn, and always serve with clean utensils to maintain quality.

Glad Mixing Bowl with Handle – 3 Quart | Heavy Duty Plastic with Pour Spout and Non-Slip Base | Dishwasher Safe Kitchen Supplies for Cooking and Baking, White
HEAVY DUTY MIXING BOWL – A household essential for every kitchen, this durable plastic mixing bowl has a…
As an affiliate, we earn on qualifying purchases.
As an affiliate, we earn on qualifying purchases.
Conclusion
Now that you have these insider tips, your homemade ice cream will blow everyone away. But here’s the real secret—there’s one trick that can elevate your recipe even further, and it’s waiting to be uncovered. Are you ready to take your ice cream game to the next level? Keep experimenting, and soon, you’ll discover that perfect flavor combo no one saw coming. The best part? That surprise ingredient could turn your next batch into an unforgettable masterpiece.

Nostalgia Electric Ice Cream Maker – Old Fashioned Soft Serve Ice Cream Machine Makes Frozen Yogurt or Gelato in Minutes – Fun Kitchen Appliance – Vintage Wooden Style – Light Wood – 4 Quart
HOMEMADE ICE CREAM: Enjoy a fun ice cream experience with modern convenience with our ice cream machines. Make…
As an affiliate, we earn on qualifying purchases.
As an affiliate, we earn on qualifying purchases.

4 Pcs Silicone Jar Spatula Long Handle Kitchen Spatulas for Mixing, Scraping, and Spreading,Ideal for Jars, Baking, Cake Icing, Cream, Butter, and Batter Kitchen Tool (Purple, Pink, Green, Yellow)
【Versatile Silicone Jar Spatula】 – Flexible design perfect for mixing, scraping, and spreading in jars, bowls, and containers,…
As an affiliate, we earn on qualifying purchases.
As an affiliate, we earn on qualifying purchases.