Elevate your Halloween celebrations with the enchanting witch's broomstick cheese straws! Dating back to the Middle Ages, these savory snacks were once enjoyed by rural European witches during their nocturnal flights. Combining buttery puff pastry and sharp cheddar cheese, the cheese straws melt-in-your-mouth while providing a satisfying crunch. Twist the dough into broom-like shapes for a whimsical presentation, then bake until golden brown. Customize the flavor with paprika and cayenne for a spicy kick. Serve these versatile treats as part of your Halloween spread, and you'll discover there's more magic awaiting you.
Key Takeaways
- Witch's Broomstick Cheese Straws are a whimsical, Halloween-themed snack with origins traced back to the Middle Ages and rural European witches.
- The recipe features a combination of buttery puff pastry and sharp cheddar cheese, creating a melt-in-your-mouth experience.
- The cheese straws are shaped into broom-like formations before baking, adding to their festive appeal.
- The snack can be enjoyed on its own or paired with various dips and spreads, making it a versatile option for Halloween gatherings.
- The flavor profile includes a balance of richness from the cheese, smokiness from paprika, and a mild heat from cayenne pepper.

Pepperidge Farm Puff Pastry FrOzen Pastry Dough Sheets, 2-Count, 17.3 Oz. Box
- Light, flaky layers: Delicate multi-layered pastry sheets
- Ready to use: Shape, fill, and bake easily
- Versatile for desserts: Perfect for fruit and cream fillings
As an affiliate, we earn on qualifying purchases.
As an affiliate, we earn on qualifying purchases.
History
According to legend, the origins of the witch's broomstick cheese straws can be traced back to the Middle Ages, when rural European witches would prepare these savory treats as a way to sustain themselves during their nocturnal flights.
These witches, known for their mysterious ways, would gather simple ingredients like cheese, butter, and flour, and shape the dough into broom-like formations before baking them to crispy perfection.
The unique shape of the cheese straws was said to represent the witches' trusty mode of transportation – the iconic broomstick.
As the witches flew through the night sky, these portable snacks provided them with much-needed nourishment to keep their energy levels high.
Over time, the recipe for witch's broomstick cheese straws spread across Europe, becoming a beloved tradition among both magical practitioners and the general public alike.
Recipe
Witch's Broomstick Cheese Straws are a delightful and whimsical treat perfect for any Halloween gathering. These savory cheese-infused pastries are easy to make and sure to delight your guests with their playful shape and delicious flavor.
The combination of buttery puff pastry and sharp cheddar cheese creates a melt-in-your-mouth experience that will have everyone coming back for more. Whether served as a snack or as part of a spooky spread, these Witch's Broomstick Cheese Straws are a must-try for anyone looking to add a touch of magic to their Halloween celebrations.
Ingredients:
- 1 sheet of puff pastry, thawed
- 1 cup of shredded sharp cheddar cheese
- 1 egg, beaten
- 1 tablespoon of water
- 1/4 teaspoon of salt
Instructions:
Preheat your oven to 400°F (200°C). Unfold the puff pastry sheet and sprinkle the shredded cheddar cheese evenly over the surface.
Carefully roll up the pastry, starting from one of the short ends, to create a tight cylinder. Using a sharp knife, slice the cylinder into 1/2-inch thick pieces. Arrange the slices on a parchment-lined baking sheet, spacing them apart.
In a small bowl, whisk together the egg and water. Brush the tops of the cheese straws with the egg wash and sprinkle with salt.
Bake the Witch's Broomstick Cheese Straws for 12-15 minutes, or until the pastry is golden brown and the cheese is melted and bubbly.
Remove from the oven and let cool for a few minutes before serving. These delightful treats are best enjoyed warm, but they can also be served at room temperature. Enjoy the spooky and delicious Witch's Broomstick Cheese Straws!
Cooking Steps
Preheat your oven to 375°F to get it nice and toasty.
Next, unroll the dough onto a baking sheet, then use a knife to cut the dough into long, thin strips.
Twist those strips into fun broom shapes, and pop them in the oven until they're a delightful golden brown.
Step 1. Preheat Oven to 375°F
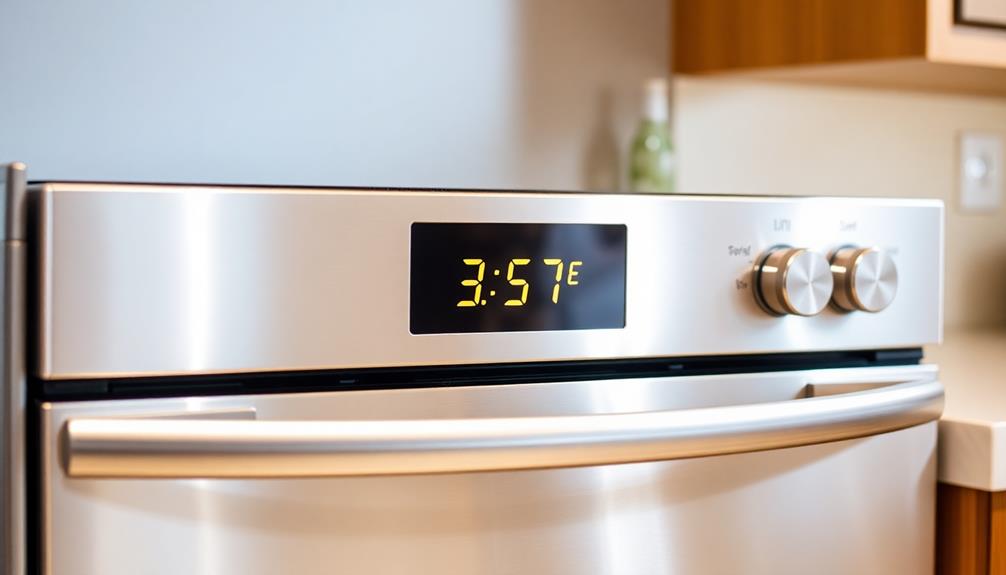
To begin the cooking process, preheat your oven to 375°F. This crucial first step ensures your oven is at the perfect temperature to bake the delicious Witch's Broomstick Cheese Straws. Use an oven thermometer if you're unsure about your oven's accuracy.
Once the oven is heated, it's time to prepare the baking sheet. Line a large baking sheet with parchment paper or a silicone baking mat. This will prevent the cheese straws from sticking to the pan and make cleaning up a breeze.
As the oven preheats, you can start assembling the other ingredients. Having everything ready to go will make the rest of the recipe flow smoothly.
Remember to keep a close eye on the oven, as the temperature can fluctuate. With the oven ready and the baking sheet prepared, you're one step closer to enjoying these spooky, cheesy treats.
Step 2. Unroll Dough Onto Baking Sheet

Unroll the refrigerated puff pastry dough onto the prepared baking sheet.
Gently unfurl the dough, taking care not to tear it, and lay it flat on the sheet. You'll want to work quickly, as the dough can become sticky and difficult to handle as it warms up.
Once the dough is in place, use your hands to gently smooth it out, ensuring it covers the entire surface of the baking sheet. If there are any ragged edges, you can trim them away with a sharp knife.
Be mindful not to press too hard, as you don't want to deflate the delicate layers of the puff pastry.
When the dough is evenly spread out, it's ready for the next step. Take a moment to admire your work – the smooth, golden-brown surface is the perfect canvas for your cheesy, witchy creation.
Step 3. Cut Dough Into Long Strips

With the dough smoothed out on the baking sheet, it's time to start cutting. Using a sharp knife or a pizza cutter, carefully slice the dough into long, thin strips, about 1/2 inch wide.
Work slowly and steadily, cutting straight across the dough to create uniform strips. These strips will become the "broomsticks" for your witch's broomstick cheese straws.
As you cut, try to maintain the shape and length of the strips as best you can. If any of the strips break or become uneven, don't worry – you can simply reattach them or use them as is.
The important thing is to have a variety of "broomstick" shapes and sizes to create an interesting and whimsical final product.
Once all the strips have been cut, gently transfer them to the prepared baking sheet, making sure they're spaced out evenly.
With the dough now cut into strips, you're ready to move on to the next step: baking the cheese straws to perfection.
Step 4. Twist Strips Into Broom Shapes
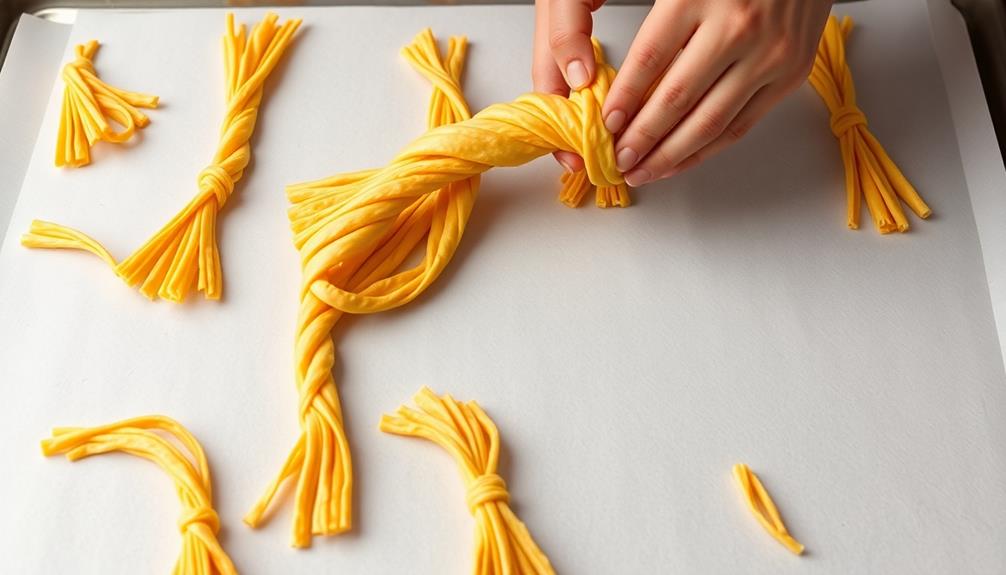
Take each strip and gently twist it, creating a spiral or wavy shape to mimic the look of a witch's broomstick. Use your fingers to carefully guide the dough, letting it twist and turn as you go. The goal is to achieve an organic, irregular shape that resembles the handle of a broomstick.
Don't worry about perfection – the imperfect, handmade look is part of the charm.
Once you've twisted all the strips, arrange them on the prepared baking sheets, spacing them a few inches apart. Try to position the strips in a variety of angles and directions to create a dynamic, eye-catching presentation. The twists and turns will bake up crisp and golden brown, transforming your cheese straws into miniature enchanted brooms.
When you're satisfied with the arrangement, place the baking sheets in the preheated oven. Bake the cheese straws until they're puffed and lightly browned, about 12 to 15 minutes. Keep a close eye to ensure they don't burn.
Let the baked straws cool slightly before serving.
Step 5. Bake Until Golden Brown
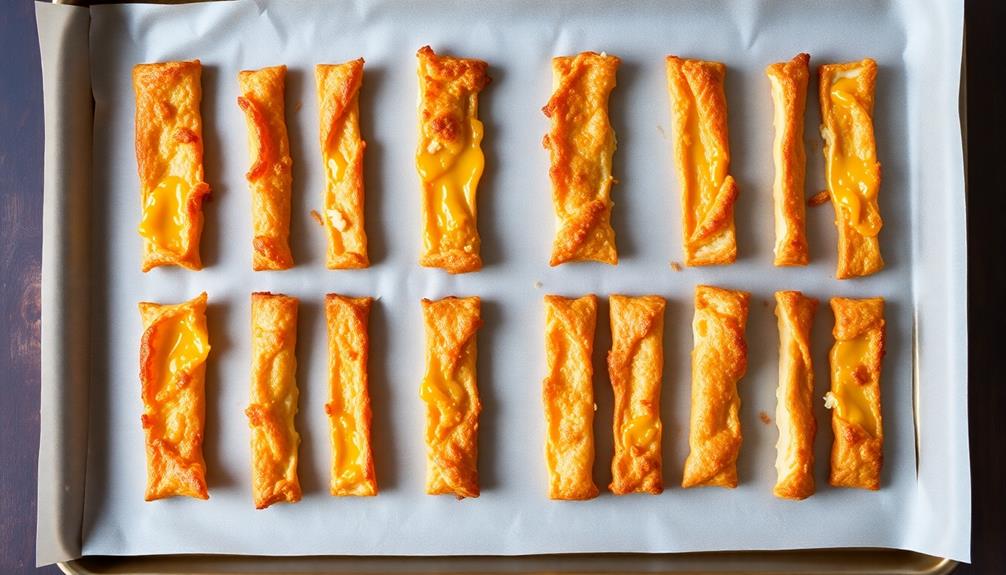
Once the twisted cheese straws are arranged on the baking sheets, pop them into the preheated oven.
Bake the straws at 375°F for 12-15 minutes, until they're a gorgeous golden brown. Keep an eye on them, as the sugary cheese can burn quickly if left too long. You'll know they're ready when the edges start to crisp up and the centers have puffed slightly.
Remove the baking sheets from the oven and let the cheese straws cool for a few minutes. They'll continue to firm up as they sit.
Carefully transfer the broomstick-shaped treats to a wire rack to cool completely. This prevents the bottoms from getting soggy.
Once cooled, your spooky cheese straws are ready to serve.
Arrange them on a platter or in a basket for a bewitching Halloween display. Enjoy these flaky, cheesy bites with friends and family. They're the perfect snack for a night of tricks and treats!
Final Thoughts
These cheese straws make for a delightful and easy-to-prepare Halloween treat. They're the perfect spooky snack to serve at your Halloween party or hand out to trick-or-treaters.
With their unique broomstick shape and savory, cheesy flavor, these cheese straws are sure to delight guests of all ages.
Once baked, the cheese straws develop a golden-brown crust that adds a satisfying crunch. The addition of paprika and cayenne pepper gives them a subtle kick of heat, balancing the richness of the cheese.
These cheese straws are versatile, too – you can enjoy them on their own or serve them alongside dips and spreads.
Frequently Asked Questions
Can I Substitute Other Cheese for the Parmesan?
Absolutely, you can substitute other cheese for the parmesan in your recipe!
While parmesan provides a nice nutty, salty flavor, other hard, aged cheeses like cheddar, gruyere, or asiago would work well too.
Just be sure to grate or finely chop the cheese so it blends seamlessly into the dough.
The key is using a cheese with plenty of flavor to really make those cheesy bites pop.
Have fun experimenting!
How Long Do the Cheese Straws Stay Fresh?
The cheese straws will stay fresh for 3-5 days when stored in an airtight container at room temperature.
If you'd like them to last a bit longer, you can refrigerate them for up to a week.
Just be sure to let them come back to room temperature before serving, so they've that perfect crisp texture.
With a little care, you can enjoy these savory treats for several days!
Can I Make the Dough Ahead of Time?
Yes, you can absolutely make the dough for these cheese straws ahead of time!
The dough freezes beautifully, so you can prepare it days or even weeks in advance.
Just be sure to thaw it in the refrigerator overnight before you're ready to roll it out and bake.
This makes for a super convenient and stress-free way to enjoy fresh, homemade cheese straws whenever the craving strikes.
Do the Cheese Straws Need to Be Refrigerated?
The cheese straws don't necessarily need to be refrigerated, but it's a good idea to keep them chilled if you're not serving them right away.
Storing them at room temperature can cause the cheese to get a little soft and lose its crispiness.
Pop them in the fridge for up to a week, and they'll stay nice and crunchy.
Just be sure to let them come back to room temp before serving for the best texture and flavor!
Can I Use a Different Type of Seasoning?
Absolutely, you can use different seasonings for your cheese straws!
The great thing about these tasty snacks is their versatility. Try experimenting with spices like paprika, garlic powder, or even a hint of cayenne for a little kick.
Just be sure to adjust the amounts to suit your personal taste preferences. The possibilities are endless, so have fun and get creative with your seasoning blends!