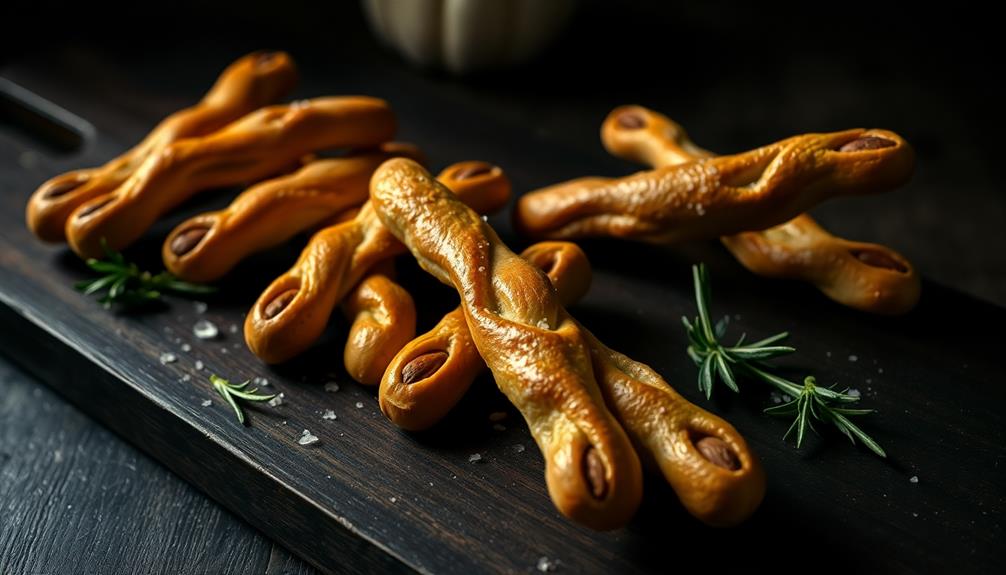

Witch's Fingers Breadsticks are a deliciously spooky Halloween treat you'll love making. These eerie breadsticks, shaped like long, bony fingers with almond "fingernails," originated in the late 1990s and quickly became a Halloween party staple. You'll start by mixing a simple dough, then shape it into finger-like forms. After baking until golden brown, you'll add the creepy finishing touches with almond fingernails and optional food coloring for extra gore. They're perfect for serving warm with dips or as standalone snacks. With easy customization options, you can make these breadsticks uniquely yours. Let's uncover the secrets to crafting these wickedly good treats.
Key Takeaways
- Witch's Fingers Breadsticks are Halloween-themed treats resembling long, bony fingers with almond "fingernails."
- The recipe typically includes flour, salt, sugar, egg, butter, and water, yielding 20-24 breadsticks.
- Dough is shaped into finger-like forms, scored for knuckles, and baked until golden brown.
- Decorations include whole blanched almonds as fingernails, often enhanced with food coloring for a spooky effect.
- These breadsticks are versatile, allowing for customization with herbs, seasonings, and various shapes for Halloween parties.
History
For centuries, bakers have been crafting spooky-themed treats for Halloween, but Witch's Fingers Breadsticks are a relatively recent creation. You might be surprised to learn that these eerie edibles only gained popularity in the late 1990s and early 2000s. They're part of a trend that combines culinary creativity with Halloween fun, appealing to both kids and adults alike.
The exact origin of Witch's Fingers Breadsticks isn't clear, but they likely evolved from earlier finger-shaped foods like ladyfingers. Clever bakers saw an opportunity to give these treats a creepy twist for Halloween parties. They started shaping breadstick dough into finger-like forms, adding almond "fingernails" and using seeds or herbs to create knuckle details.
As Halloween parties became more elaborate, these spooky snacks quickly caught on. You'd find them at school events, neighborhood gatherings, and even upscale Halloween-themed dinners. Their popularity spread through cookbooks, magazines, and eventually, online recipe sharing.
Today, you'll see countless variations of Witch's Fingers Breadsticks, from sweet cookie versions to savory cheese-flavored ones, all keeping the spirit of Halloween alive in kitchens around the world.
Recipe
Witch's Fingers Breadsticks are a spooky and delicious treat perfect for Halloween parties or any ghoulish gathering. These eerie-looking breadsticks are designed to resemble long, bony fingers, complete with almond "fingernails" and strategic shaping to mimic knuckles. They're not only visually striking but also tasty, with a satisfying crunch and savory flavor.
This recipe yields approximately 20-24 witch's fingers, depending on size. The dough is simple to make and can be prepared in advance, making it an ideal option for busy hosts. While the shaping process may take a bit of time, it's a fun activity that can involve the whole family, allowing everyone to get creative with their creepy creations.
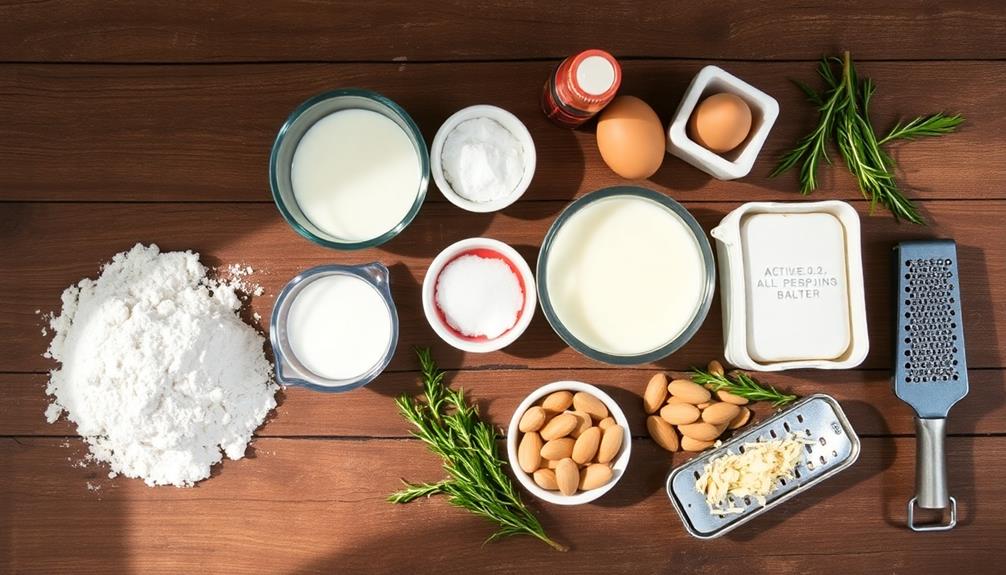
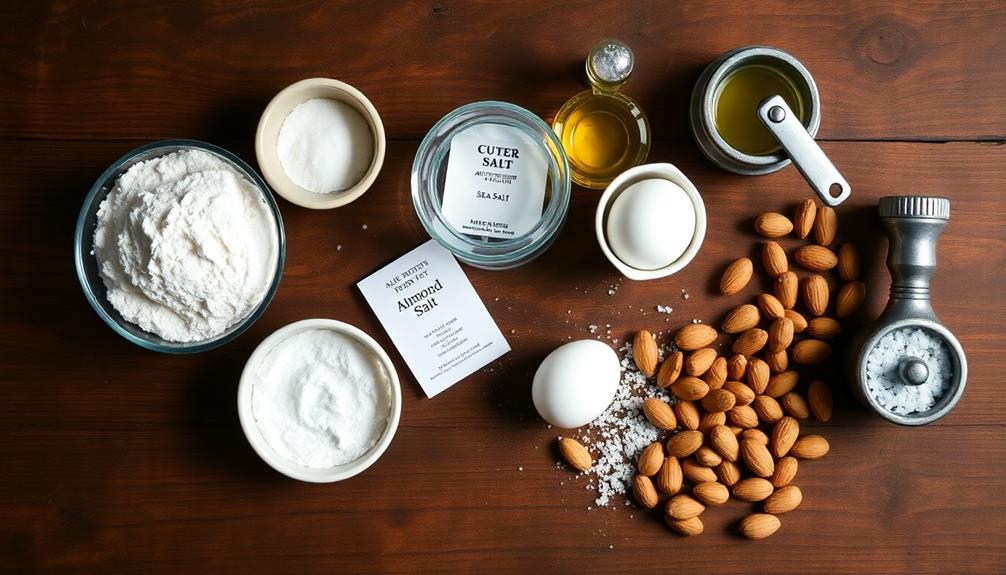
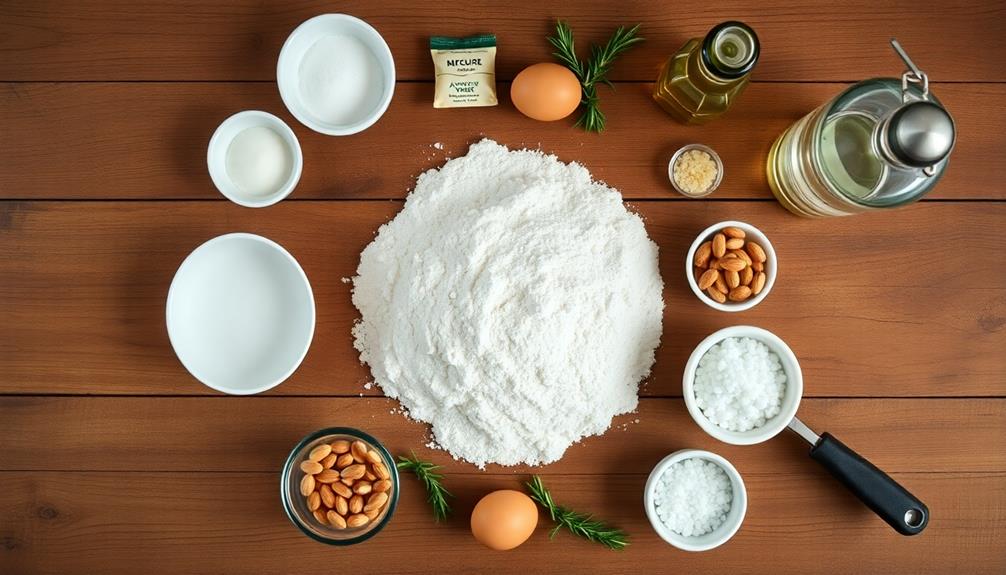
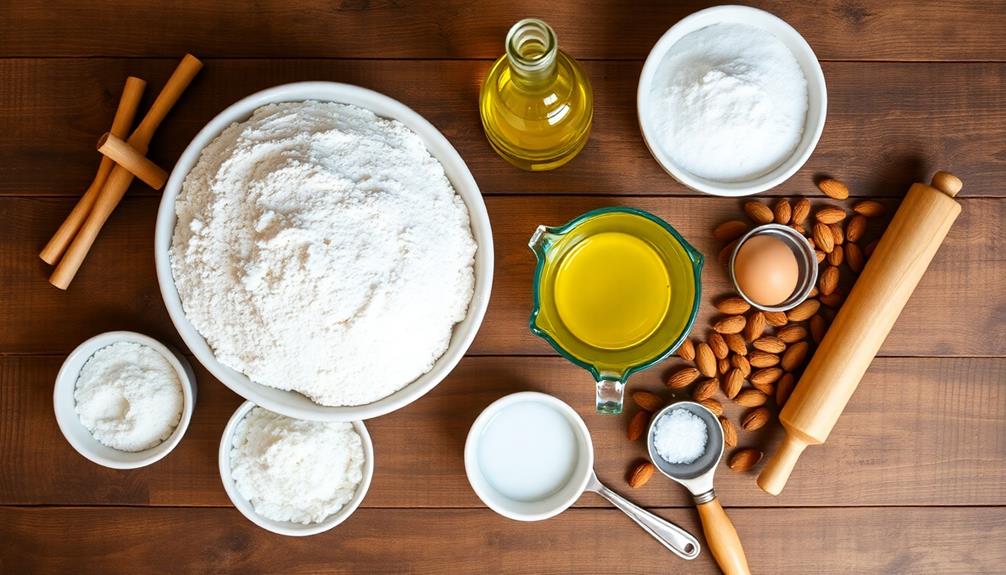
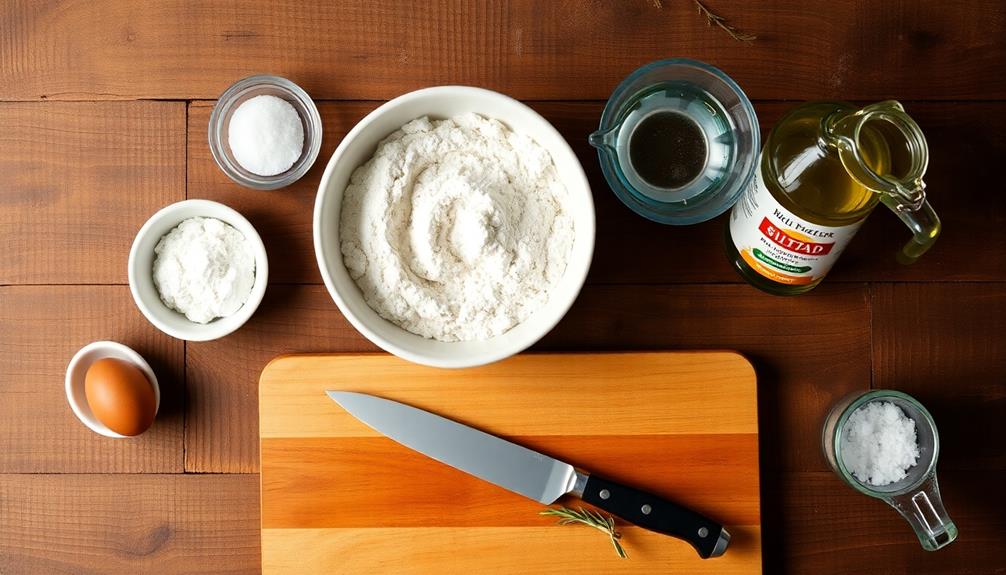
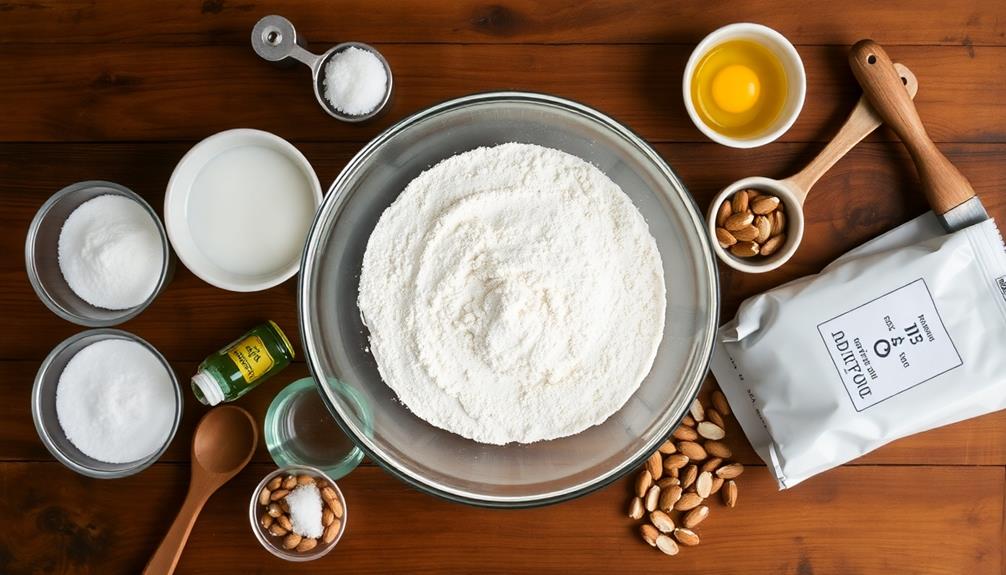
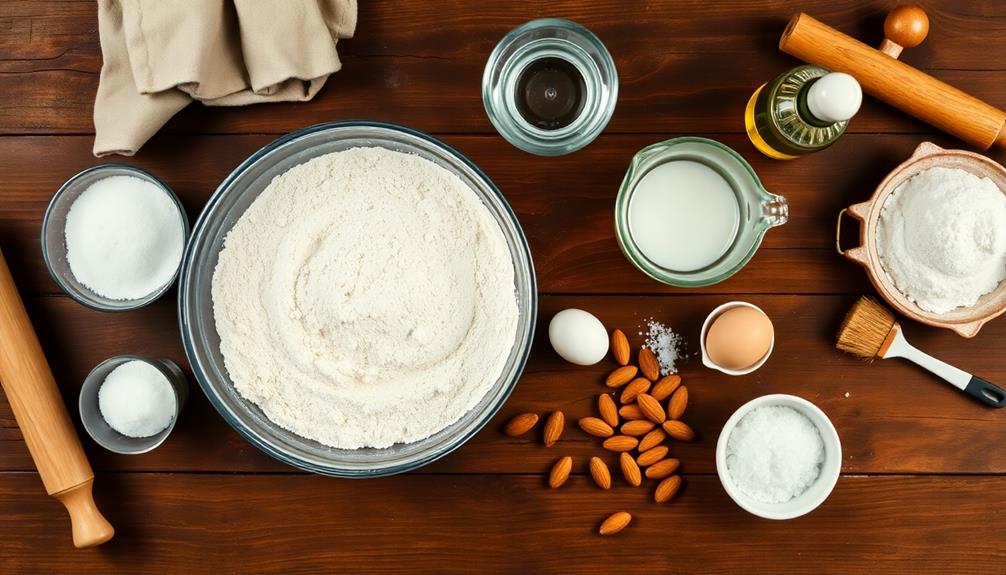
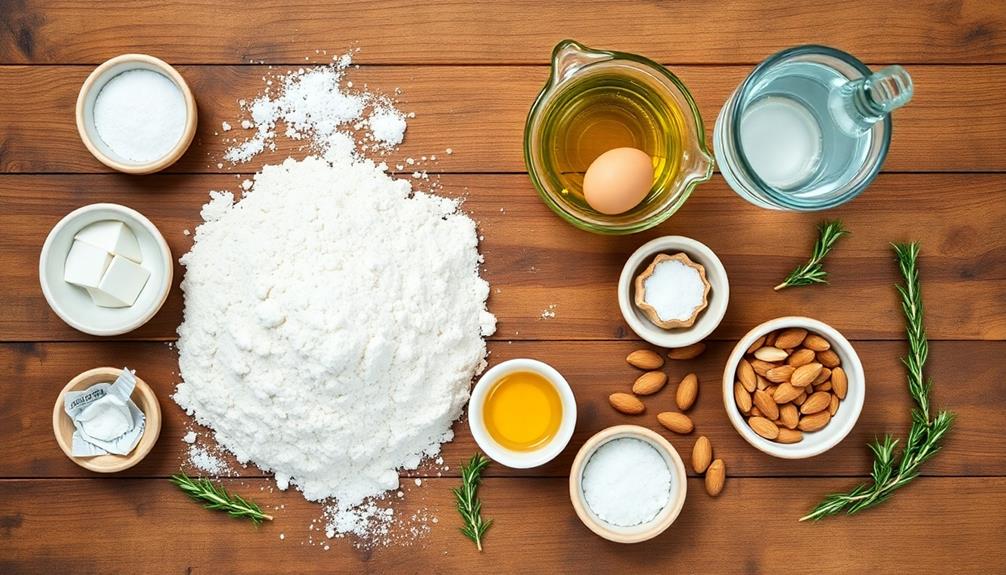
- 2 3/4 cups all-purpose flour
- 1 teaspoon salt
- 1 teaspoon sugar
- 1 packet (2 1/4 teaspoons) active dry yeast
- 1 cup warm water
- 2 tablespoons olive oil
- 1 egg, beaten (for egg wash)
- 24 whole almonds
- Coarse sea salt (optional)
To make the Witch's Fingers Breadsticks, start by combining the flour, salt, sugar, and yeast in a large bowl. Add the warm water and olive oil, mixing until a soft dough forms. Knead the dough for about 5 minutes, then place it in a greased bowl, cover, and let it rise for an hour.
Once risen, divide the dough into 20-24 pieces. Roll each piece into a finger shape, pinching in places to create knuckles. Place an almond at one end for the fingernail, brush with egg wash, and sprinkle with coarse salt if desired. Bake at 425°F (220°C) for 10-12 minutes or until golden brown.
For best results, make sure your yeast is fresh and your water is at the right temperature (around 110°F or 43°C) to activate it properly. You can add herbs like rosemary or garlic powder to the dough for extra flavor. To achieve a more realistic look, use a sharp knife to make small cuts in the dough to resemble wrinkles on the fingers.
For a vegetarian-friendly version, replace the almonds with pumpkin seeds or sliced bell peppers for the fingernails.
Cooking Steps
You'll start by preheating your oven to 375°F and mixing all the dough ingredients together in a large bowl.
Once your dough is ready, you'll shape it into finger-like forms, placing them on a baking sheet.
After baking for 12-15 minutes, you'll let the breadsticks cool slightly before adding almond "fingernails" to complete the spooky witch's fingers look.
Step 1. Preheat Oven to 375°F
Preparation is key when crafting these spooky breadsticks. Before you dive into mixing and shaping, you'll need to get your oven ready. Set your oven to preheat at 375°F (190°C). This step is crucial, as it ensures your witch's fingers will bake evenly and achieve the perfect texture.
While the oven's heating up, you can gather your ingredients and tools. Don't rush this process; it usually takes about 10-15 minutes for most ovens to reach the right temperature. You can use this time to line your baking sheets with parchment paper or lightly grease them.
If your oven has a built-in thermometer, keep an eye on it. If not, you might want to use an oven thermometer to double-check the temperature. It's always better to be sure!
Step 2. Mix Dough Ingredients Together
With the oven preheating, it's time to dive into the dough-making process. You'll need a large mixing bowl to combine your ingredients. Start by adding 2 cups of all-purpose flour, 1 teaspoon of salt, and 1 tablespoon of sugar. Mix these dry ingredients together with a whisk or fork to ensure they're well combined.
Next, create a small well in the center of your dry mixture. This is where you'll add 1 beaten egg, 2 tablespoons of melted butter, and 1/2 cup of warm water. Using a wooden spoon or your hands, gradually incorporate the wet ingredients into the dry ones. You'll notice the mixture starting to form a dough.
As you mix, the dough will become sticky. Don't worry, that's normal! Keep kneading it in the bowl until it comes together into a cohesive ball.
If it's too dry, add a little more water. If it's too wet, sprinkle in some extra flour. The goal is to achieve a smooth, pliable dough that's not too sticky to handle. Once you've reached this consistency, you're ready for the next step in creating your spooky witch's fingers!
Step 3. Shape Dough Into Fingers
Now that your dough is ready, it's time to transform it into eerie witch's fingers. Divide your dough into small, equal portions, about the size of a golf ball. Roll each portion between your palms to create a finger-like shape, about 4-5 inches long.
As you shape the fingers, vary their thickness and length slightly for a more realistic appearance. Don't worry if they're not perfectly uniform – witches' hands aren't known for their beauty!
Next, use a butter knife to gently score knuckle lines across each finger. Press lightly to create shallow indentations, mimicking the wrinkles of a witch's skin. At one end of each finger, create a slight indentation for the fingernail. You'll add the "nail" later, so just focus on shaping the dough for now.
If any fingers look too smooth, use your fingertip to create small bumps and imperfections. Remember, the more gnarly and twisted they look, the better!
Place your shaped witch fingers on a lined baking sheet, leaving a little space between each one to allow for expansion during baking.
Step 4. Bake for 12-15 Minutes
Preheat your oven to 375°F (190°C) before baking.
Once your oven's ready, it's time to bake your spooky witch's fingers! Place the shaped breadsticks on a baking sheet lined with parchment paper, making sure they're not touching. You'll want to give them some space to expand as they bake.
Slide the baking sheet into the preheated oven and set your timer for 12 minutes. Keep an eye on them, though! Depending on your oven, they might need up to 15 minutes.
You're looking for a golden-brown color and a slightly crispy texture. If you're not sure, it's better to check early than risk burning them.
While they're baking, you might notice a delicious, bread-y smell filling your kitchen. That's how you know they're getting close!
Once they're done, carefully remove the baking sheet from the oven using oven mitts. Let the witch's fingers cool on the sheet for a few minutes before transferring them to a wire rack.
This'll help them crisp up even more. Now you've got some wickedly tasty breadsticks!
Step 5. Decorate With Almond "Fingernails

After cooling your witch's fingers breadsticks, it's time to add the final creepy touch – almond "fingernails."
Grab a bag of whole blanched almonds and some red food coloring or gel. You'll need one almond for each breadstick finger.
First, mix a few drops of red food coloring with a tablespoon of water in a small bowl. Dip the tip of each almond into this mixture, creating a blood-red "cuticle" effect.
Let the almonds dry completely on a piece of parchment paper.
Now, it's time to attach the fingernails. Use a small amount of royal icing or melted white chocolate as glue.
Carefully place a drop at one end of each breadstick, then press an almond onto it, positioning the red part at the tip. Hold it in place for a few seconds to ensure it sticks.
For an extra ghoulish touch, you can use black food coloring to paint "dirt" under the nails. Just dab a tiny bit around the base of each almond.
Your witch's fingers are now complete and ready to give your friends a delightfully spooky fright!
Final Thoughts
These Witch's Fingers Breadsticks are sure to cast a spell on your Halloween party guests. They're not only deliciously spooky but also surprisingly easy to make. You'll find that the dough is forgiving, allowing you to shape and reshape until you get the perfect finger-like appearance.
Don't worry if they're not all identical – a bit of variety adds to the creepy charm!
Remember, you can customize these breadsticks to suit your taste. Try experimenting with different herbs in the dough or sprinkling various seasonings on top before baking. If you're short on time, you can even use store-bought pizza dough as a base.
For a vegetarian-friendly version, skip the prosciutto and add extra herbs for flavor.
These witch's fingers are best served warm, so time your baking accordingly. They're great on their own or paired with a dipping sauce like marinara or pesto.
Leftover breadsticks can be stored in an airtight container and reheated in the oven for a few minutes to restore their crispiness.
With these tips in mind, you're ready to bewitch your guests with these eerie and tasty treats!
Frequently Asked Questions
Can Witch's Fingers Breadsticks Be Made Gluten-Free?
Yes, you can make gluten-free witch's fingers breadsticks. You'll need to use gluten-free flour alternatives like almond or rice flour. They'll have a slightly different texture, but you'll still achieve the spooky, finger-like appearance you're after.
How Long Do Witch's Fingers Breadsticks Stay Fresh?
You'll find they stay fresh for about 3-5 days when stored properly. Keep them in an airtight container at room temperature. For longer storage, you can freeze them for up to a month. They're best eaten fresh, though!
Are There Variations for Sweet Witch's Fingers Breadsticks?
You'll find many sweet variations for these spooky treats. You can add cocoa powder for chocolate fingers, use cinnamon sugar coating, or create red velvet versions. Don't forget to try almond extract or pumpkin spice for seasonal flavors.
Can Witch's Fingers Breadsticks Be Frozen for Later Use?
You can freeze these breadsticks for later use. Simply bake them first, let them cool completely, then store in an airtight container or freezer bag. They'll keep for up to 3 months. Reheat in the oven before serving.
What Dips Pair Well With Witch's Fingers Breadsticks?
You'll love pairing these spooky breadsticks with a variety of dips. Try marinara sauce for a classic taste, garlic aioli for extra flavor, or a cheesy spinach dip for a creamy twist. Don't forget pumpkin hummus for a seasonal touch!