Witch's Hat Cookies are a fun and spooky Halloween treat you'll love making! These cookies feature a chocolate base topped with colorful frosting and a pointed chocolate candy. They're easy to customize with different flavors and decorations. You'll start by melting chocolate, then prepare the cookie dough and shape it into cones. After baking, you'll dip the cookies in chocolate and add sprinkles for a festive touch. Kids and adults alike will enjoy decorating and eating these magical treats. They're perfect for Halloween parties or family baking projects. With a few simple steps, you'll be on your way to creating these enchanting confections.
Key Takeaways
- Witch's Hat Cookies are festive Halloween treats featuring a chocolate cookie base topped with colorful frosting and a pointed chocolate candy.
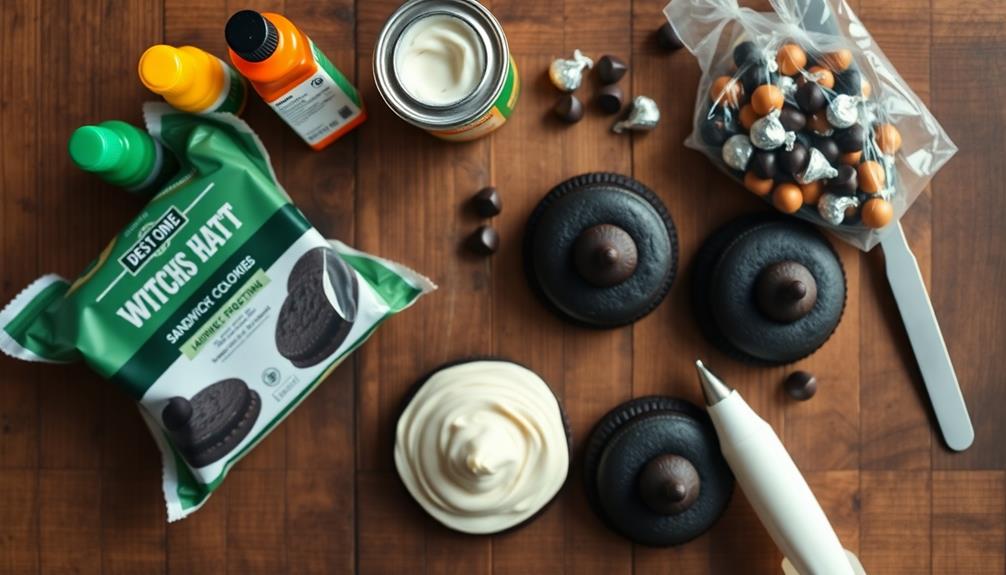
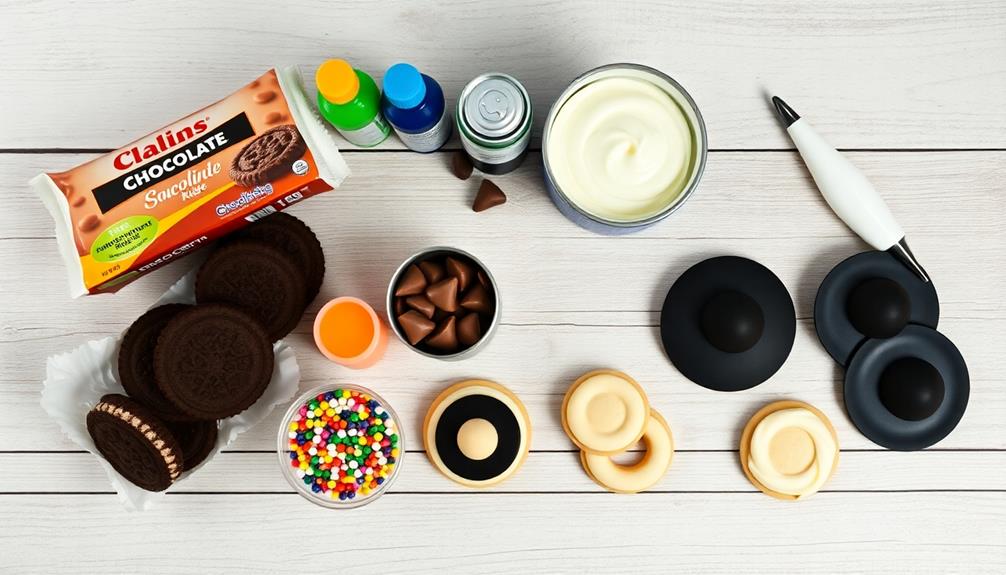
- The recipe typically includes chocolate sandwich cookies, vanilla frosting, food coloring, and chocolate kisses.
- Decorating involves shaping cookie dough into cones, dipping in melted chocolate, and adding sprinkles for texture and visual appeal.
- These cookies can be customized with various flavors, frostings, and decorations, making them suitable for magical-themed events beyond Halloween.
- Store Witch's Hat Cookies in an airtight container at room temperature for up to 3 days, using wax paper to prevent sticking.
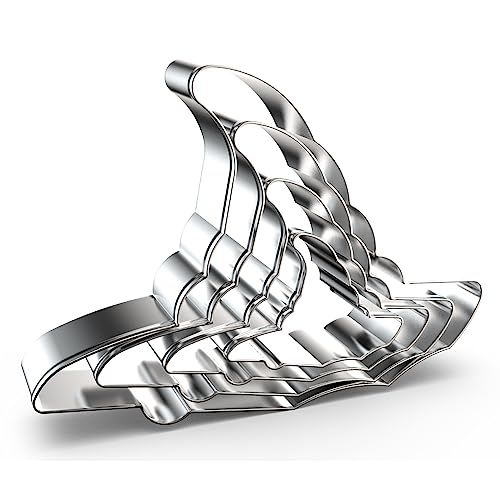
Halloween Witch Hat Cookie Cutter Set – 5", 4", 3", 2" – 4 Piece – Stainless Steel
Witch's Hat Cookie Cutter Set: Show our wizard hat cookie cutters shapes in 4 different sizes. This set…
As an affiliate, we earn on qualifying purchases.
As an affiliate, we earn on qualifying purchases.
History
While the exact origins of Witch's Hat Cookies remain uncertain, these whimsical treats likely emerged in the mid-20th century as Halloween celebrations gained popularity in the United States.
You'll find that these cookies quickly became a festive favorite, combining the fun of dress-up with the joy of baking.
As you explore their history, you'll discover that Witch's Hat Cookies are a clever twist on classic sugar cookies. They're typically made by attaching a chocolate kiss or cone to a round cookie base, creating the iconic pointed hat shape.
Over the years, bakers have gotten creative with decorations, using colorful icings and sprinkles to make each "hat" unique.
You might be interested to know that these cookies aren't just for Halloween anymore. They've become popular at other magical-themed events, like Harry Potter parties or fantasy-inspired gatherings.
As you continue to enjoy making and eating Witch's Hat Cookies, remember that you're participating in a delightful tradition that's been bringing smiles to faces for generations.

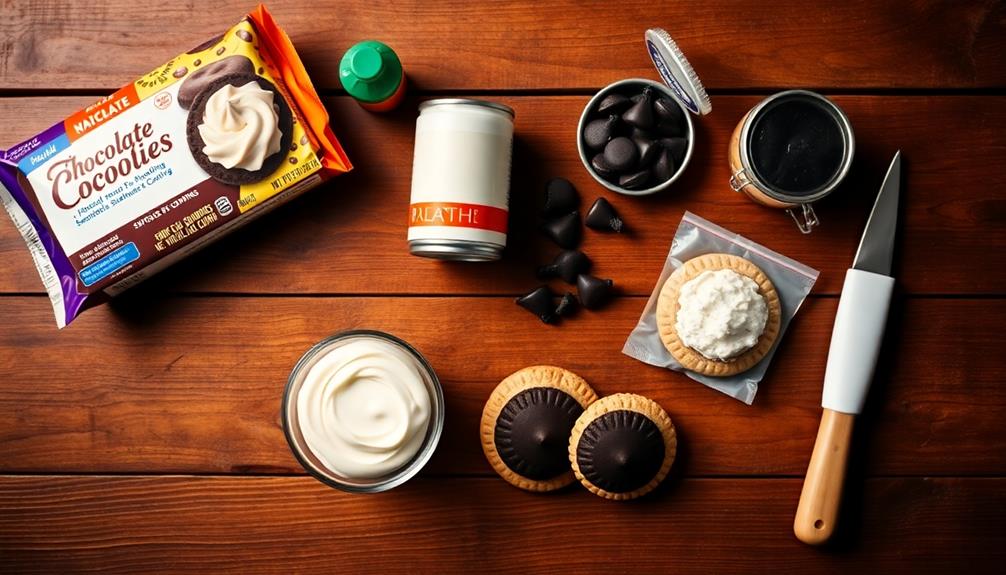
Amazon Saver, Duplex Sandwich Cookies, Chocolate Flavor, 25 oz
One 25 ounce box of Amazon Saver Duplex Sandwich Cookies
As an affiliate, we earn on qualifying purchases.
As an affiliate, we earn on qualifying purchases.
Recipe
Witch's Hat Cookies are a delightful Halloween treat that combines the whimsy of witches' hats with the deliciousness of cookies. These festive sweets are perfect for Halloween parties, trick-or-treaters, or simply as a fun baking project with family and friends.
The cookies feature a chocolate base topped with a colorful frosting and a pointed chocolate candy to create the iconic witch's hat shape. This recipe is easy to make and can be customized to suit your preferences. You can experiment with different cookie flavors, frostings, and decorations to create your own unique version of Witch's Hat Cookies.
The combination of chocolate, frosting, and candy makes these cookies irresistible to both children and adults alike.
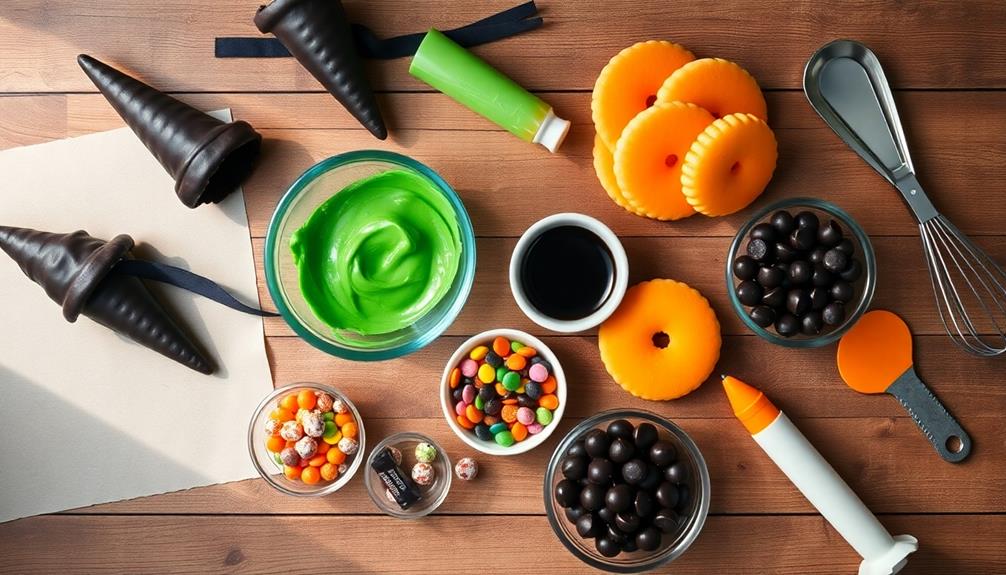
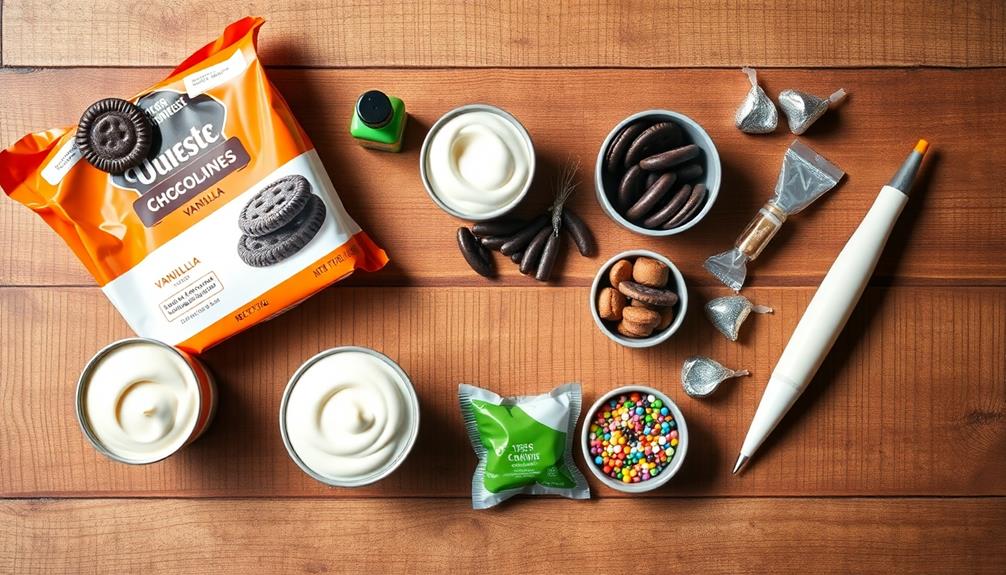
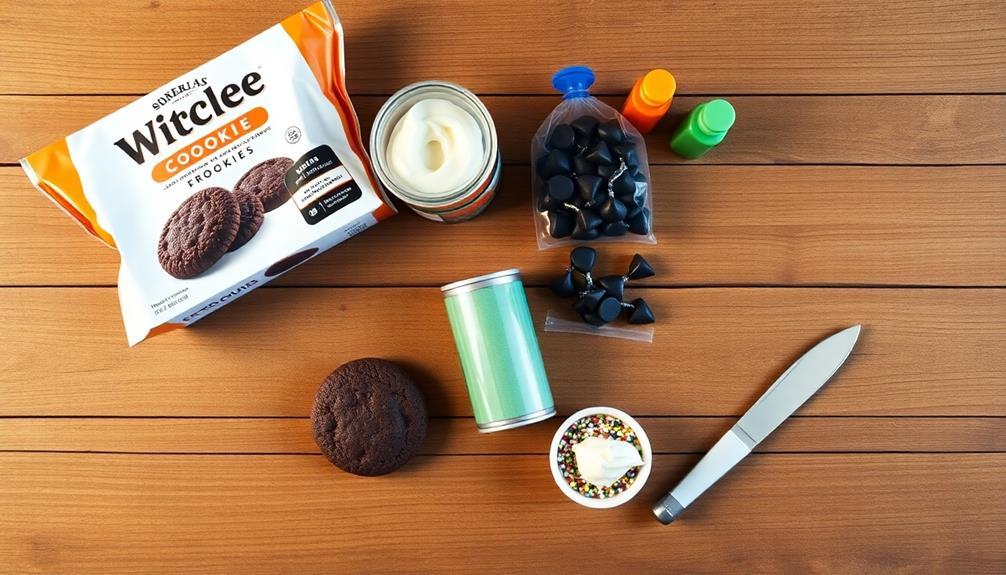
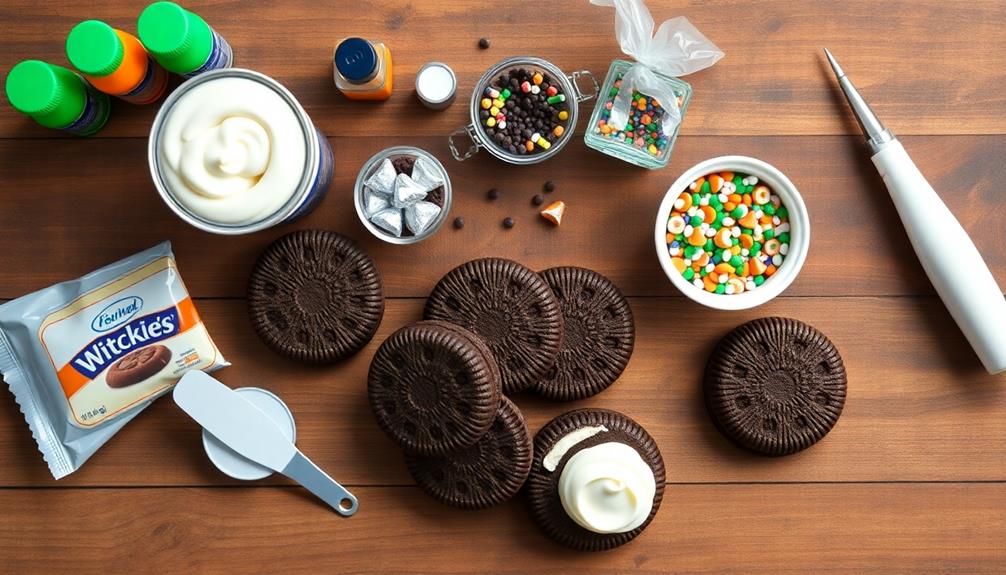
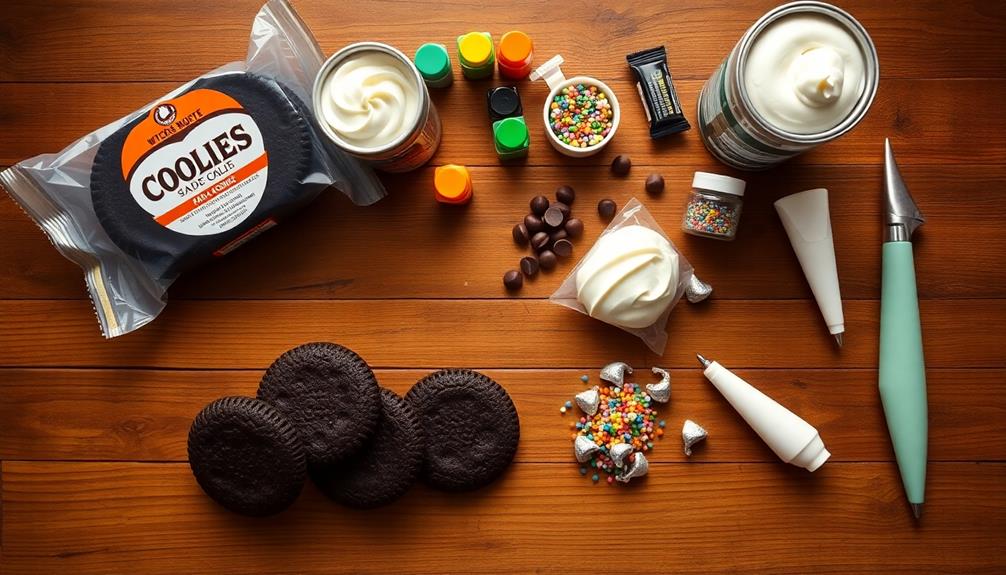
- 1 package chocolate sandwich cookies
- 1 can vanilla frosting
- Green or orange food coloring
- 24 chocolate kisses
- Black decorating gel or icing
- Sprinkles or edible glitter (optional)
To make Witch's Hat Cookies, start by separating the chocolate sandwich cookies and scraping off the cream filling. Set the cookie halves aside. Tint the vanilla frosting with green or orange food coloring. Spread a small amount of frosting on the flat side of each cookie half.
Unwrap the chocolate kisses and place one on each frosted cookie, pressing gently to secure. Use the black decorating gel or icing to pipe a band around the base of each chocolate kiss. If desired, add sprinkles or edible glitter for extra sparkle.
For best results, allow the frosting to set for about 30 minutes before serving or storing the cookies. If you're making these in advance, store them in an airtight container at room temperature for up to 3 days. To prevent the cookies from sticking together, place a sheet of wax paper between layers.
For a fun variation, try using different flavors of sandwich cookies or experiment with various frosting colors to create a vibrant assortment of witch's hats.

Cake Mate 9 Pack Edible Cake Writing Gels for Cake and Cookie Decorating – Easy Squeeze Gel in Vibrant Colors (0.67 oz Each) – Perfect for Cakes, Cupcakes, Cookies, and Brownies
Complete 9-Color Gel Set – Includes vibrant decorating gels in blue, orange, green, pink, black, purple, red, white,…
As an affiliate, we earn on qualifying purchases.
As an affiliate, we earn on qualifying purchases.
Cooking Steps
You're about to embark on a magical baking adventure with these witch's hat cookies!
First, you'll melt chocolate and prepare the cookie dough base, shaping it into perfect little cones.
Then, you'll bring the hats to life with colorful sprinkles and candy buckles, transforming them into spellbinding treats that'll wow your friends and family.
Step 1. Melt Chocolate in Microwave
Ready to melt your chocolate for those spellbinding Witch's Hat Cookies? Grab your microwave-safe bowl and let's get started!
First, break your chocolate into small, even pieces. This'll help it melt more uniformly. Place the chocolate in the bowl, making sure it's not piled too high.
Set your microwave to 50% power – this is crucial to avoid burning the chocolate. Start with a 30-second burst, then remove the bowl and give it a good stir. The chocolate mightn't look melted yet, but stirring helps distribute the heat.
Pop it back in for another 15 seconds, then stir again. Repeat this process until most of the chocolate is melted.
Be patient! It's better to go slow than to end up with scorched chocolate. When there are just a few small lumps left, take it out and keep stirring. The residual heat will melt those final bits.
If your chocolate seems too thick, you can add a tiny bit of vegetable oil to thin it out. Now you're ready to create those wickedly delicious Witch's Hat Cookies!
Step 2. Prepare Cookie Dough Base

Preparing the cookie dough base is the foundation for your spooky Witch's Hat treats. Start by gathering your ingredients: flour, sugar, butter, eggs, and vanilla extract.
In a large mixing bowl, cream together the softened butter and sugar until it's light and fluffy. This will take about 3-4 minutes with an electric mixer. Next, add the eggs one at a time, beating well after each addition. Don't forget to scrape down the sides of the bowl!
Now, it's time to add the dry ingredients. In a separate bowl, whisk together the flour, baking powder, and salt. Gradually add this mixture to your wet ingredients, mixing on low speed until just combined. Be careful not to overmix, or your cookies might turn out tough.
Finally, stir in the vanilla extract for that classic cookie flavor.
Once your dough is ready, cover the bowl with plastic wrap and pop it in the fridge for about 30 minutes. This chilling time will make the dough easier to handle and shape into your witch's hat cookies.
While you wait, preheat your oven and line your baking sheets with parchment paper.
Step 3. Shape Dough Into Cones
With your chilled dough ready, it's time to shape those witchy cones. Start by preheating your oven to 350°F (175°C) and lining a baking sheet with parchment paper.
Take a small portion of dough, about the size of a golf ball, and roll it into a smooth sphere between your palms. Place the ball on your work surface and gently roll it into a cone shape, making one end pointy and the other slightly flattened.
As you shape each cone, carefully transfer it to the prepared baking sheet, standing it upright. If the dough becomes too soft to work with, pop it back in the fridge for a few minutes. You'll want to space the cones about 2 inches apart to allow for spreading during baking.
Once you've shaped all your cones, use your finger to gently press a small indentation at the base of each one. This will help them stand up better after baking.
Before popping them in the oven, give the cones a quick once-over to ensure they're all roughly the same size and shape. This'll help them bake evenly and look uniform when decorated.
Step 4. Decorate With Colorful Sprinkles
Sprinkles transform these simple cookie cones into magical witch's hats. Now that you've shaped your cones, it's time to add some whimsical flair.
Start by melting chocolate in a microwave-safe bowl, stirring every 30 seconds until smooth. Dip the wide end of each cone into the melted chocolate, letting excess drip off. While the chocolate's still wet, sprinkle your favorite colors over it. You can use traditional Halloween hues like orange and black, or get creative with purple, green, or even rainbow sprinkles.
For extra pizzazz, try using different types of sprinkles on each hat. Mix jimmies, nonpareils, and sugar crystals for varied textures. You can even add edible glitter for a sparkly touch.
Don't forget to leave a strip of chocolate uncovered to create the hat's brim. Once you've finished decorating, place the cones on a parchment-lined baking sheet and refrigerate until the chocolate sets. This usually takes about 15 minutes.
When they're ready, your witch's hat cookies will be a spellbinding treat that's sure to impress at any Halloween party or autumn gathering.
Step 5. Add Candy Buckles to Hats
Now that your witch's hats are adorned with sprinkles, let's give them a classic touch with candy buckles. You'll need small, rectangular candies in a contrasting color to your cookies. Yellow or gold works great for that traditional buckle look!
First, melt a small amount of chocolate in the microwave, stirring every 15 seconds until smooth. This will be your "glue" for attaching the buckles.
Using a toothpick or small pastry brush, apply a thin layer of melted chocolate to the back of each candy buckle. Carefully place the buckle on the front of your witch's hat cookie, pressing gently to secure it.
Hold the buckle in place for a few seconds to allow the chocolate to set. If you're working in a warm kitchen, you might want to pop the cookies in the fridge for a minute or two to help the chocolate harden faster.
Once all your buckles are in place, step back and admire your handiwork! Your witch's hat cookies now have that perfect finishing touch, making them look even more magical and delicious.

Sweets Indeed Halloween 6-Cell Sprinkle Jar – 6 Variety Sprinkle Compartments | Edible Cake Decorations for Cupcakes, Cookies, Cakes & Desserts | 6.45 oz
6-IN-1 HALLOWEEN SPRINKLE JAR – A festive assortment of 6 unique sprinkle varieties in one convenient container. Perfect…
As an affiliate, we earn on qualifying purchases.
As an affiliate, we earn on qualifying purchases.
Final Thoughts
After creating these delightful Witch's Hat Cookies, you'll have a spooky and sweet treat perfect for Halloween parties or autumn gatherings.
You've learned how to transform simple sugar cookies into whimsical witch hats, complete with colorful frosting and candy decorations. Remember, practice makes perfect, so don't worry if your first few attempts aren't flawless.
These cookies are versatile, so feel free to experiment with different colors and decorations. You could try orange frosting for a pumpkin-themed hat or add sprinkles for extra sparkle.
If you're short on time, store-bought sugar cookies can work as a base too. Don't forget to store your finished cookies in an airtight container to keep them fresh.
Witch's Hat Cookies are a great way to get kids involved in the kitchen, teaching them basic baking and decorating skills.
They're also an excellent addition to a Halloween dessert table or as a fun activity at a fall-themed party.
With your newfound cookie-crafting skills, you're ready to cast a spell of deliciousness on your friends and family this Halloween season!
Frequently Asked Questions
Can Witch's Hat Cookies Be Made Gluten-Free?
You can definitely make gluten-free witch's hat cookies! It's as simple as swapping regular flour for a gluten-free alternative in your recipe. You'll find many options like almond flour, rice flour, or pre-mixed gluten-free baking blends.
How Long Do Witch's Hat Cookies Stay Fresh?
You'll find they stay fresh for about 5-7 days when stored properly. Keep them in an airtight container at room temperature. For longer shelf life, you can freeze them for up to 3 months.
Are There Any Vegan Alternatives for Making Witch's Hat Cookies?
You can make vegan witch's hat cookies using plant-based alternatives. Replace butter with vegan margarine, eggs with flax eggs, and use dairy-free chocolate. For the cone, choose vegan ice cream cones or make your own with vegan ingredients.
Can Witch's Hat Cookies Be Frozen for Later Use?
Yes, you can freeze these cookies for later use. They'll keep well in an airtight container for up to 3 months. Just thaw them at room temperature when you're ready to enjoy. Don't forget to separate layers with parchment paper.
What Other Occasions Are Suitable for Serving Witch's Hat Cookies?
You'll find these cookies perfect for Halloween parties, autumn gatherings, and costume events. They're also great for themed birthdays, book club meetings featuring spooky stories, or movie nights with witch-themed films. Get creative with your serving occasions!